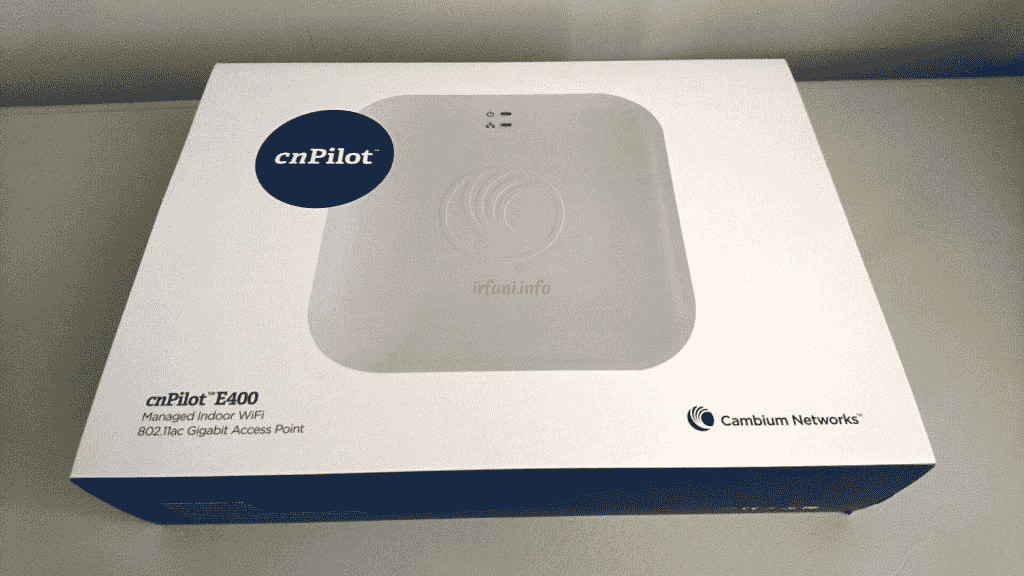
This time I will share a basic guide to the configuration of the Cambium cnPilot E400 in terms of connection as an AP (Access Point). For more clear specifications, the device can be seen here.
Like APs in general, configuration can be done from the IP obtained from the DHCP server, but for the Cambium cnPilot E400 it also has a default IP of 192.168.0.1 with the same login and password, namely admin.
The Cambium cnPilot E400 that I got is pre-configured, so it must be reset by turning on the device and pressing the reset button for about 10 seconds until the Power LED indicator changes from green to orange.
The following is the basic configuration of the Cambium cnPilot E400 as an Access Point:
- Log in to the IP 192.168.0.1 or DHCP IP obtained with login and admin password.
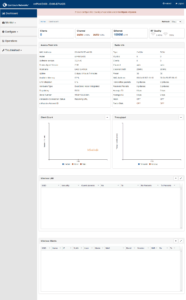
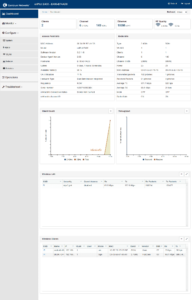
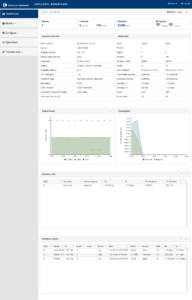
- Here’s what the dashboard looks like (in this case I’ve updated the firmware from 3.2.1-r6 to 3.7-r9 to get maximum results).
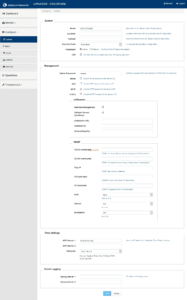
- Click Configure – System – Country-Code to change the location of the country, in this case I select Indonesia, then so that the time is adjusted to the current zone, in Time Settings – NTP Server 1 I fill it in with id.pool.ntp.org (only applicable if the AP is connected to the internet) then click Save.
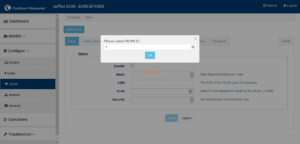
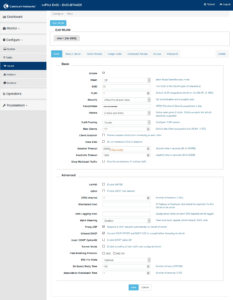
- Click WLAN and click Add WLAN, default is 1 for the first time and then click OK.
In this case, I just fill in and change 2 items and then click Save.
SSID : wireless name
Security : wireless password
- The successfully created SSID will appear on the initial dashboard. Currently, it can be tried directly from other devices such as cellphones or laptops and will also be visible on the network details dashboard.
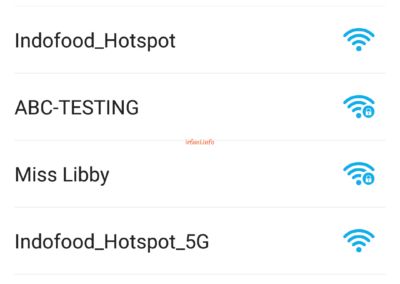
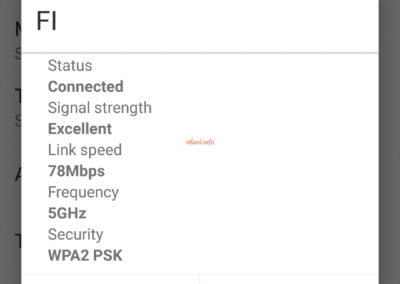
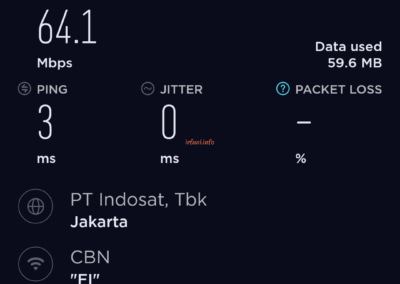
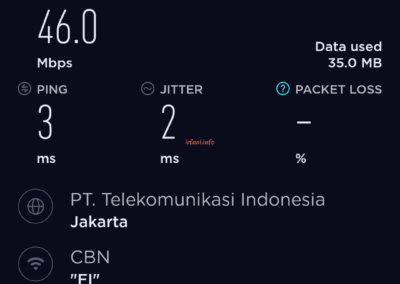
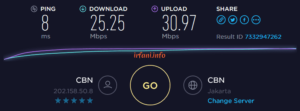
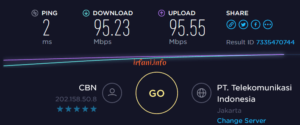
- The following are the results of the test using a cellphone device, because I only made 1 SSID with a frequency of 2.4Ghz and 5Ghz and after connecting it turned out that my cellphone used a 5Ghz frequency and for the last image the test was with a frequency of 2.4Ghz.
- Here are the results using a laptop, the first image with a frequency of 2.4Ghz and the second image with a frequency of 5Ghz.
- The following is the update display on the dashboard, there are Throughput results from the tests that have been carried out.
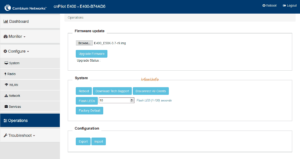
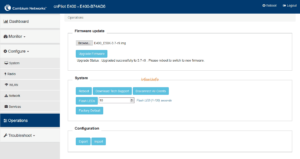
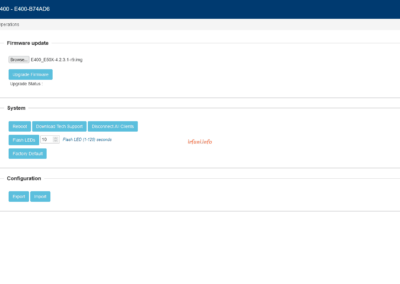
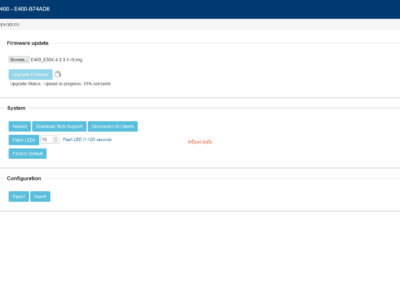
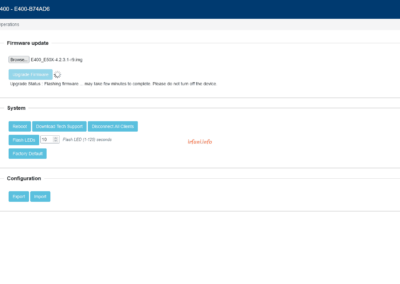
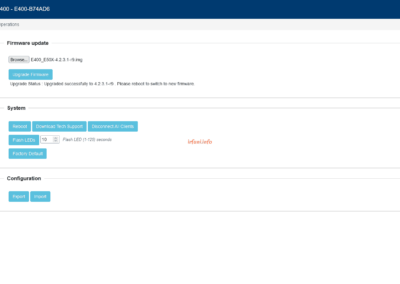
- To upgrade the firmware, click Operations – Browse (navigate to the firmware location) then click Upgrade Firmware, wait for it to finish and click Reboot and click OK if a confirmation appears for rebooting.
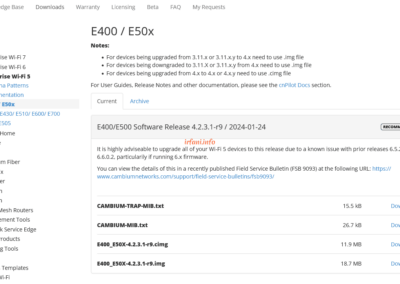
To download the firmware, you can click here and I checked again (in 2024) it turns out that there is already the latest version as follows:
Thanks and have a nice day.

