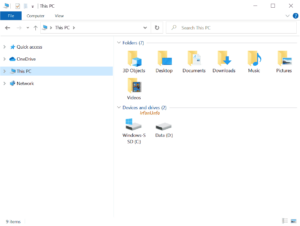
Laptops that have the original OS installed, generally only consist of 1 partition (visible), namely C. Actually, there are also other partitions but they are not shown in Windows Explorer.
Here’s a guide to create a hard disk partition (HDD) in Windows 10 with the free version of the AOMEI Partition app.
- Open the following link https://www.diskpart.com/download-home.html then click Download Freeware or you can directly click https://www2.aomeisoftware.com/download/pa/PAssist_Std.exe, wait until the download process is complete.
Note: The image and version below are screenshots at the time, so it’s definitely different if you download it next time, the difference between the image and the version of the app at that time.
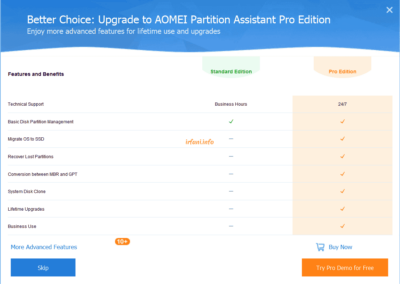
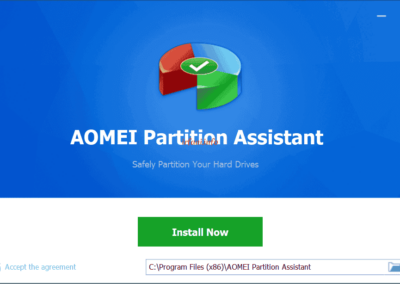
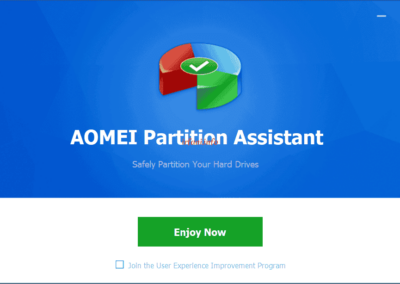
- Click the file and then click OK- Skip – Install Now and Enjoy Now as shown in the following image and AOMEI Partition will open automatically.
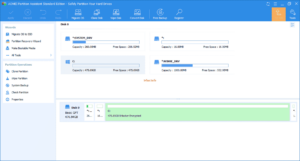
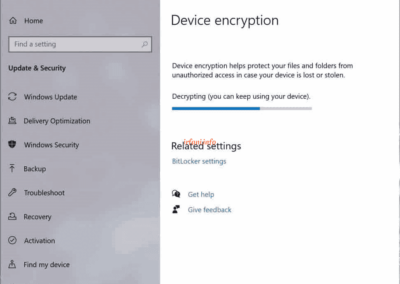
- If it doesn’t open automatically, click AOMEI Partition on the Desktop and here’s what it looks like. Please note, if there is Bitlocker Encrypted info on the C drive, then follow the following steps so that the HDD can be partitioned, but if it is only C, please continue to step 7.
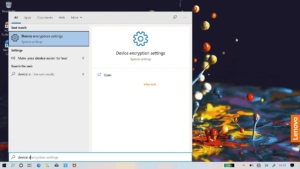
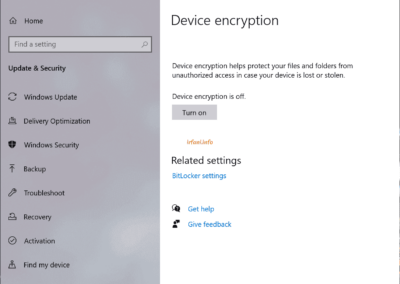
- Click the Windows button and then type device encryption settings.
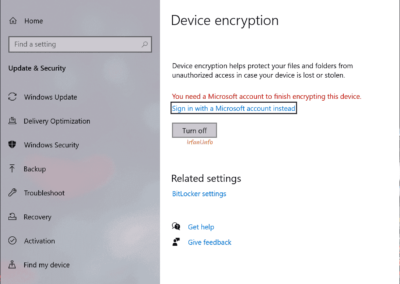
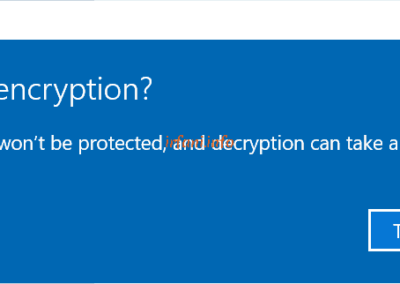
- Click Turn off and wait for the process to complete.
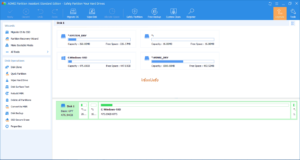
- Reopen AOMEI Partition and make sure the display for C drive is as follows.
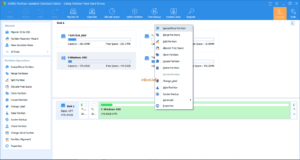
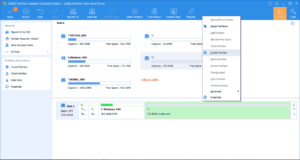
- Right-click on C:Windows-SSD and select Resize/Move Partition.
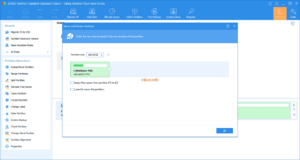
- Fill in the desired size in Partition size or slide the green white circle, click OK.
- The size of the partition in C will change and there will be any partitions left after it. Right-click on the empty partition and select Create Partition.
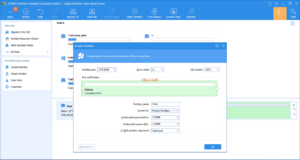
10. Repeat as step 9, but in this you can select the partition letter after that, in this case I select D on Drive Letter and NTFS File System and label Data in Partition Label (click Advanced). I only want to create 2 partitions, namely C and D, then I automatically allocate all the remaining partitions, then click OK.
Note: If your HDD is large enough for 1 TB and you want to create 3 or 4 partitions, then repeat steps 9 and 10 as many partitions as you want to create.
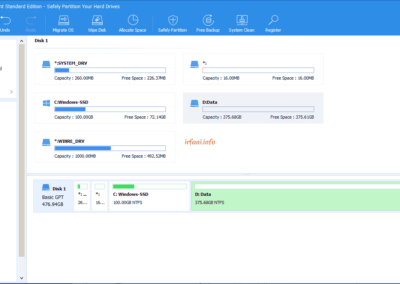
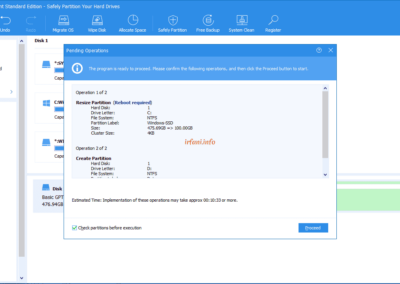
11. Here’s what 2 partitions look like, click Apply for the next process, then click Proceed and OK.
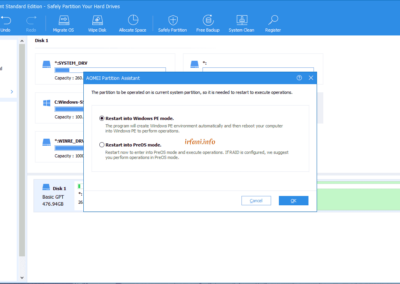
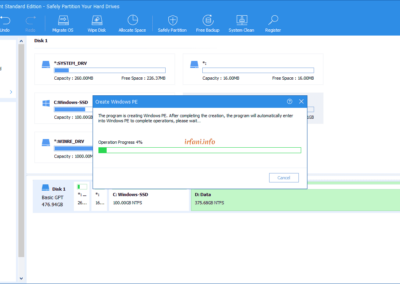
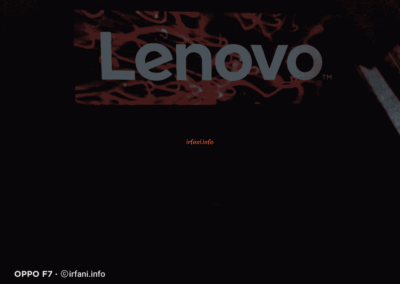
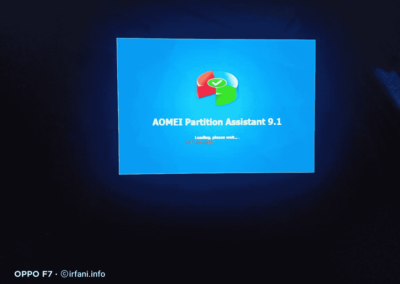
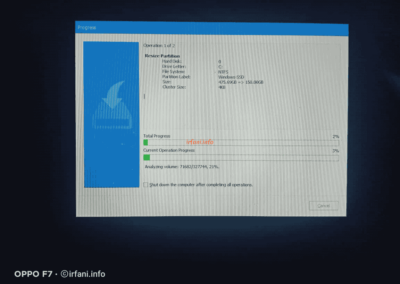
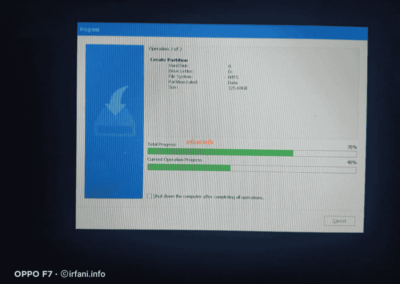
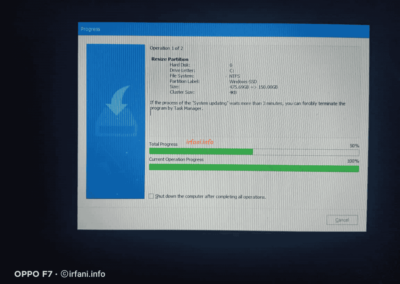
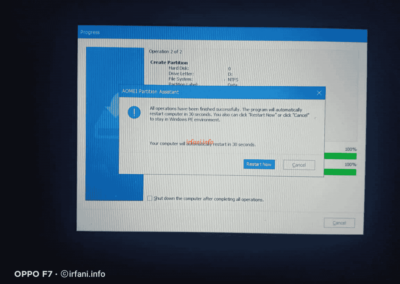
12. The partition process will run under Windows (the laptop will restart automatically) and wait for the process to complete as shown in the following image.


