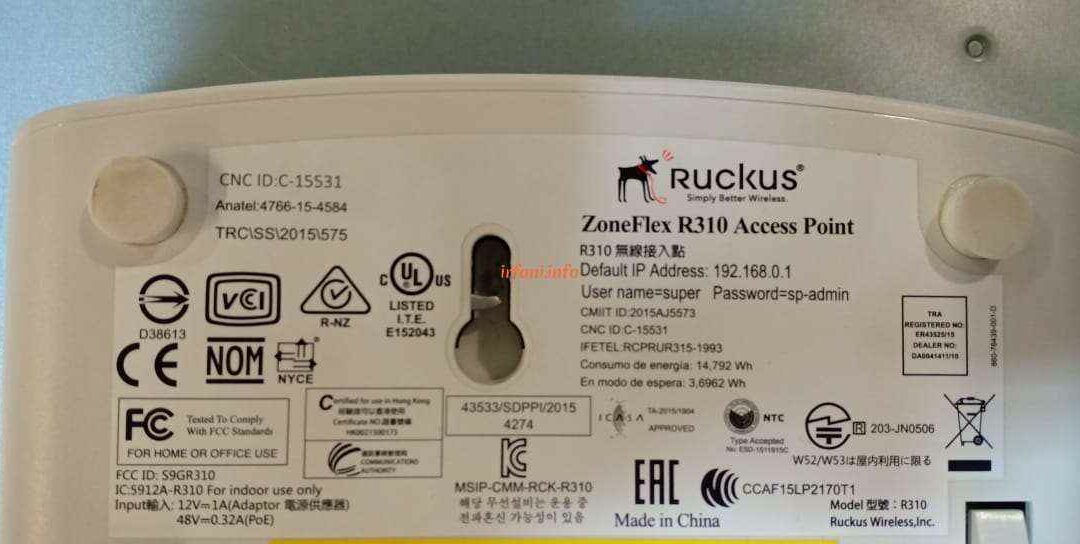
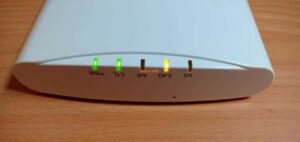
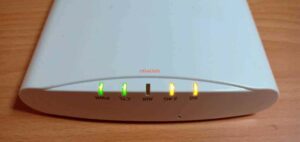
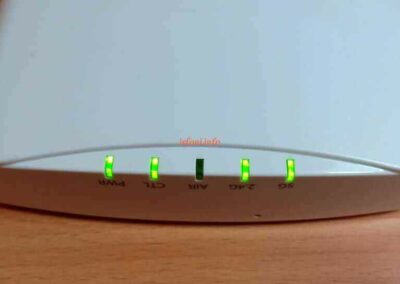
This is the first Ruckus device that I have tried, although it is not a new item, but it does not hurt that I learned to get to know the device. Because I don’t know the login password to the device, then I just reset it and the method is quite easy, press the reset button next to the LAN port for about 5 – 10 seconds in the state that the device is on and wait until the indicator light turns off and turns back on, the indication of being successfully reset is the indicator that lights up only the PWR and CTL lights, because the default wireless position is in a state disabled.
Here’s the initial configuration guide:
- The default IP address is 192.168.0.1 but since I installed it to the router, I accessed it using the IP obtained from the router, which is 192.168.1.14.
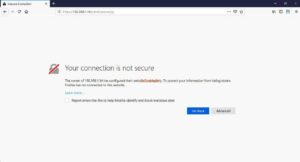
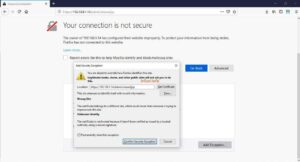
- If it appears like the following image, click Advanced – Add Exception – Confirm Security Exception and go straight to step 3:
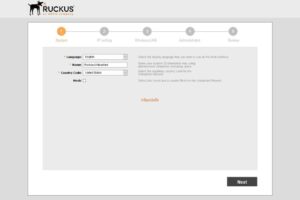
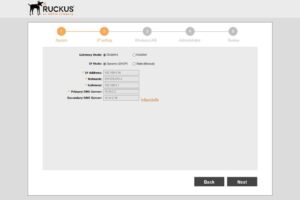
- I just changed the Country Code to Indonesia, then click Next. Since I have a primary router that already gives DCHP to this AP, I didn’t change the configuration, click Next to continue.
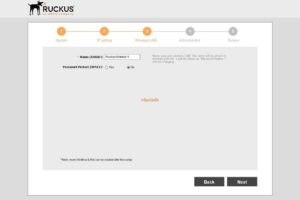
- I also did not change the SSID and provide a password, it will be configured later, click Next.
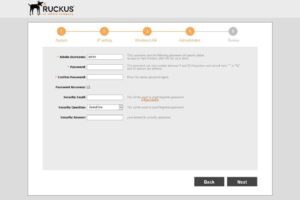
- For passwords that must be changed directly, while for Password Recovery I did not check, click Next again.
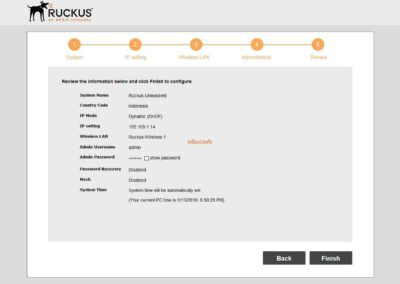
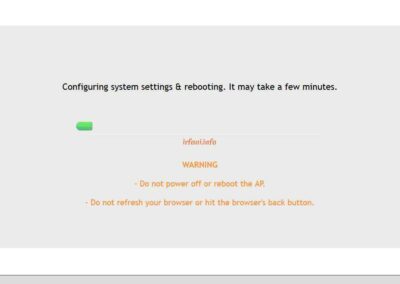
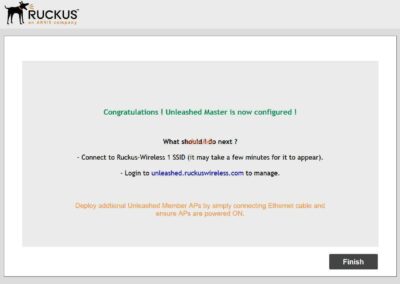
- Here are the review results from the process above, click Finish and OK to restart the device.
Here is the next configuration :
- Log in with the user and password that has been set beforehand, then click Unleash.
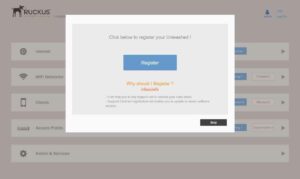
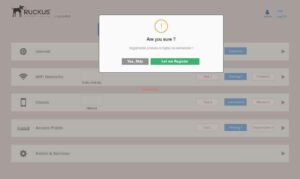
- I will not register this device, for that I choose Skip and Yes, Skip.
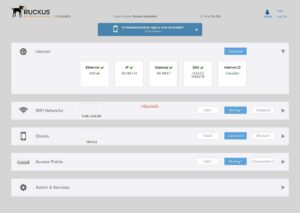
- It looks like the following picture, the internet status has been connected because indeed the main router has been connected to the internet.
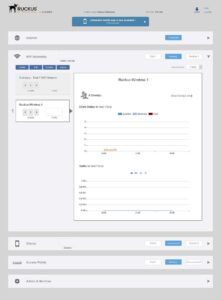
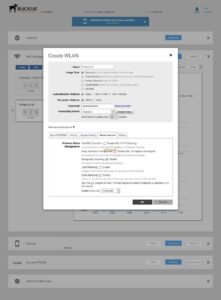
- I’m going to change the SSID I created earlier, click WiFi Networks and select Ruckus-Wireless 1 and then click Edit.
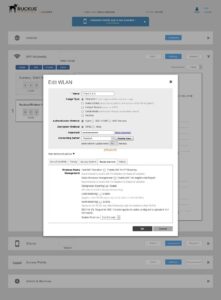
- Because this AP has 2 frequencies, namely 2.4G and 5G, so to make it easier, I will give the name FIrfani 2.4 G which indicates operating on the 2.4G frequency as shown in the following image. To provide a password, select WPA2 in the Encryption Method and enter the desired password, then OK.
Note: the 2.4G indicator will light up Orange if it has been activated and turn Green if any device is connected.
- Click Create to create a new SSID, for the SSID I named FIrfani 5 G which works on the 5 Ghz frequency.
Note: the 5G indicator will light up Orange if it is active and turn Green if any device is connected.
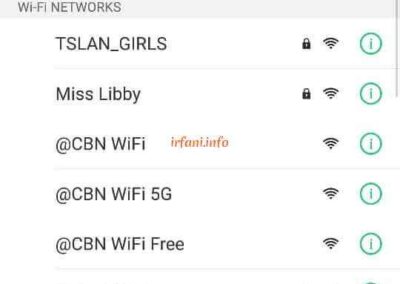
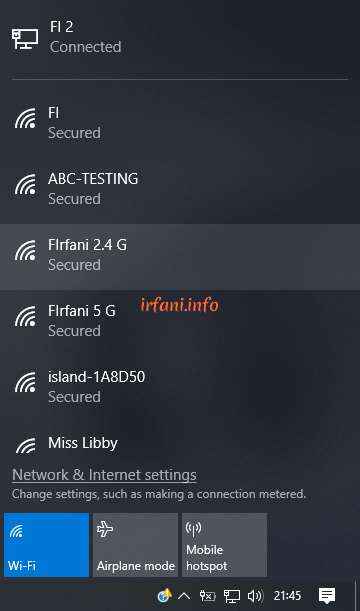
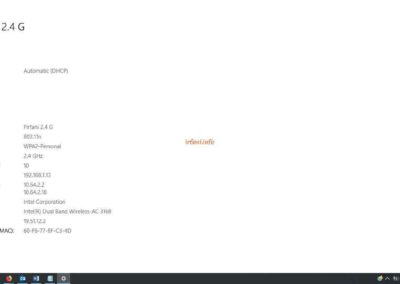
- I will connect the 2 SSIDs from different devices. For the 5 Ghz frequency, not all devices support it, for that if the device does not find the 5 G FIrfani SSID, then the device does not support it yet. But on the 2 devices I tried, both already support the 5 Ghz frequency.
Oh yes, the 2.4G and 5G indicators will turn Green if any device is connected.
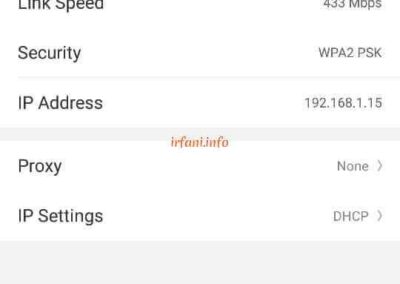
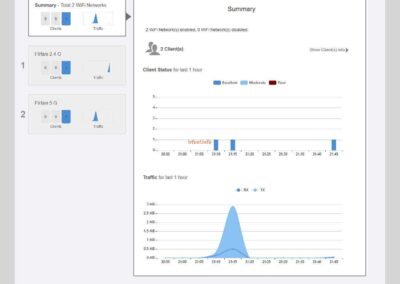
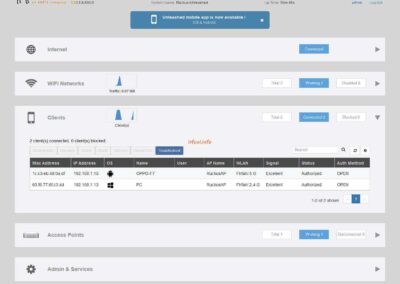
- Here are the results from the wireless and client sides.
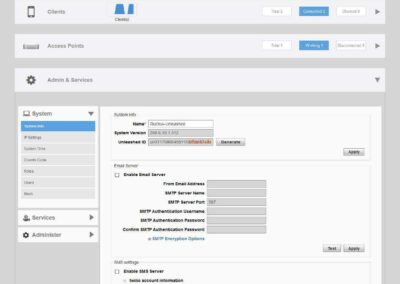
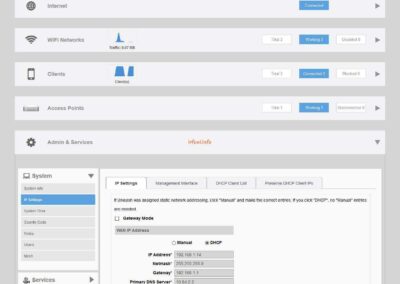
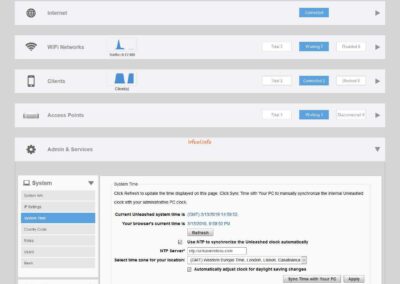
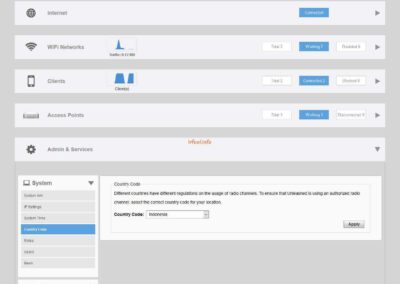
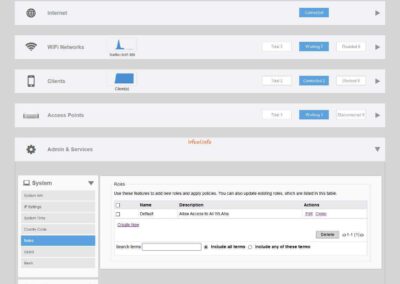
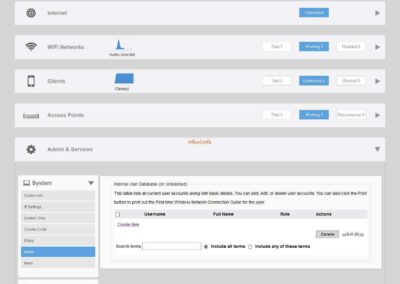
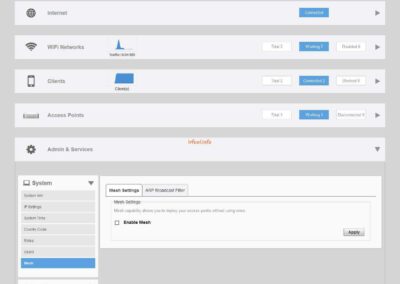
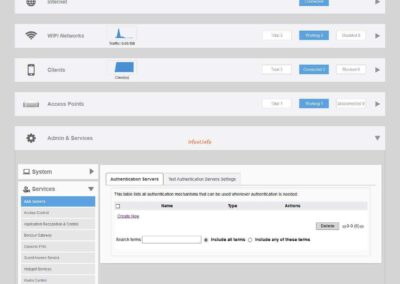
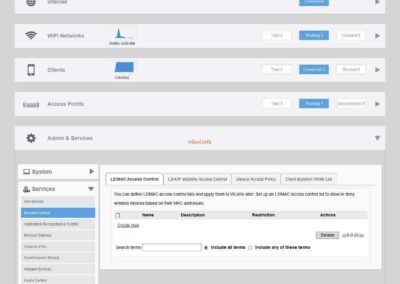
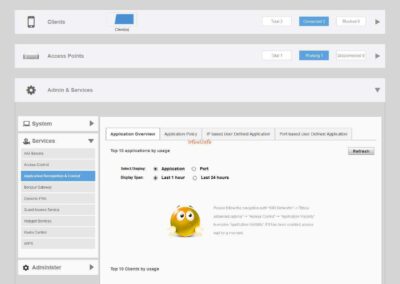
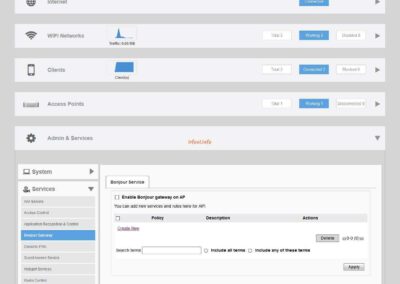
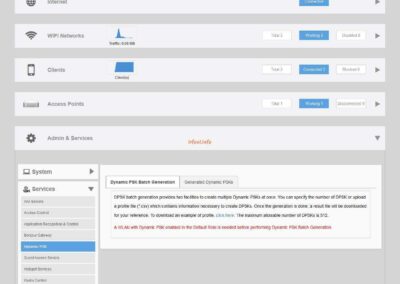
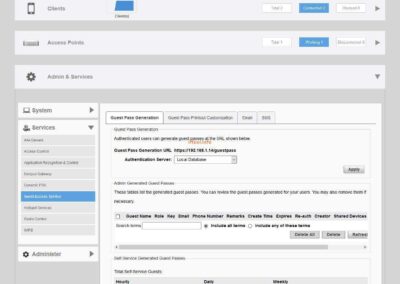
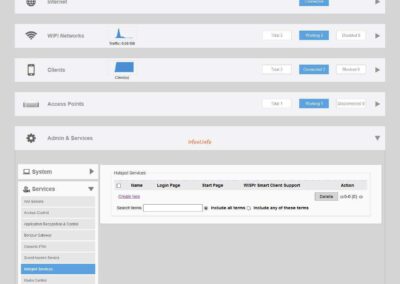
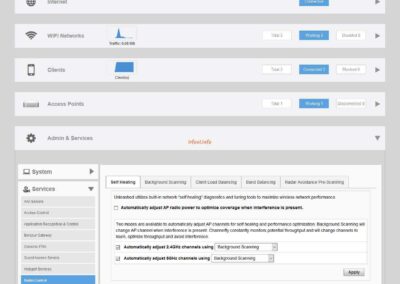
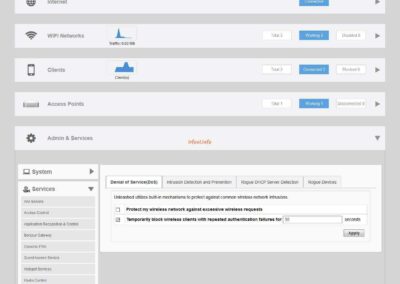
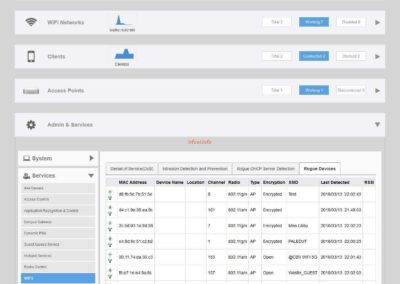
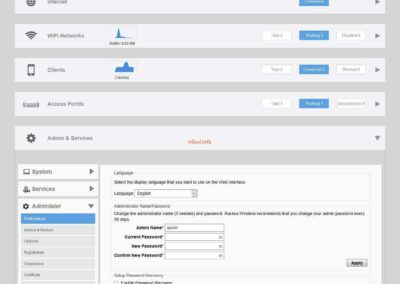
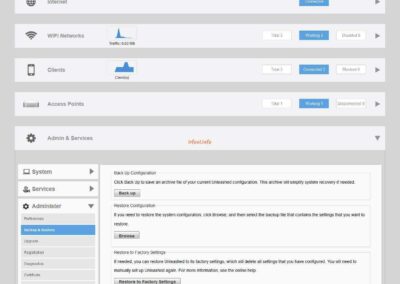
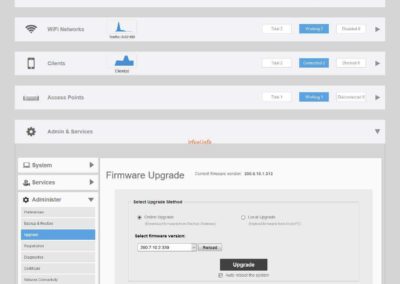
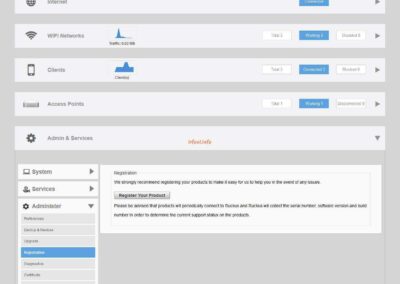
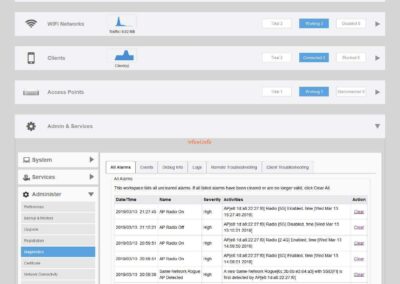
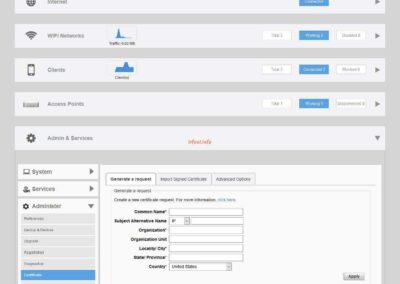
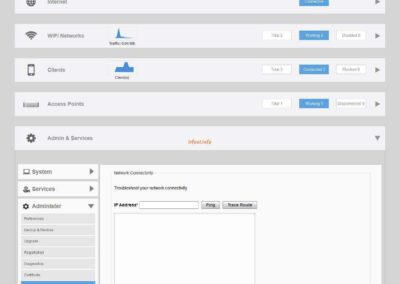
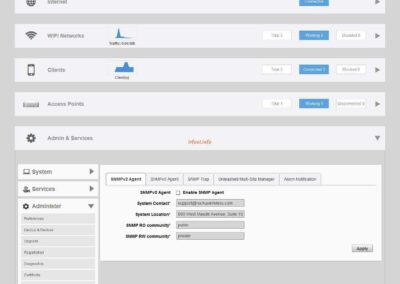
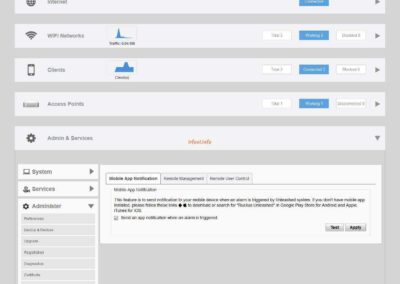
- While there is not much information that I can provide on the Admin & Services menu, so I will only share the following view :
That’s the provisional info that I can convey, for the speed test I made in a different article.

