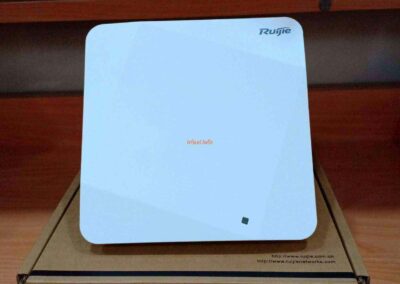
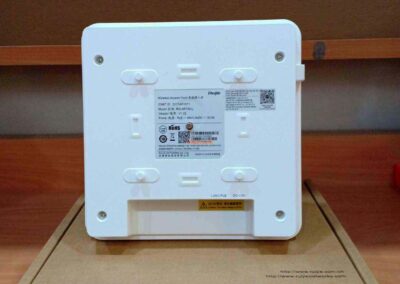
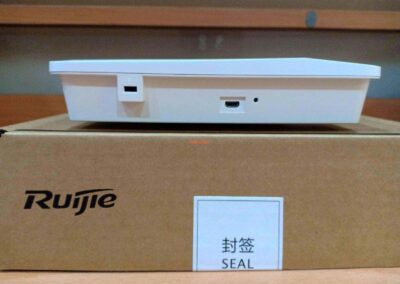
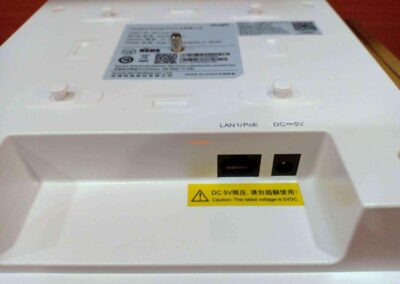
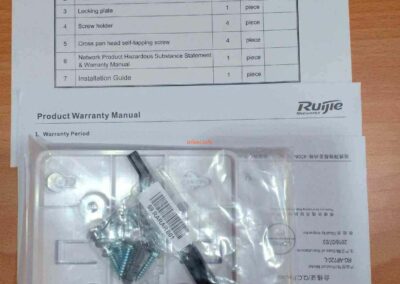
Ruijie hmmm the brand I just heard about for the Access Point (AP) device that will be discussed this time and as always, this time the test was very short because I wanted to install it in the customer’s place, hehehe. The item I got was still in new condition, so you can see the contents of the box first.
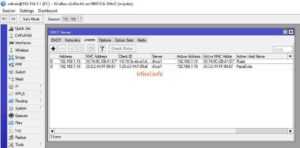
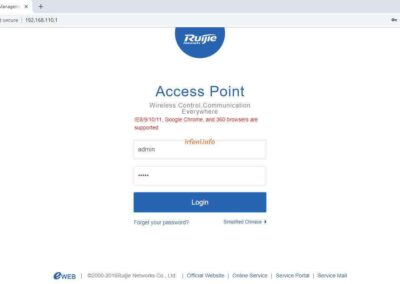
This AP has a default IP of 192.168.110.1 with the same username and password, namely admin. But when I tried it I didn’t use the IP, because in general the AP only forwards the connection from the main device that gives the DHCP IP, so I tried directly from the DHCP IP that the IP has obtained.
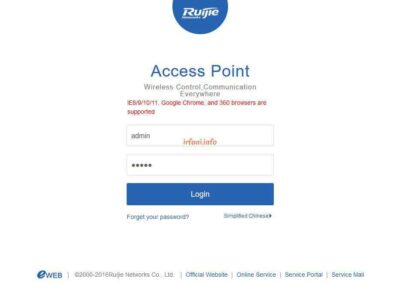
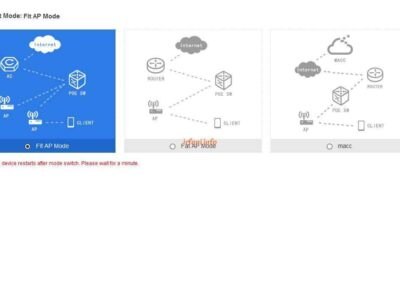
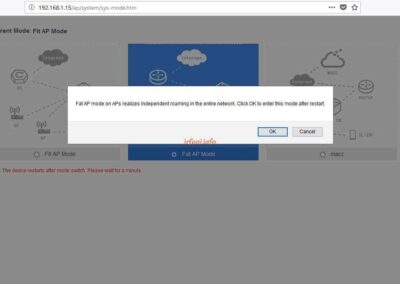
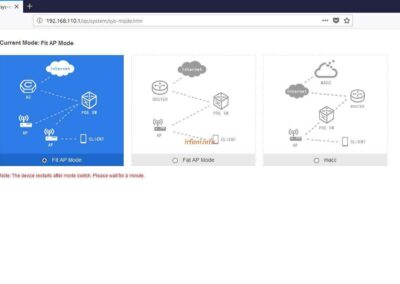
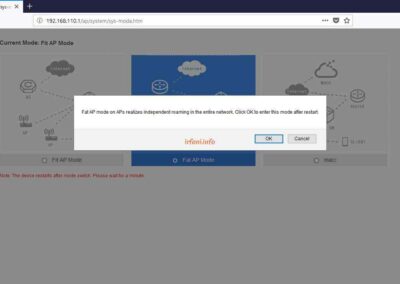
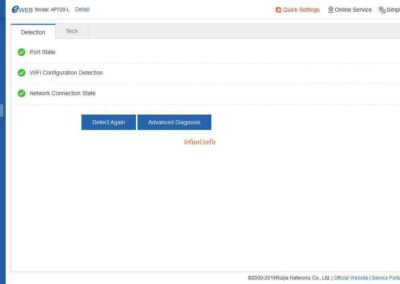
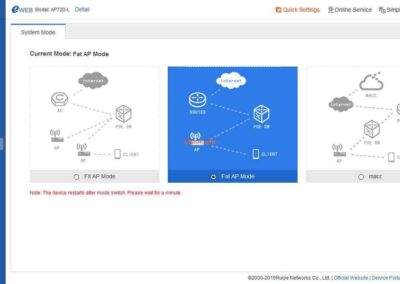
When opening the home page, information will appear that this device can be accessed by more than 360 browsers and after logging in will appear 3 options, namely, Fit AP, Fat AP and macc which for the topology can be seen from the available images. At first I was confused, because by default Fit AP was selected, but no configuration was found, then I changed it to Fat AP and was even more confused because the AP became inaccessible and did not get a DHCP IP after the reboot process. I tried rebooting Mikrotik and the AP the result is still the same.
Finally I tried to reset the AP (press the Reset button for about 10 seconds in the lit position until the LED flashed green) and this time I tried to equate the IP block with the AP. After logging in and reappearing the mode page, again I selected Fat AP and repeated the same thing as above, but previously I had Ping to IP 192.168.110.1 to make sure the connection, the result was after rebooting to RTO, again I tried to pair directly from Mikrotik and then get the DHCP IP again, is this a bug? (*)
Topology :
Internet <–> router (DHCP) <–> Ruijie RG-AP720-L
The following is the configuration of Ruijie RG-AP720-L :
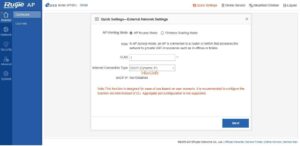
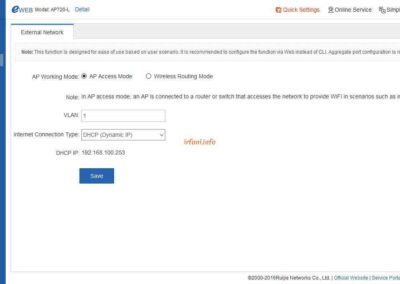
- After successfully logging in with the DHCP IP, Quick Settings will appear to select the AP mode to be used, because getting the internet from the main router then I select the following mode then Next :
AP Working Mode : AP Access Mode
Internet Connection Type : DHCP
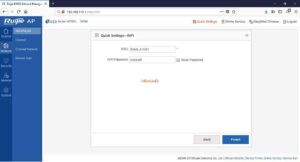
- Enter the desired SSID and password, then click Finish.
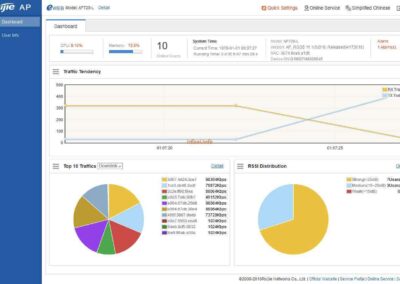
Until this step, the AP should be able to directly connect to the internet and my current position is to replace the old AP device to this Ruijie AP, of course, the SSID and password are the same as the configuration of the old AP, so if you look at the Dashboard, it will automatically connect to the device that has been connected to the old AP before.
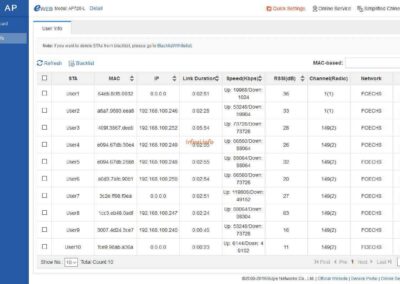
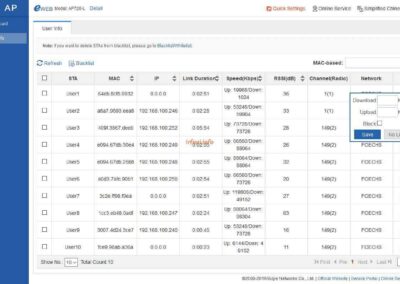
- In the Monitor – User Info tab we can see the details of the connected device with the following info :
- Channel (Radio) : to see the wireless frequency used (2.4 or 5).
- Action : limits bandwidth or blocks against a device.
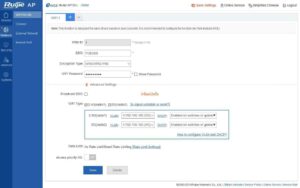
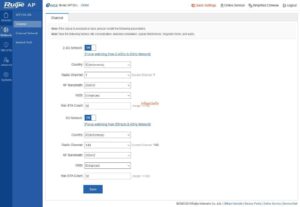
4. To add and change SSID and wireless channels, it can be set in Network – Wifi/WLAN.
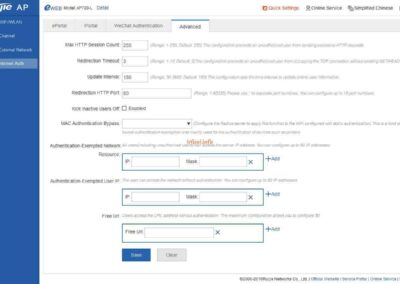
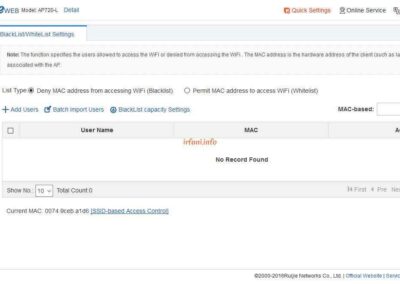
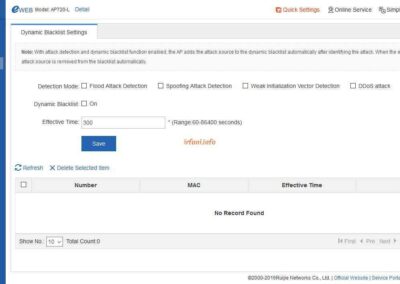
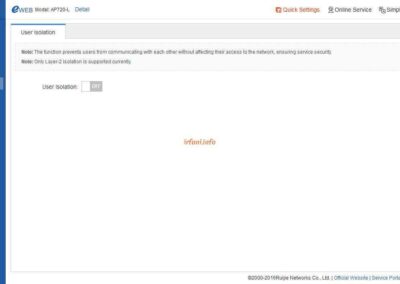
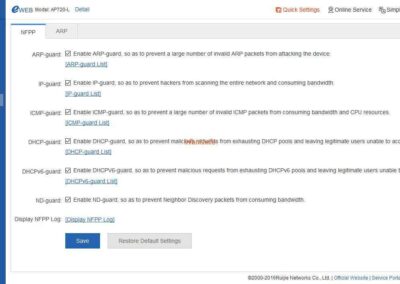
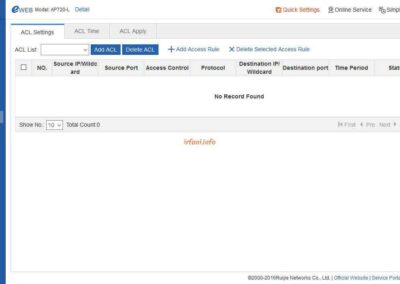
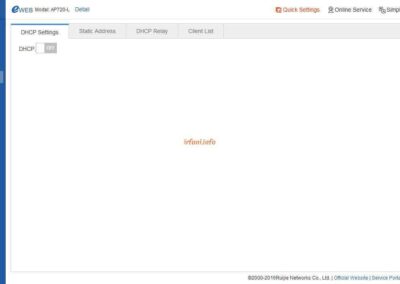
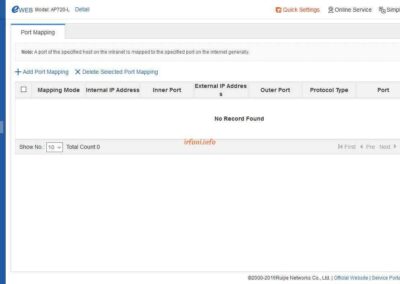
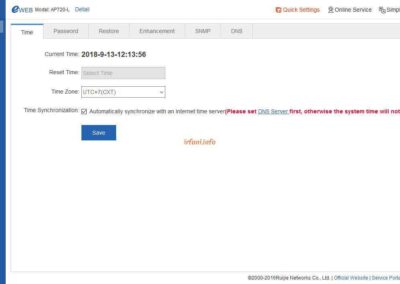
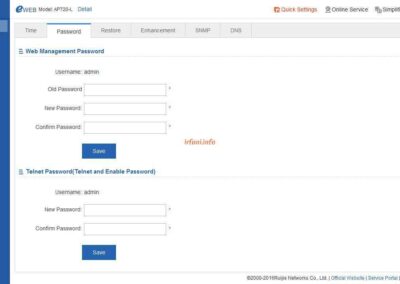
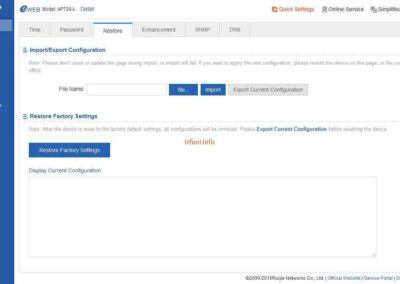
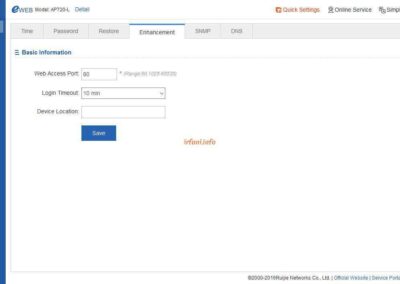
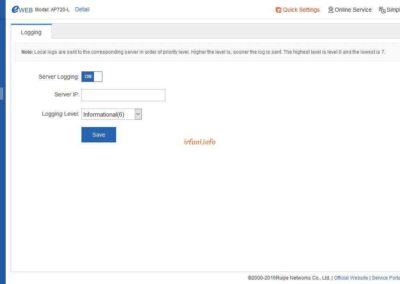
Attached to the AP, I did not take all the pages, only a few that I thought were important.
(*) After a few days, I got the AP for retesting, but this time after rebooting, I was able to successfully log back into the IP 192.168.110.1.
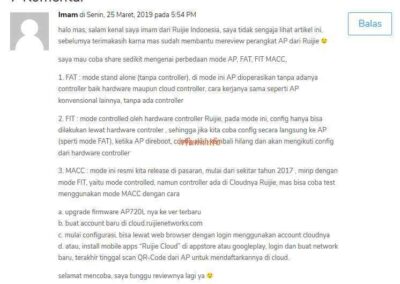
Previously, I apologized and thanked the commenters, but due to the server move, I did not back up this page but recreated it, for that I made a comment in the form of a “screenshot” only. Thanks.


