Creating Archives in Ms. Outlook 2019
I’m a bit confused about giving the right title for this article. At first I didn’t intend to create one but since I was currently in the process of moving emails that were no longer needed, the idea came up to make it a guide.
Introduction:
Every day I receive about 100 – 200 incoming emails and some with attachments, of course the size of *.pst will get bigger and make Ms. Outlook slow.
Solution:
For that I have separated the emails (by year) that are not needed to another *.pst. Why not just throw it away? I was worried that I would need the email at some point, so I could reappear it easily.
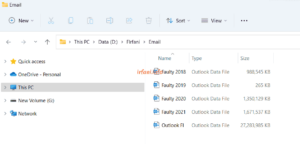
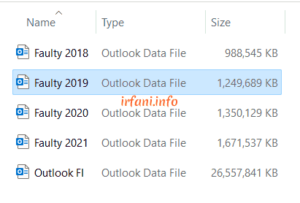
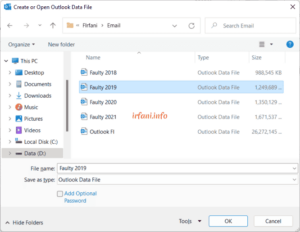
If you look at the image above, the size of the Outlook FI email is about 27 GB and the other sizes are about 1 GB, only 1 is about 265 KB, yes because I haven’t moved it yet. I leave 1 so that it can be practiced in this article.
Here is the guide in Ms. Outlook 2019:
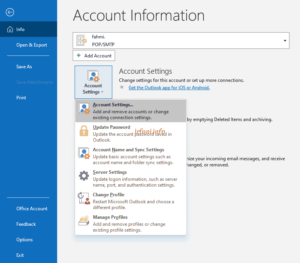
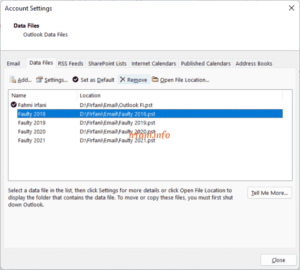
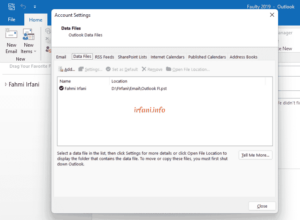
- Click File – Account Settings – Account Settings – Data Files.
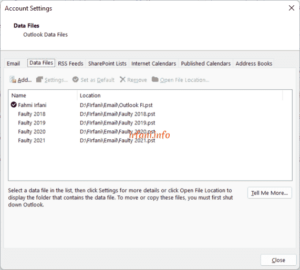
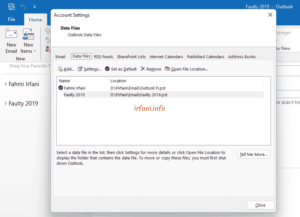
- Click Add – give it a name and choose a location to save *.pst, click OK – Close. In this case I have previously created the name Faulty 20XX and it is located in the same place as the main email.
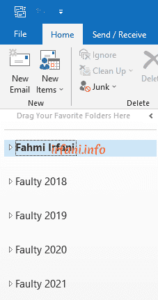
- The email Folder Pane display will be as follows.
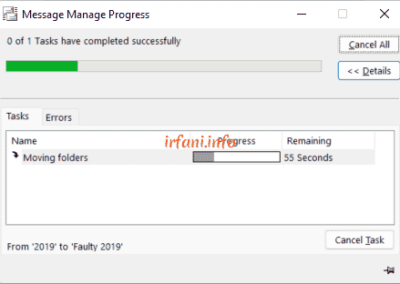
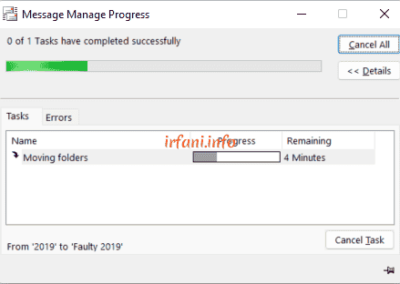
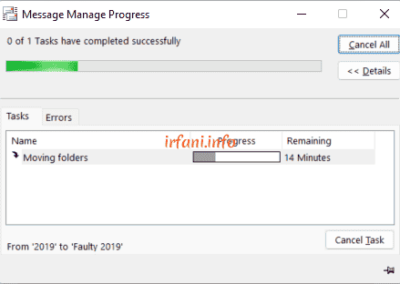
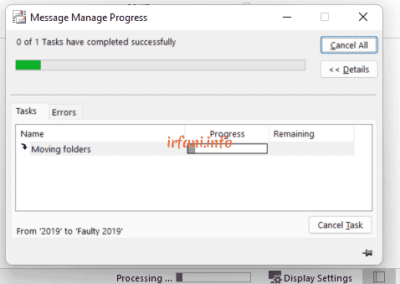
- Right-click on the email folder to be moved (in this case it is Faulty 2019), click Move Folder and navigate to the *.pst that has been created, click OK and wait for the process to finish.
- Here are the results of the move, the size of Faulty 2019.pst which was previously only about 265 KB to 1.2 GB and the size of Outlook FI.pst has decreased.
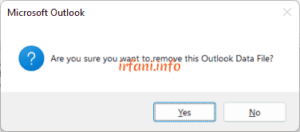
Currently I can delete all Faulty 20XX in the Folder Pane because I don’t need it anymore, the method is the same as step 1 but the second step is to select the Faulty that you want to delete then click Remove and select Yes, repeat 3 times (because there are 4 Faulty to be deleted) then click Close.
The Data Files and Folder Pane display will look like this :
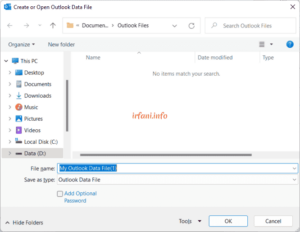
What if one day I want to reopen the *.pst? Do it like steps 1 and 2, but in this case I don’t give a name but just select the existing *.pst and click OK.
The results are as follows :
Cover:
The point is how can I still save emails that are no longer needed so that they don’t overload Ms. Outlook (of course, affecting the performance of the laptop) and display them again if one day they need to.
Pretty easy, right? Good luck, thank you.

