Disable PHP Mail in Plesk

Disable PHP Mail in Plesk

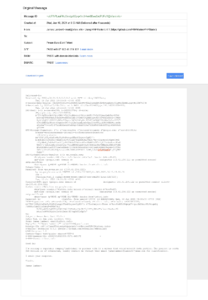
Several times I get an email from my own domain where the email is not actually registered, it can also be called a spoof email. Finally I also found a solution to this problem, which is to disable the mail function in the PHP configuration.

Here is the guide:

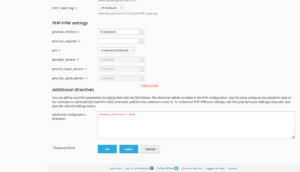
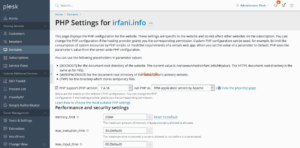
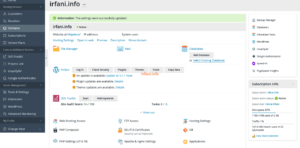
Login to Plesk, click Subscriptions – domain name – PHP Settings and scroll down to the Additional configuration directives field, fill in disable_functions = mail, then click OK.

I also disabled the Sendmail function (applies in its entirety):

Log in to Plesk, click Tools & Settings – Mail Server Settings – Disable the Allow user and scripts to use Sendmail option and click OK.

Or if you only want to from the type of service (Service Plans):

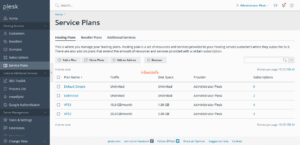
Log in to Plesk, click on Service Plans – service type name – Mail – Disable the Allow using Sendmail for scripts and users on this subscription option and then click Update & Sync.

Or if you only want to subscribe from the type of subscription only:

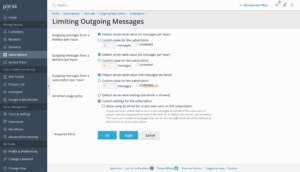
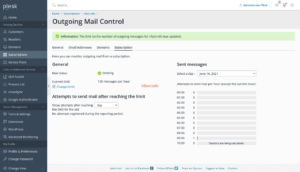
Log in to Plesk, click Service Plans – Subscriptions – select a domain name – Outgoing Mail Control – Subscription – Change Limit – Disable the Allow using Sendmail for scripts and users on this subscription option and then click OK.

After a few days, the email did not appear again. Thanks.


Update PHP and SQL in Plesk

Update PHP and SQL in Plesk

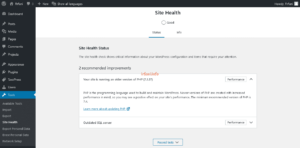
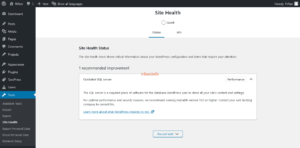
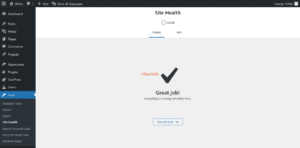
On my WordPress Dashboard, 2 statuses appear in Site Health that need special attention, namely PHP and SQL server updates. Site Health Status shows important information about your WordPress configuration and items that need attention.

Here’s how to update the PHP version in Plesk :

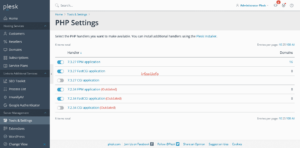
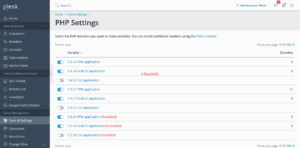
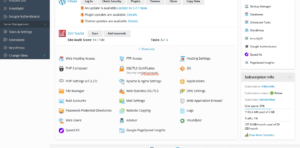
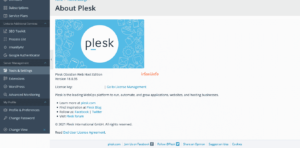
  1. Log in to Plesk, click Tools & Settings – PHP Settings to see the current version.

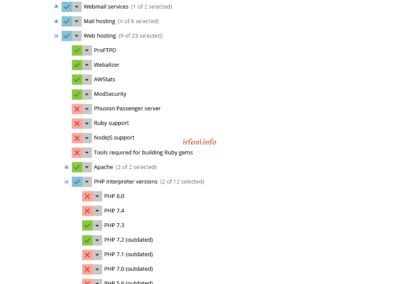
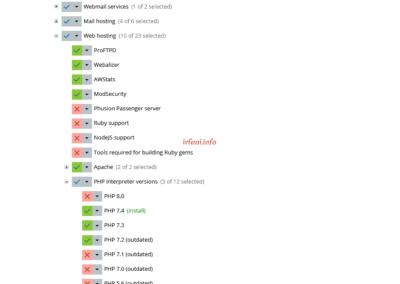
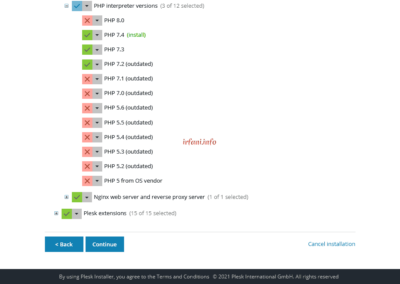
  1. Still on the same page, click Plesk Installer, then you will be directed to the Install or Update Plesk page as follows. Click PHP 7.4 and select Install and then click Continue.


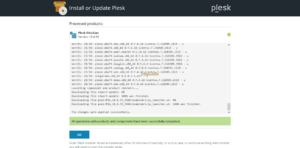
  1. Wait for the installation process to complete and then click OK.

  1. Going back to the Tools & Settings – PHP Settings page, the latest PHP should have appeared.

  1. Click on Domains and select the domain name you want to update PHP. Click PHP Settings.

  1. Select the latest PHP and then click OK and make sure it was successful.

  1. Go back to the WordPress Dashboard, then refresh (press F5 on the keyboard) and make sure the PHP update info is gone.

There is only 1 left, which is the SQL server update. Previously follow these steps, make sure that the installed version of Plesk is Obsidian 18.0.30 or later.

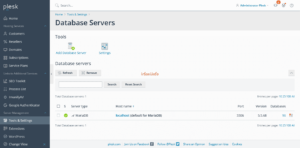
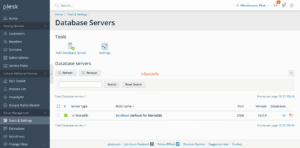
  1. Log in to Plesk, click Tools & Settings – Database Servers to view the database version.

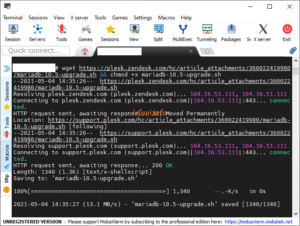
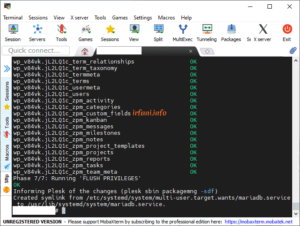
  1. Log in ssh then type (without quotes) “wget https://plesk.zendesk.com/hc/article_attachments/360022419980/mariadb-10.5-upgrade.sh && chmod +x mariadb-10.5-upgrade.sh” wait for it to finish then type “./mariadb-10.5-upgrade.sh” and wait for the installation process to complete.

  1. Return to the Database Servers page and make sure you have updated to the latest version.

  1. Go back to the Dashboard again and make sure it doesn’t appear for SQL server update info.

  1. For other SQL updates, you can see here.

Good luck and thank you.


Solution The uploaded file exceeds the upload_max_filesize directive in php.ini. in Plesk

Solution The uploaded file exceeds the upload_max_filesize directive in php.ini. in Plesk

If you find an error like the image above, hopefully this article will be one of the solutions.

Cause: The size of the uploaded file exceeds the predefined configuration.

Solution: resize the upload file.

Here are the steps :

  1. Log in to Plesk Panel.
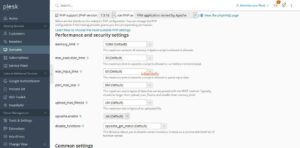
  2. Select Domains and click on the domain that is experiencing the problem, then click PHP Settings.

  1. On upload_max_filesize, change the upload size from the default of 2M to the desired upload size, then click OK.

Please try and good luck, thank you.