Ruijie Reyee RG-EW1200G Pro Configuration
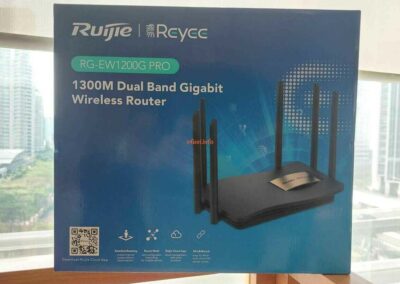
I found out about this AP from the training and FB group that I had participated in before and now thank God I was finally given the opportunity to try the Ruijie Reyee RG-EW1200G Pro device. I didn’t have much time to try it, about 1 hour, so I’m sorry if I haven’t been able to give maximum results.
Topology :
Internet <-> AP Ruijie <-> Laptop
Here’s the information I can provide :
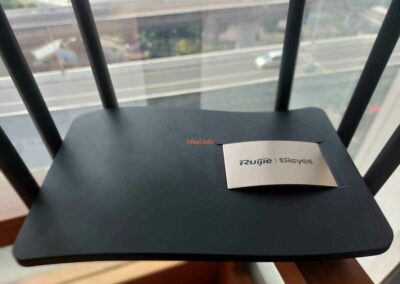
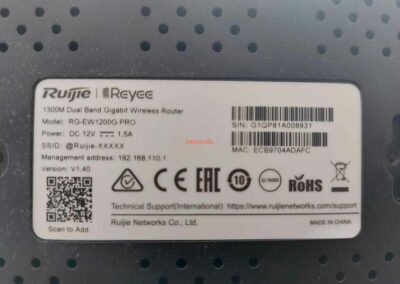
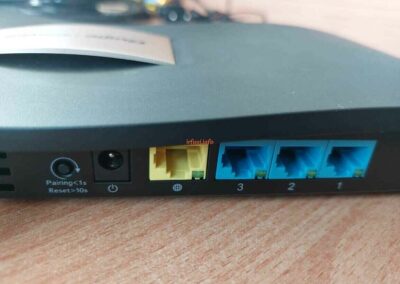
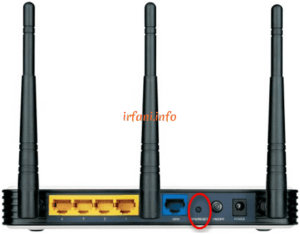
- Here’s a little photo of the AP and because I got an AP device that had been consolidated before, I will reset the AP, how to press the Reset button for about 10 seconds more like the text on the back until the blue light flashes (krrew06.jpeg).
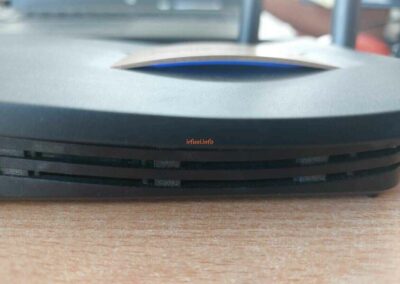
Where is the blue light? under the words Ruijie | Reyeee. Honestly, I also just woke up when I connected the adapter, why didn’t there be a light indicator like a router in general. I also knew that when I reset the router in a slightly sideways position, I saw the blue light.
For the daytime, it is not very visible, but unfortunately I did not have time to try it at night.
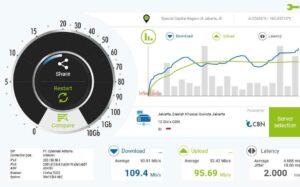
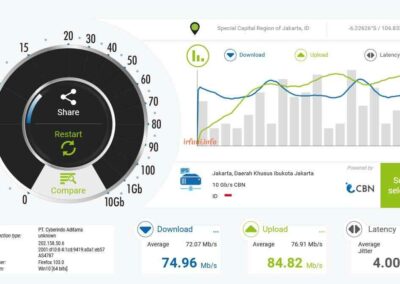
2. Okay, let’s continue, before I tried a speedtest from a laptop first to make sure my internet speed and here are the results.
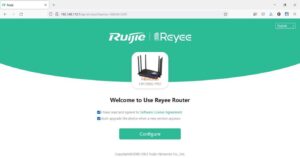
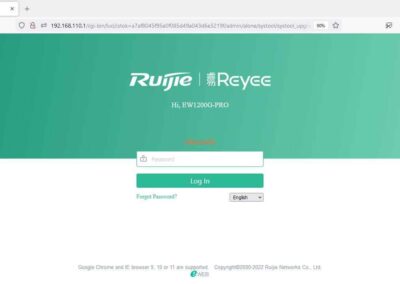
3. I will equate the IP block of the AP with the laptop, I installed the IP 192.168.110.2, where 192.168.110.1 is the default IP of the AP. Here’s what it looks like and click Configure.
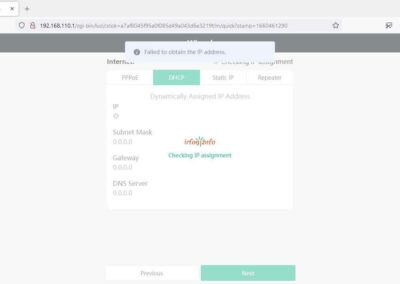
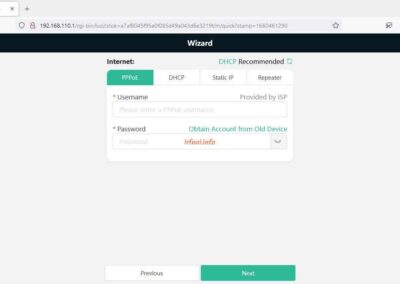
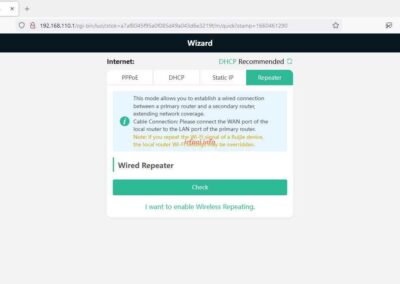
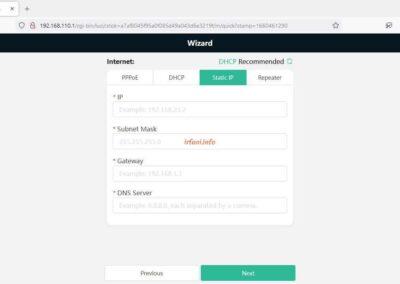
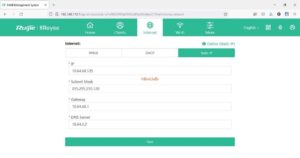
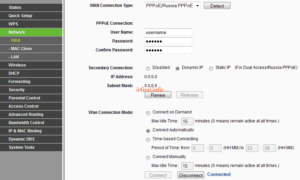
4. A wizard appears to connect the AP to the internet, in the first case is DHCP, because the router will be set to a static IP, then the error can be ignored. Here’s what it looks like for PPPoE, Static IP and Repeater settings. Once I have filled in the IP in Static IP, click Next.
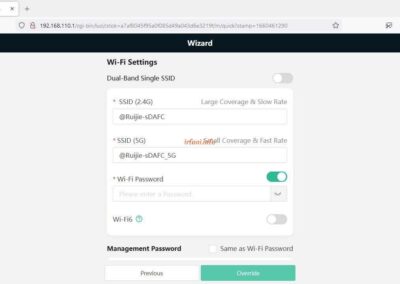
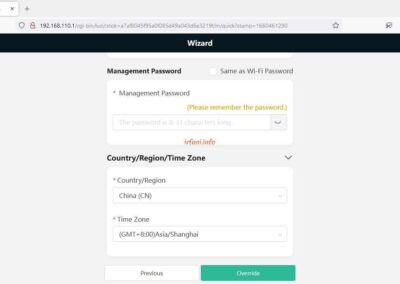
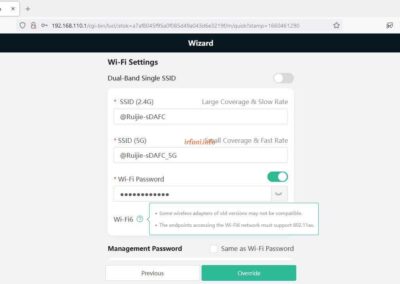
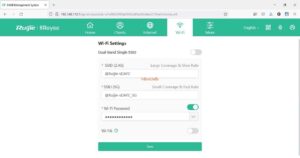
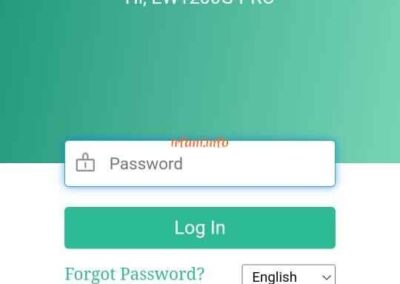
5. By default, the SSID name has been given for 2 frequencies and in this case I will not change it, just fill in the Management Password and change the Country/Region/Time Zone, click Override.
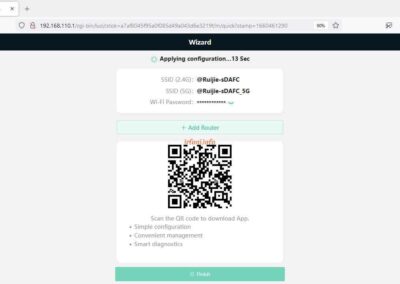
6. The SSID configuration that has been created appears, click Finish as many as 4x.
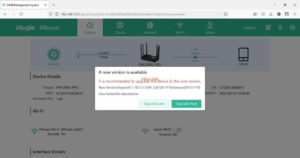
7. The AP has successfully connected to the internet, until a popup appears to upgrade the firmware to the latest version, in this case I click Upgrade Later.
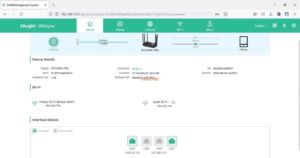
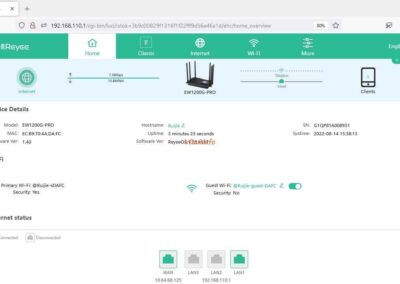
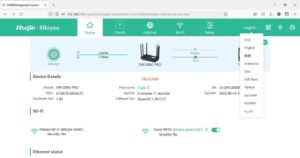
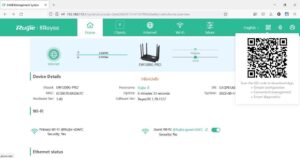
8. The following is the display from the Home page, which contains AP status information, the number of connected clients as well as the status of the LAN port and AP version.
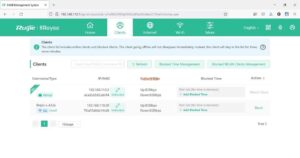
9. Clients page to see devices connected via cable and wireless and there is a feature to block but sorry I haven’t had time to try it.
10. The Internet page is more or less like step 4, to connect the AP to the internet.
11. The Wi-Fi page is also like step 5.
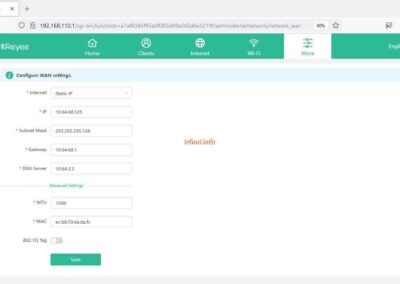
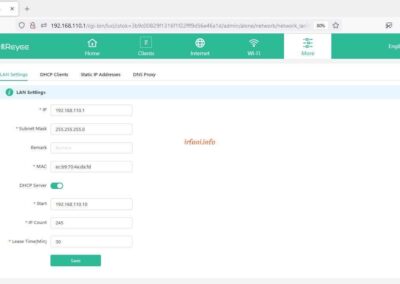
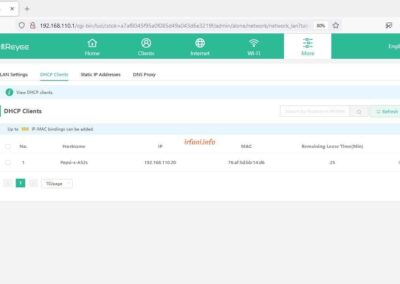
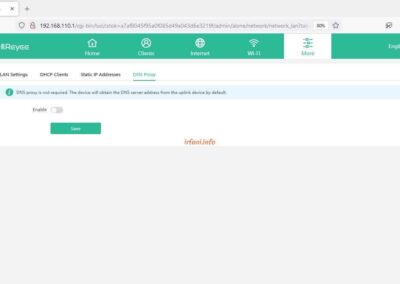
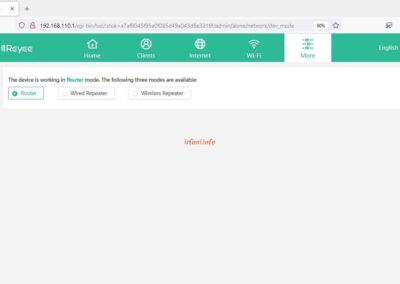
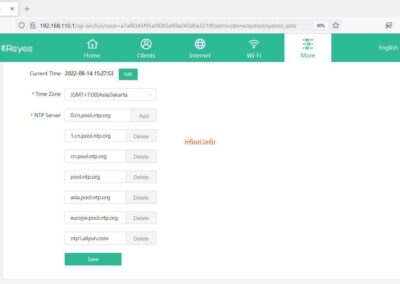
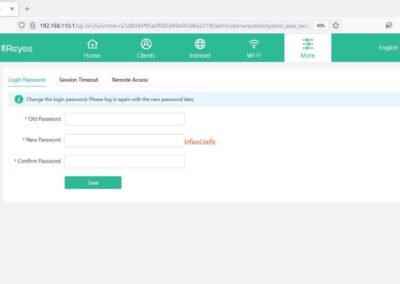
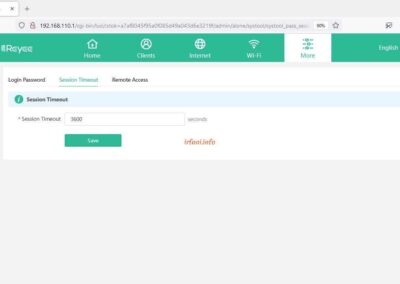
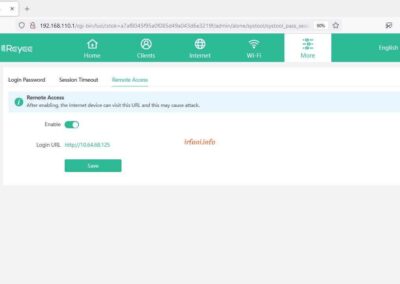
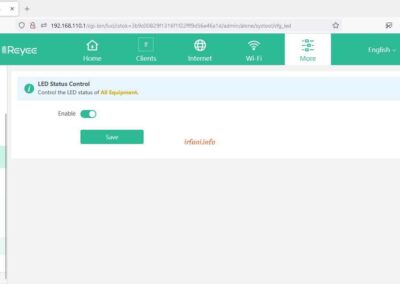
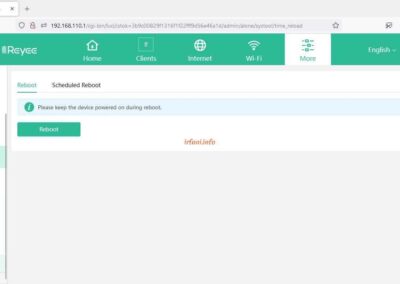
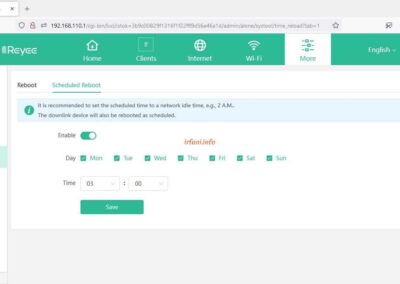
12. The More page turns out to see more features like Basics WAN as shown in the following image :
- WAN : connects the AP to the internet.
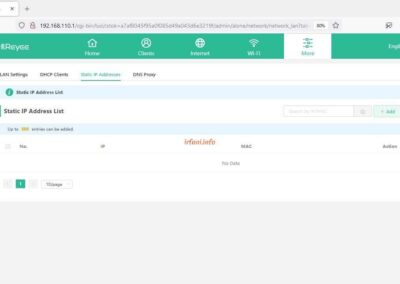
- LAN : change the AP IP, configure the DHCP IP and view the connected devices.
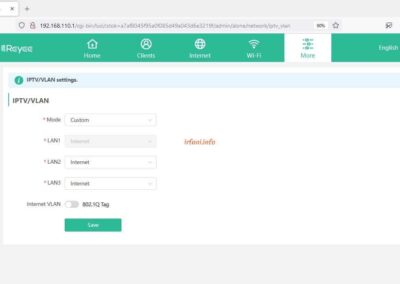
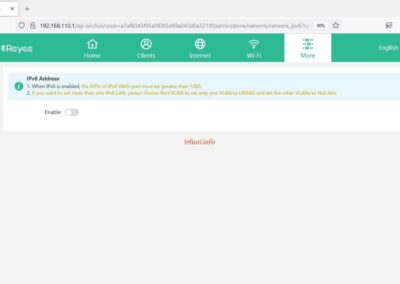
- IPTV/VLAN, IPv6 Address and Repeater Mode sorry I haven’t tried it yet.
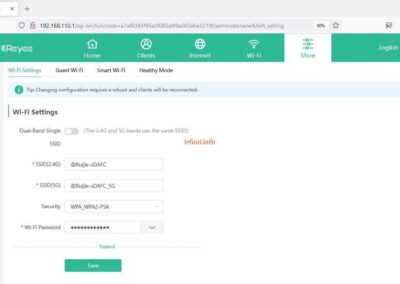
13. The Wireless page is as follows :
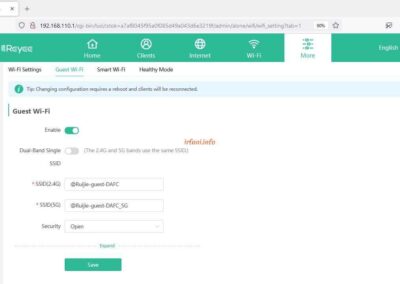
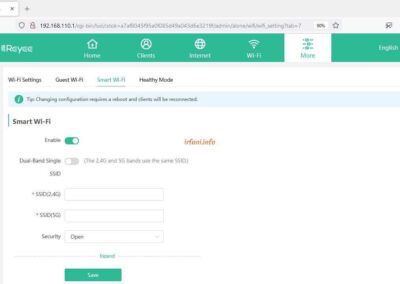
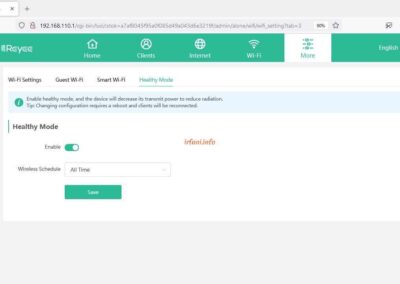
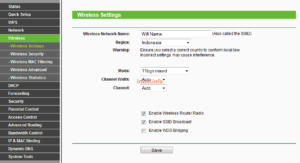
- Wi-Fi : change the SSID name, frequency, password, activate Guest, for Smart Wi-Fi and Healthy Mode I haven’t tried it yet. I tried to activate the Guest Wi-Fi menu, which is usually so that connected devices cannot access the AP login page, but several times I tried, it turned out that my cellphone could still access the login page.
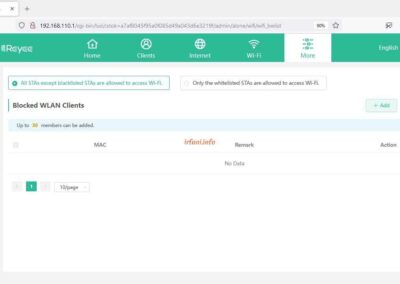
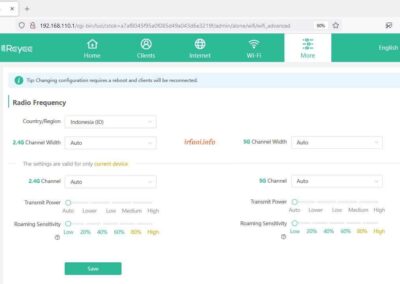
- I have also not tried the Blacklist/Whitelist and Radio Frequency features.
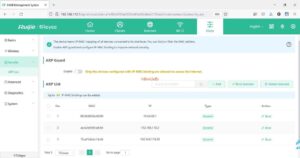
14. Security page – ARP List to give a static IP to the device’s MAC so that it is not used by other devices, but I haven’t tried it either.
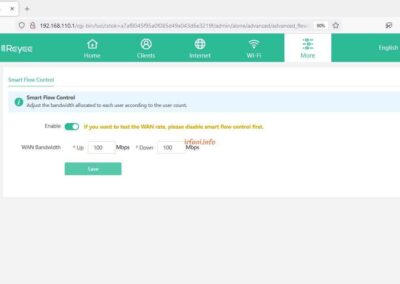
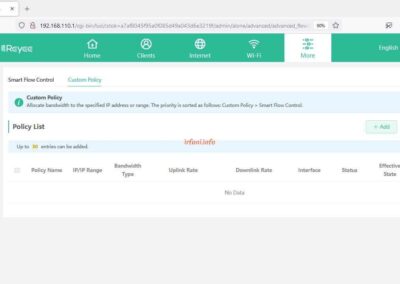
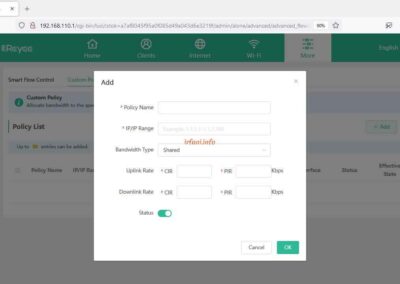
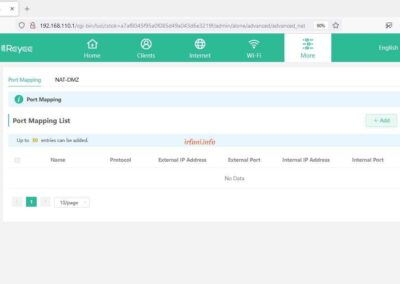
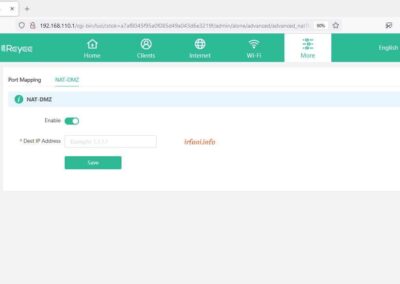
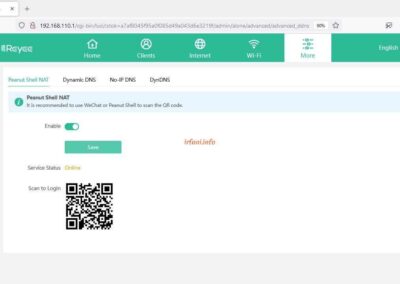
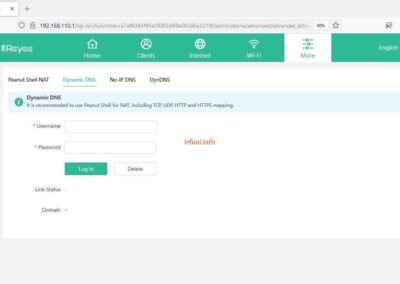
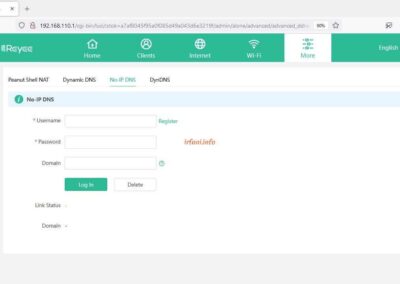
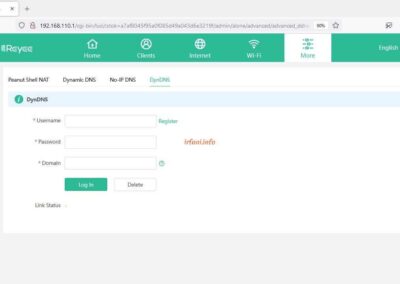
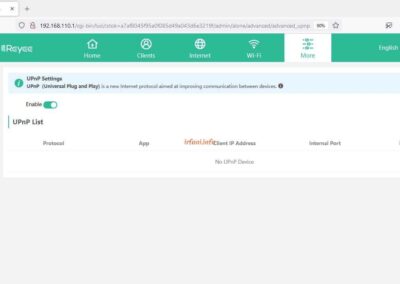
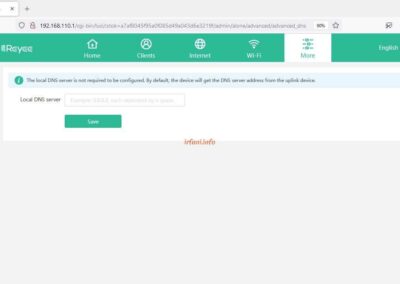
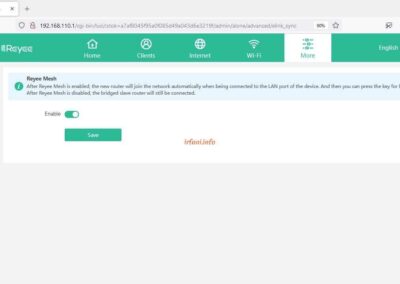
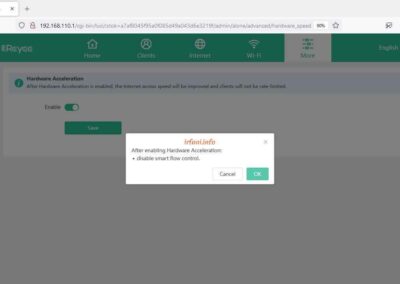
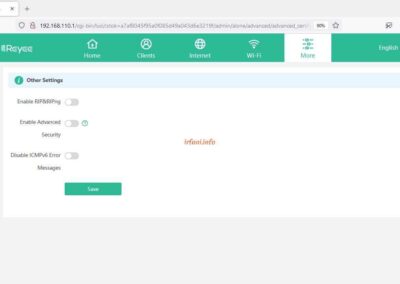
15. I haven’t had time to try the features on the Advanced page.
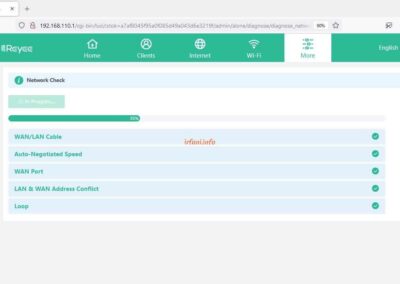
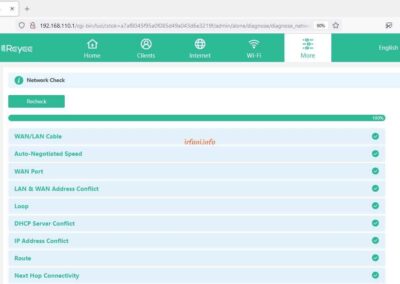
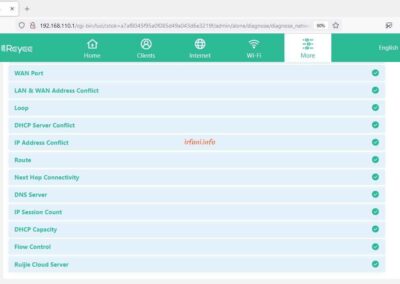
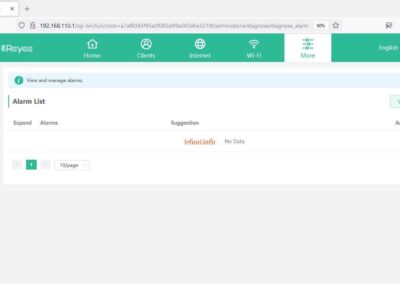
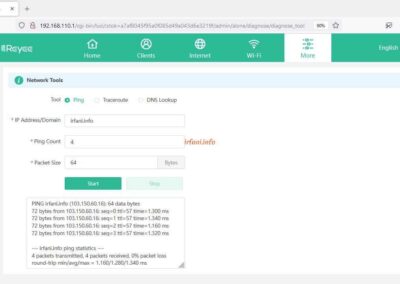
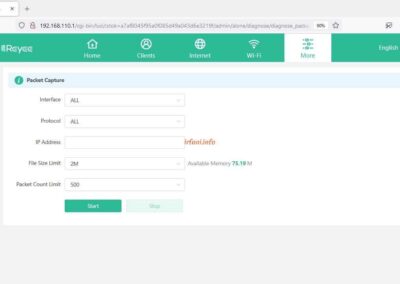
16. For Diagnostics, it’s the same, just try the features on the Network Tools menu.
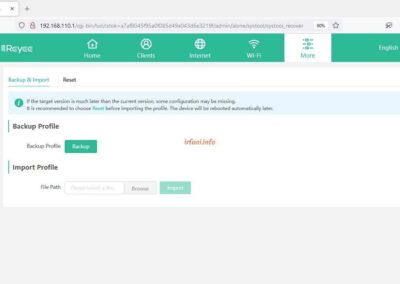
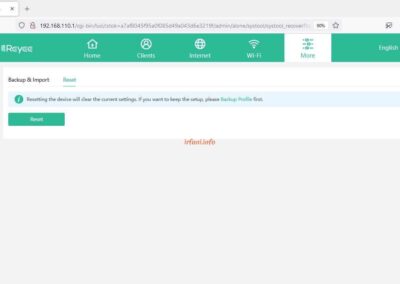
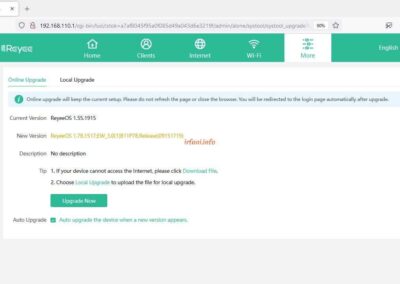
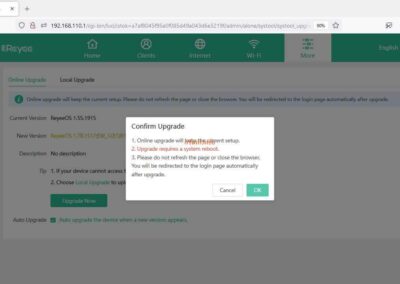
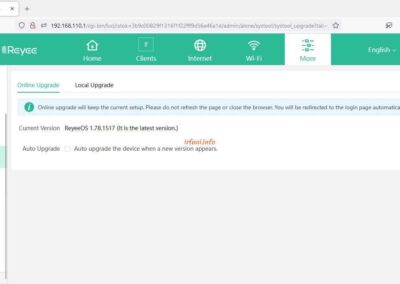
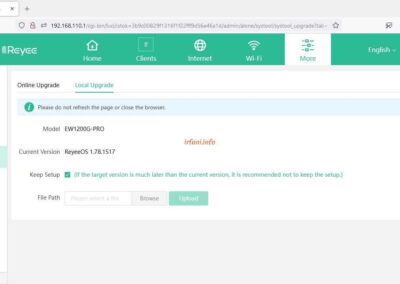
17. On the System page, only in the Online Upgrade feature that I tried, where after the upgrade process is complete, the router will return to the Home page and if we go back to the System – Upgrade page, it says that the router firmware is the latest version.
18. To change the AP language, click on the active language and select the desired language, it turns out that Indonesia is available, although I didn’t try it either.
19. There is also a QR code to download the Ruijie application to remote this AP device online, I haven’t tried it either.
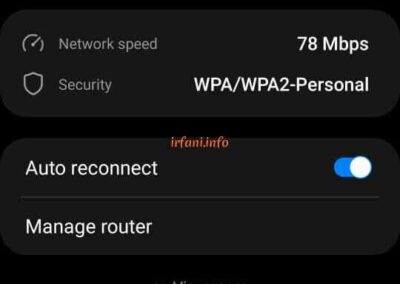
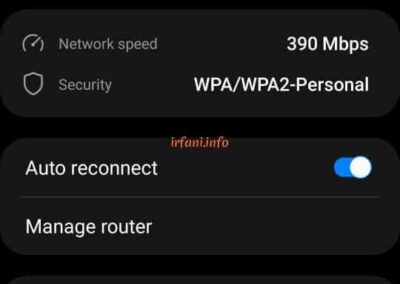
20. Here are the results of the speedtest from my laptop via cable and my cellphone via wireless using different frequencies.
Conclusion :
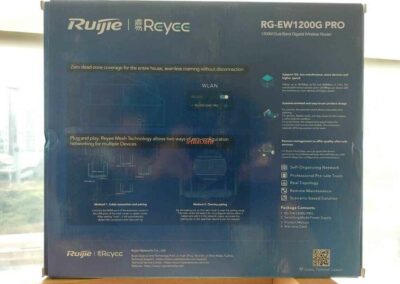
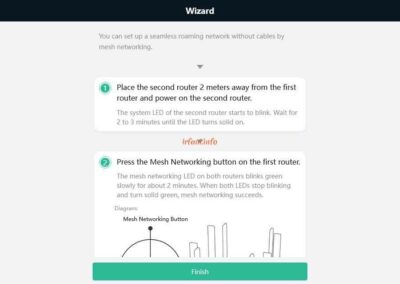
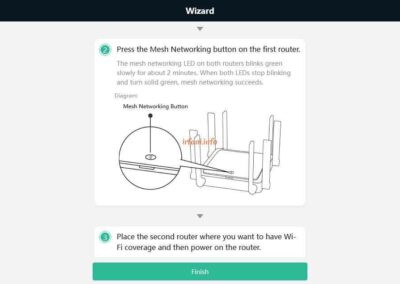
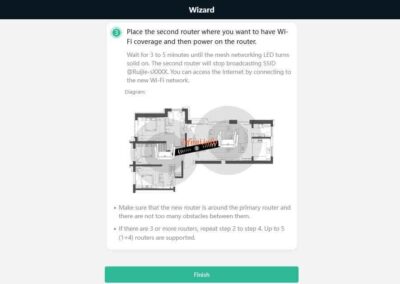
The main feature of this AP is Reyee Mesh but therefore only 1 router is available and the time is short, so sorry I can’t give much results yet. Hopefully next time I can try again. Thanks.

