Installing Windows 11 on VirtualBox
Continuing with the previous article, this time I will try the Windows 11 app. Previously, the PC specifications I used were MB Gigabyte H61, Core i7 2600Ghz Processor, 2x 8GB VGEN RAM, 2 HDDs 4TB + 3TB and VGA HIS R7 240 iCooler 2GB GDDR5. Hopefully in the future we can upgrade our PC to be more robust, hehehe.
Here’s how :
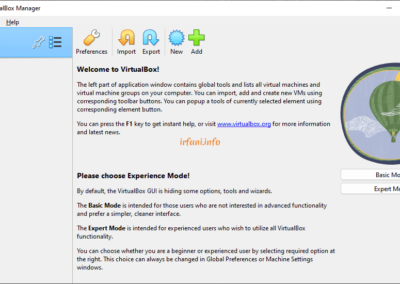
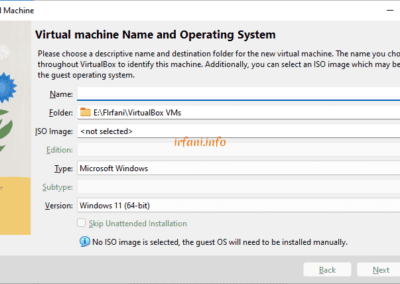
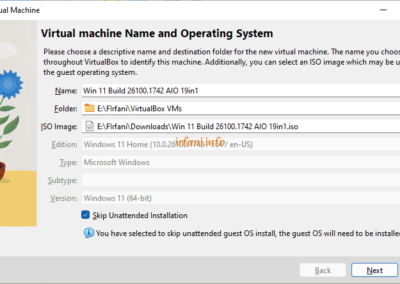
- Click New and fill in according to your needs then Next.
Note: don’t forget to check the Skip Unattended Installation checklist to avoid filling in the fields during the installation process.
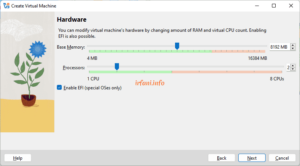
- On Hardware, I set the Base Memory to 8GB and then Next.
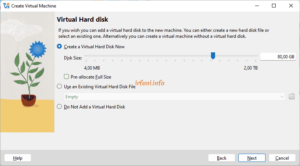
- For Virtual Disk, I set it to 80GB and then Next.
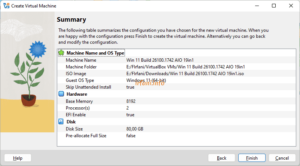
- Berikut hasil Summary, klik Finish.
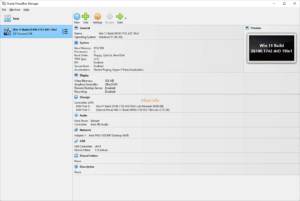
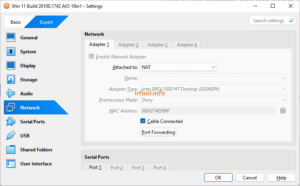
- VirtualBox is ready to use but before I click Start, there is an item that I will change first, click Settings – Expert – Network, uncheck Cable Connected – OK (to prevent the creation of an online login account).
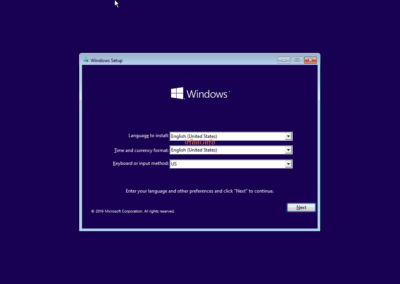
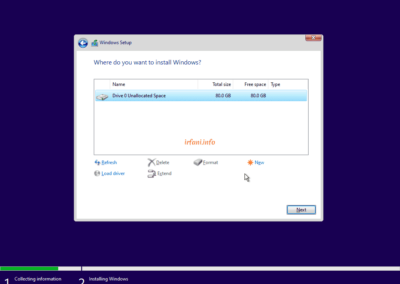
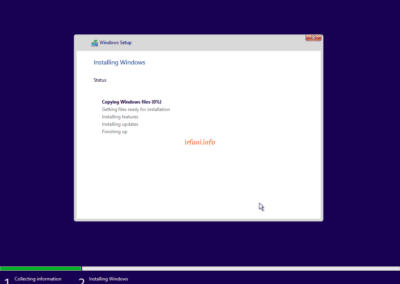
- Click Start and the process will run, click Next.
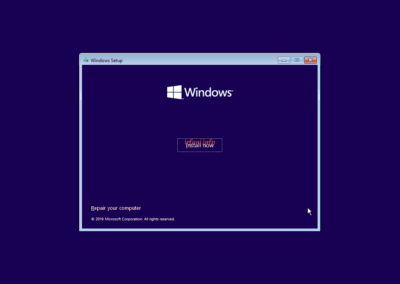
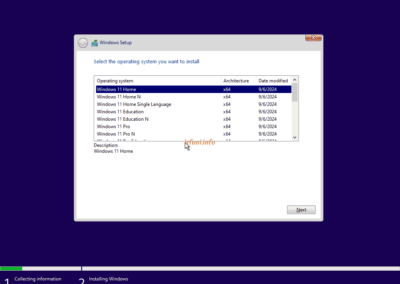
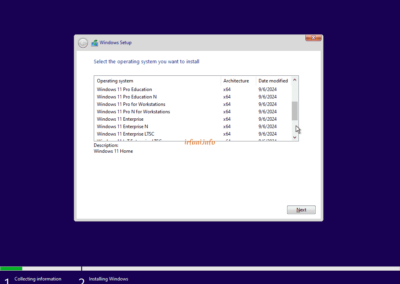
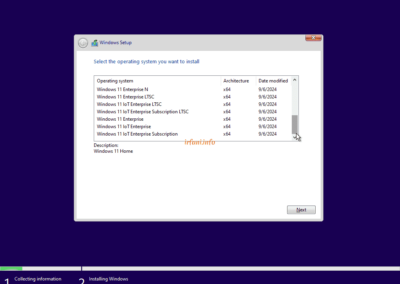
- Click Install Now and select the desired version of Windows and then Next.
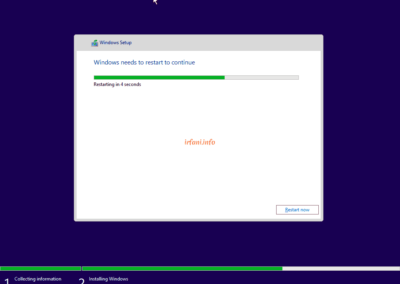
- Here’s what it looks like after a restart, select the appropriate country and then Yes.
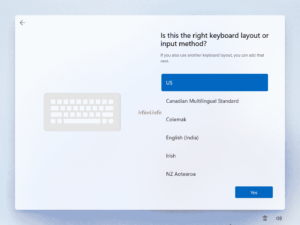
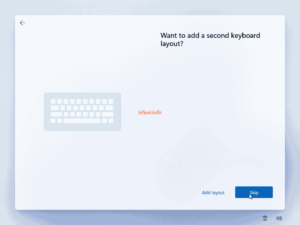
- Select keyboard input and Yes and if you are not using an additional keyboard, select Skip.
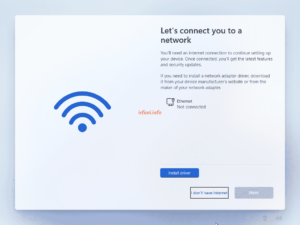
- Select I don’t have internet because indeed the condition of the LAN cable is not installed as informed in step 5 above.
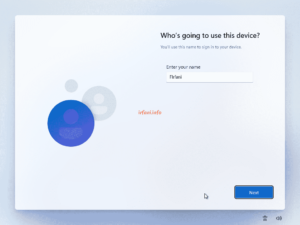
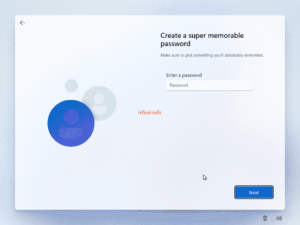
- Fill in the name then Next and the password then Next
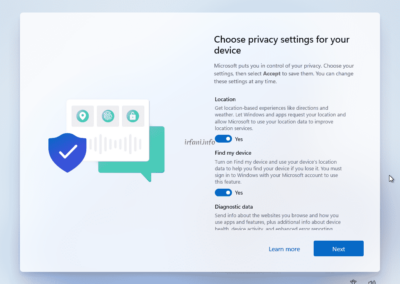
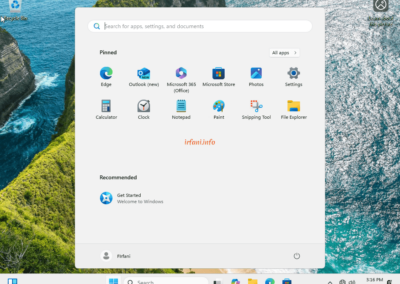
- In my privacy I set it to No then Next and wait for it to finish.
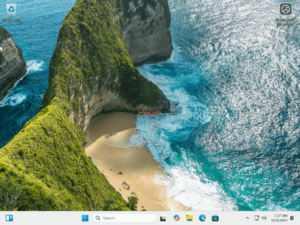
- Go back to step 5 and check the Cable Connected – OK, then the network icon has changed.
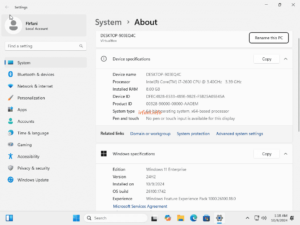
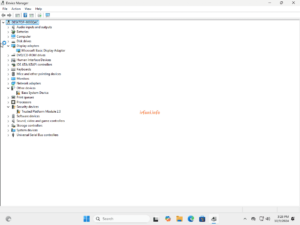
- Here are the specifications and info from Device Manager.
The installation process is honestly a bit long, about 15-20 minutes because at the time of the experiment I was using HDD Regenerator to repair the HDD, hehehe. If there is a fortune, I will use NVME entirely so that the process can be faster.
Thanks.

