Ruckus ZoneFlex R300 AP Internet Speed ​​Test

Ruckus ZoneFlex R300 AP Internet Speed ​​Test

I met the Ruckus ZoneFlex R300 AP at a friend’s desk and since I had some free time, I just gave it a try.

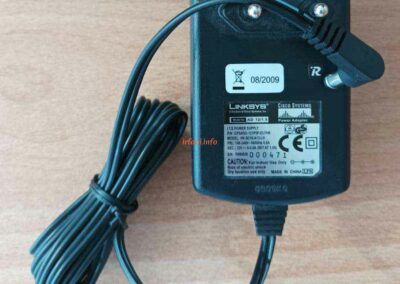
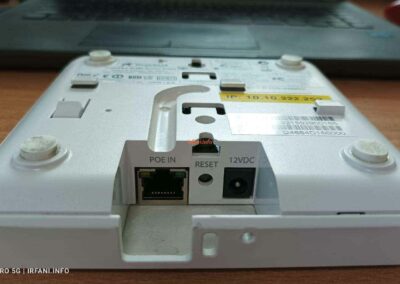
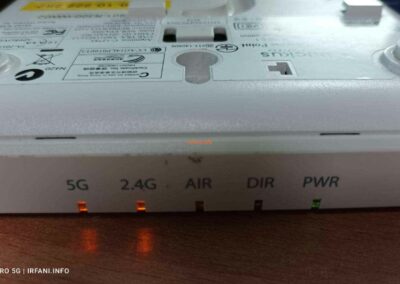
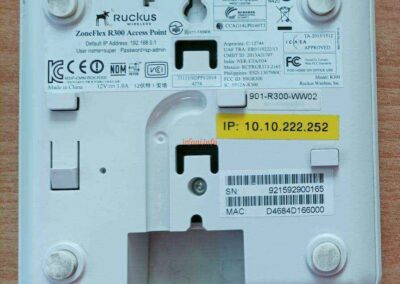
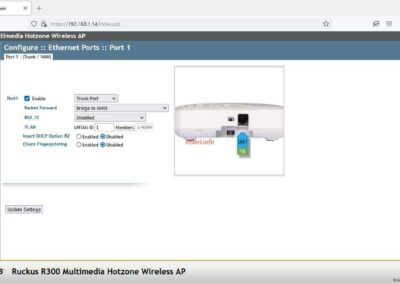
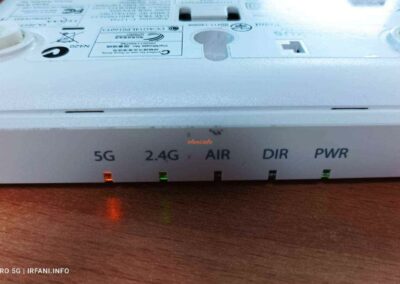
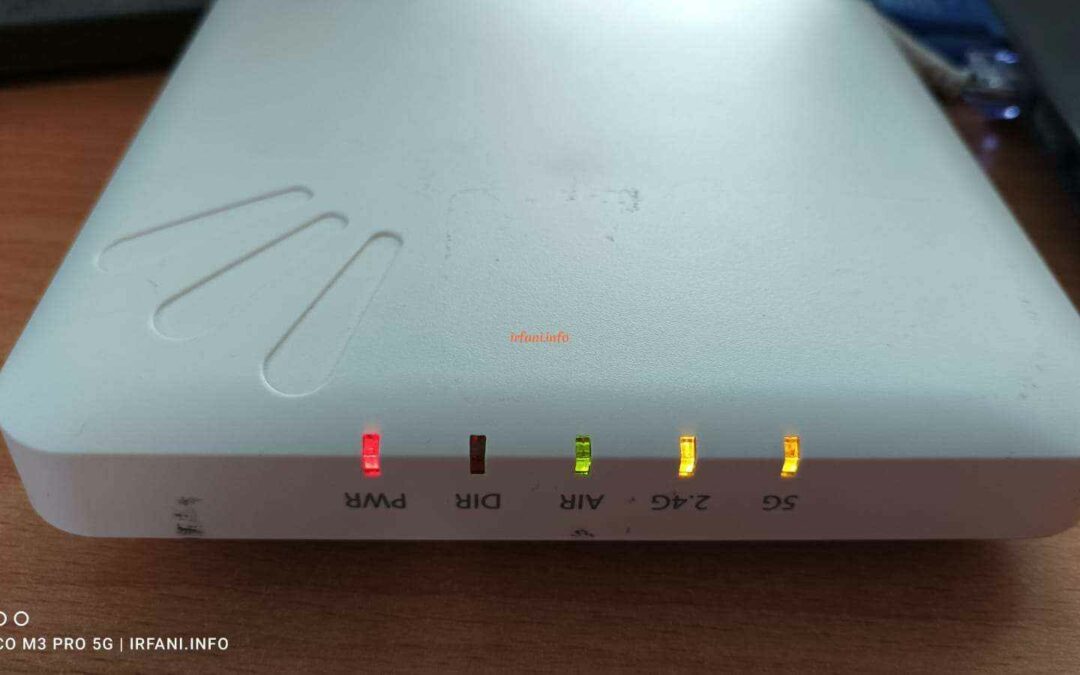
Since I didn’t find PoE, I used Linksys’ 12V adapter and when it turned on as shown in the picture above. Here’s an image of the router, similar to the Ruckus Zonflex R310 but slightly smaller. If we look at it from the top position, the writing will be inversely proportional, because it has been designed to be installed on the roof, so the position of the writing becomes normal if seen from below.


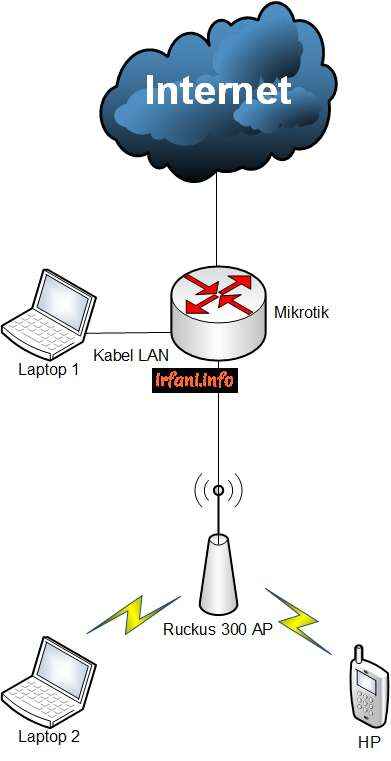
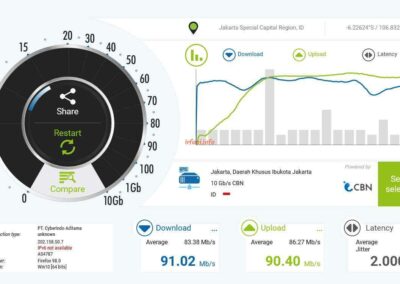
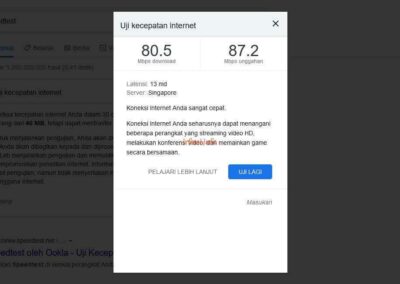
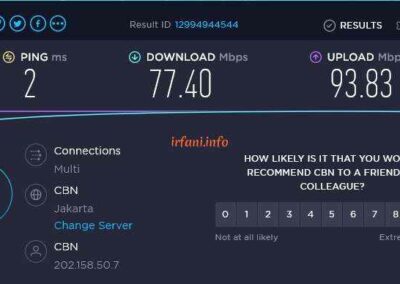
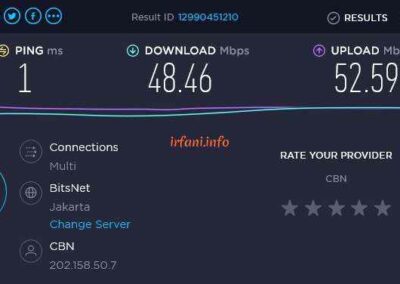
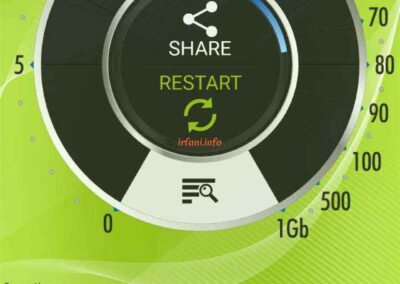
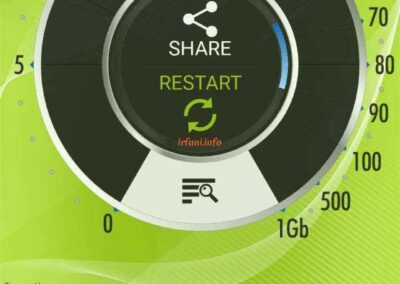
For the following topology, where DHCP from Mikrotik and the results of my test with a laptop from a router where I got a bandwidth of around 80 Mbps for download and 90 Mbps for upload. I just tried this device.


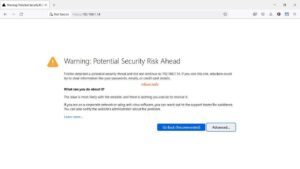
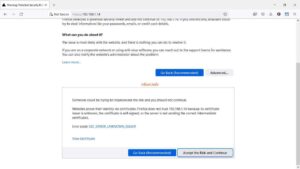
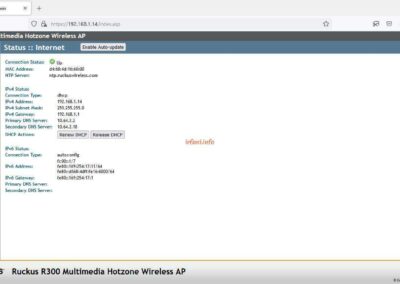
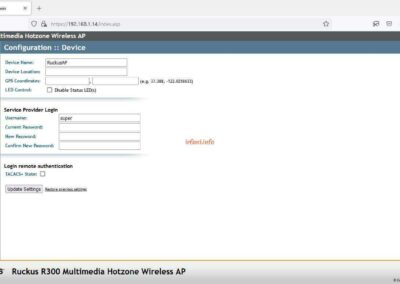
  1. The DHCP IP from Mikrotik to AP is 192.168.1.14, so I immediately type it in the browser until the following image appears, click Advanced – Accept the Risk and Continue.

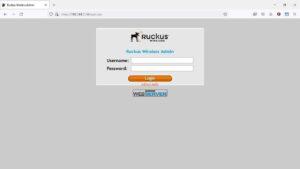
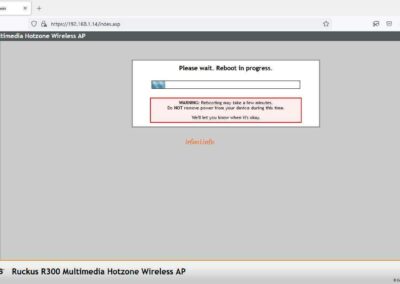
  1. Because I don’t know the login access, so I reset the AP, just press the Reset button for about 5-10 seconds in the lit position and the AP will be like the first picture above. Log in with username : super and password : sp-admin.

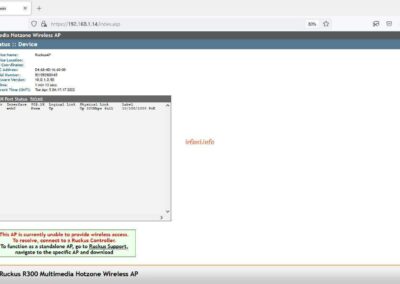
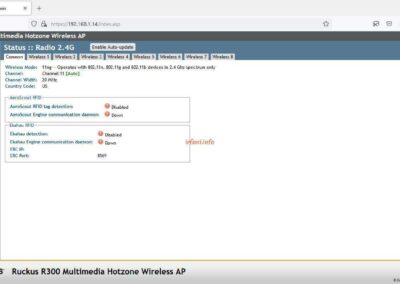
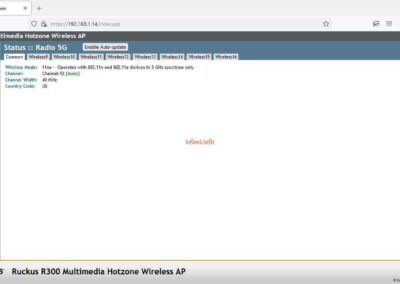
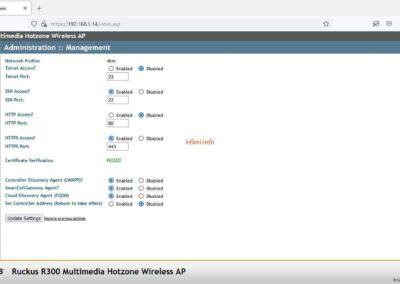
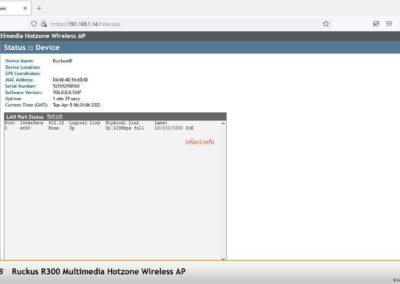
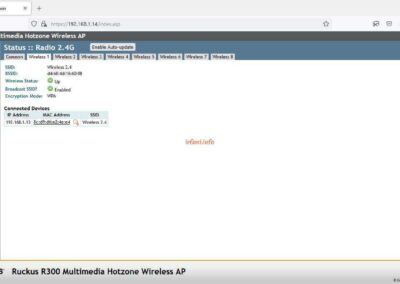
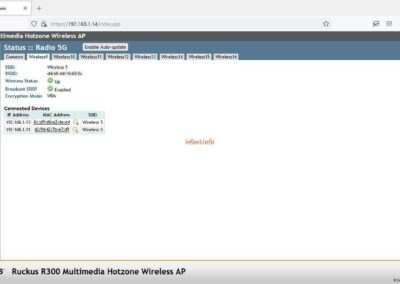
  1. If you look at the red text at the bottom, it looks like this AP was previously connected to  the Ruckus Controller due to the absence  of a wireless configuration in the Configuration menu. Here’s another view on the Status menu.


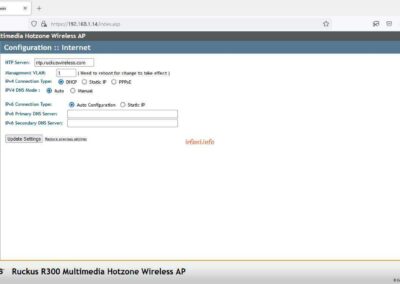
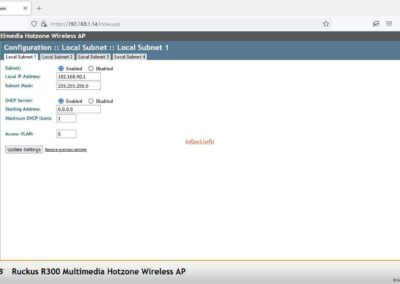
4. The following is the display on the Configuration menu, there are DCHP, Static IP and PPPoE configurations for connection to the internet.


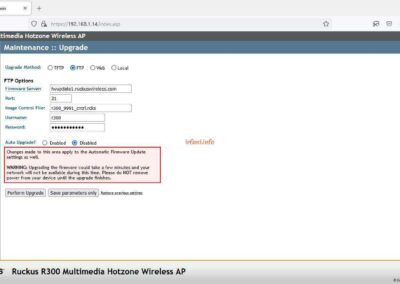
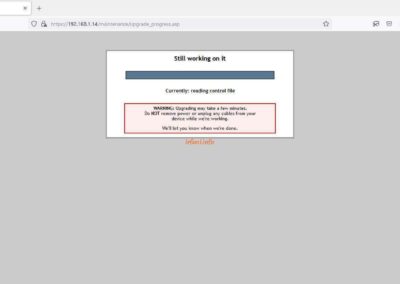
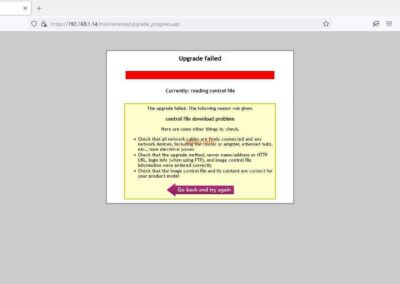
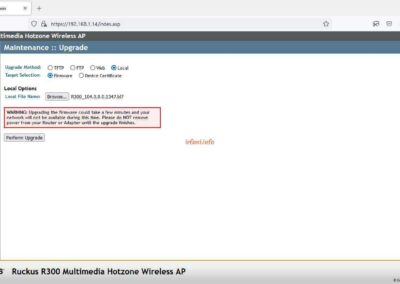
5. Here is the display on the Maintenance menu, I tried to upgrade from the FTP and Web options and the results failed, either because this AP has been discontinued or something else. For the Local option, I will look for it later.


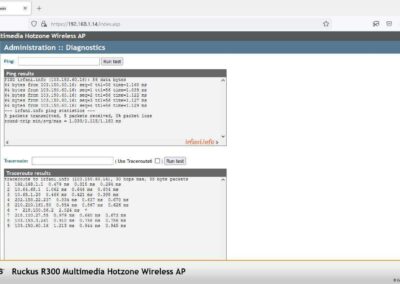
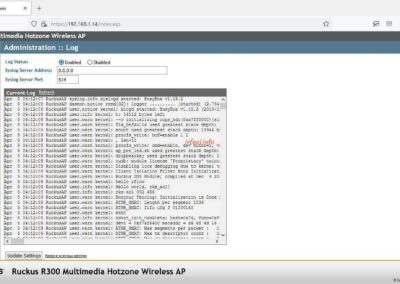
6. Here’s what the Administration menu looks like, there are diagnostics for Ping and Traceroute.


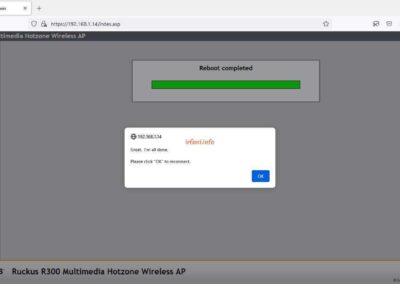
7. Continuing from step 5, after I searched here and downloaded here, finally managed to make this AP its own device (standalone AP).


8. There are several changes as shown in the following image and of course on the Configuration menu the wireless configuration has appeared.


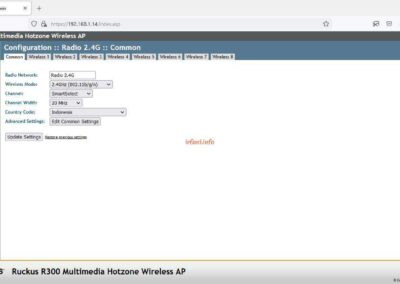
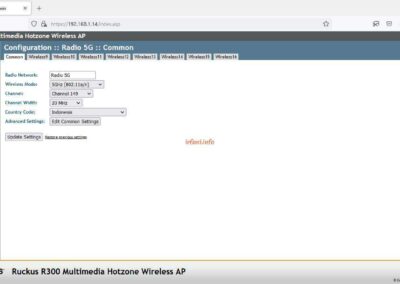
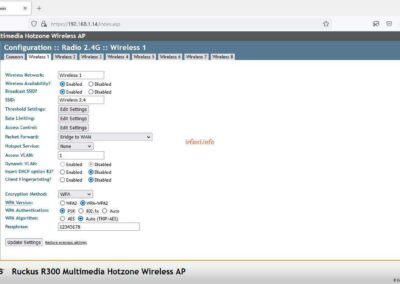
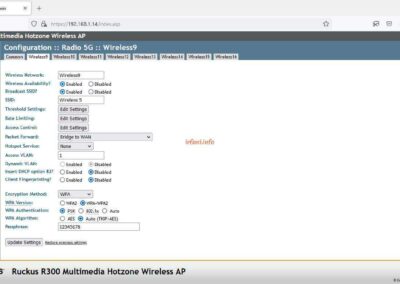
9. To enable wireless on a 2.4G Radio or 5G Radio, simply select Enabled on Wireless Availability, then fill in the SSID and select the desired Encyrption Method and WPA configuration and click Update Settings.


Note: on 5G Radio, if I select SmartSelect Channel, the wireless on my laptop and mobile phone does not recognize the SSID name and after I try to change to Channel 149, it can only be detected and after I change back to SmartSelect, it can be recognized again, whether there is a bug or something else.

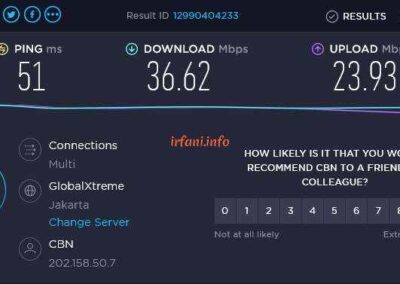
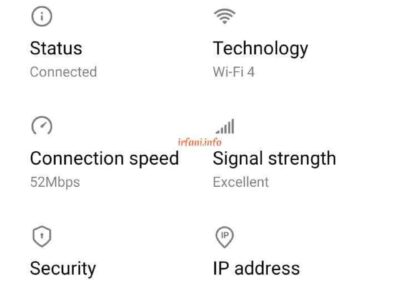
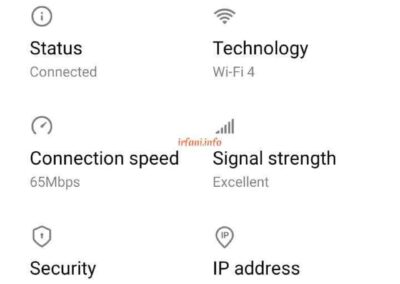
10. The following are the test results on Radio 2.4G and Radio 5G on my laptop and mobile devices, to maximize the available bandwidth, it is better to use a Channel Width of 40 Mhz on each Radio configuration.


Thanks.


Creating Archives in Ms. Outlook 2019
Creating Archives in Ms. Outlook 2019
I’m a bit confused about giving the right title for this article. At first I didn’t intend to create one but since I was currently in the process of moving  emails that were no longer needed, the idea came up to make it a guide.

Introduction:

Every day I receive about 100 – 200 incoming emails and some with attachments, of course the size of *.pst will get bigger and make Ms. Outlook slow.

Solution:

For that I have separated the emails (by year) that are not needed to another *.pst. Why not just throw it away? I was worried that I would need the email at some point, so I could reappear it easily.

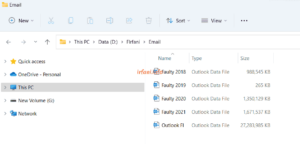
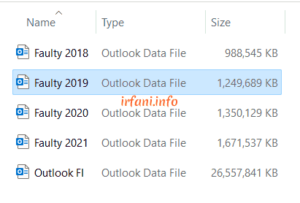
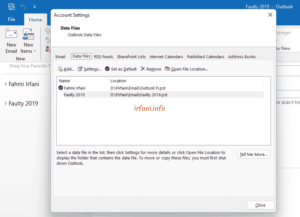
If you look at the image above, the size of the Outlook FI email is about 27 GB and the other sizes are about 1 GB, only 1 is about 265 KB, yes because I haven’t moved it yet. I leave 1 so that it can be practiced in this article.

Here is the guide in Ms. Outlook 2019:

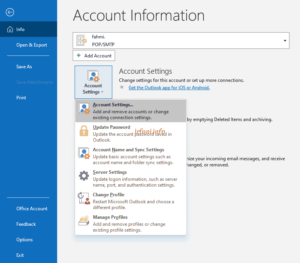
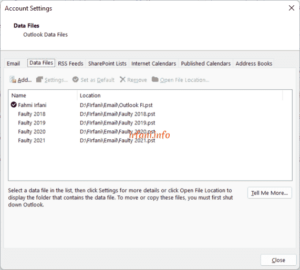
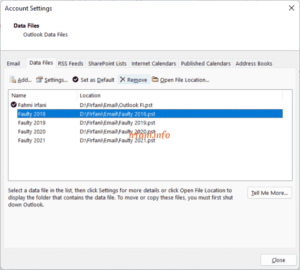
  1. Click File – Account Settings – Account Settings – Data Files.

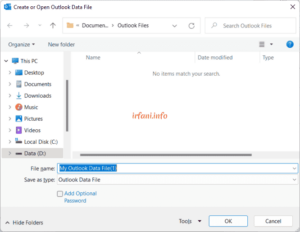
  1. Click Add – give it a name and choose a location to save *.pst, click OK – Close. In this case I have previously created the name Faulty 20XX and it is located in the same place as the main email.

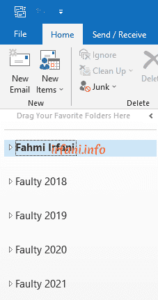
  1. The email Folder Pane display will be as follows.

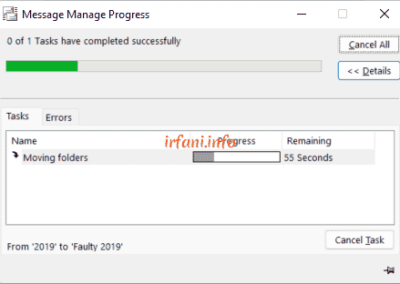
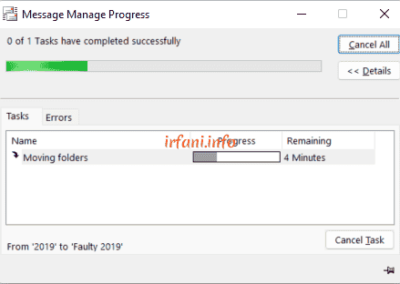
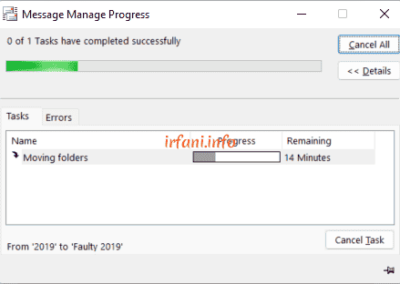
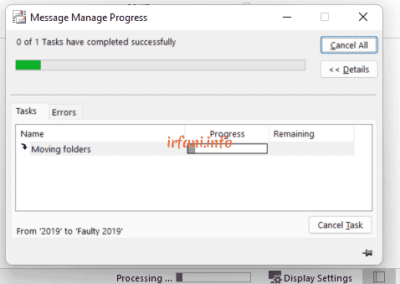
  1. Right-click on the email folder to be moved (in this case it is Faulty 2019), click Move Folder and navigate to the *.pst that has been created, click OK and wait for the process to finish.


  1. Here are the results of the move, the size of Faulty 2019.pst which was previously only about 265 KB to 1.2 GB and the size of Outlook FI.pst has decreased.

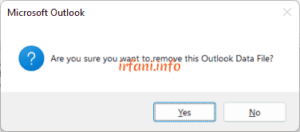
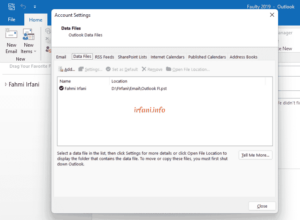
Currently I can delete all Faulty 20XX in the Folder Pane because I don’t need it anymore, the method is the same as step 1 but the second step is to select the Faulty that you want to delete then click Remove and select Yes, repeat 3 times (because there are 4 Faulty to be deleted) then click Close.

The Data Files and Folder Pane display will look like this :

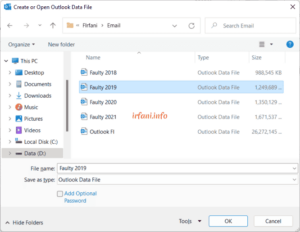
What if one day I want to reopen the *.pst? Do it like steps 1 and 2, but in this case I don’t give a name but just select the existing *.pst and click OK.

The results are as follows :

Cover:

The point is how can I still save emails that are no longer needed so that they don’t overload Ms. Outlook (of course, affecting the performance of the laptop) and display them again if one day they need to.

Pretty easy, right? Good luck, thank you.


Vignette Ad Configuration in Google Adsense

Vignette Ad Configuration in Google Adsense

Actually, I have seen this type of advertisement, but I don’t know its name and when someone asks in the group accompanied by a screenshot, I know and apply it.

Referring here, vignette ads are full-screen ads that appear between page loads and can be skipped by users at any time.

Vignette ads are displayed when the user leaves the page, not when they first arrive, so users don’t have to wait for the vignette to load and Google limits the number of vignettes per user to maintain a good experience for users.

Here’s how to install vignette ads  on my site:

  1. Log in to Google Adsense.
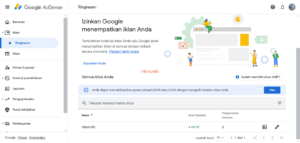
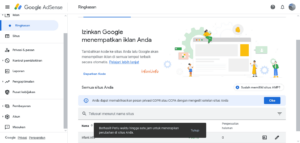
  2. Click Ads – Summary – Edit (pencil icon at the bottom right).

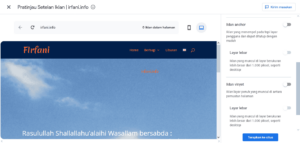
  1. Scroll down to Ads settings, turn on Vignette ads and click Apply to site.

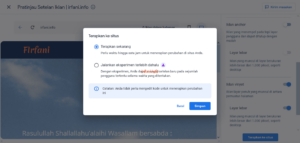
  1. A confirmation will appear for the application to the site, adjust as needed, click Save.

  1. Information about the implementation of the ad will appear, click Close.

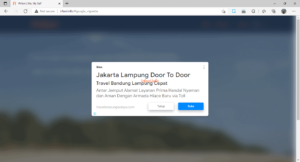
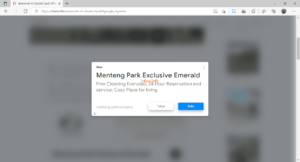
The results of my experiment, less than 1-2 minutes after doing the above steps, the ad has appeared and indeed not all ads will appear when I move to another page, but at least I managed to place the ad.

Thank you and good luck.

Note : Sorry if the images in the article use Indonesian.


How to Remove Recommended Menu in Windows 11

How to Remove Recommended Menu in Windows 11

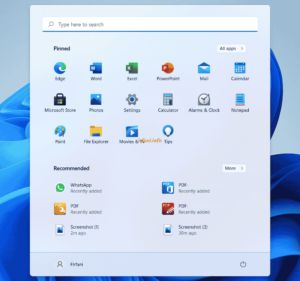
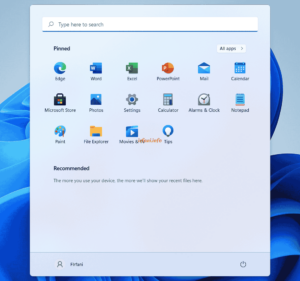
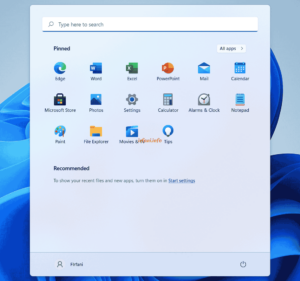
I’m a bit uncomfortable looking at the application on the Recommended menu in Windows 11 like the image below, for that I will disable it.

Here’s the guide.

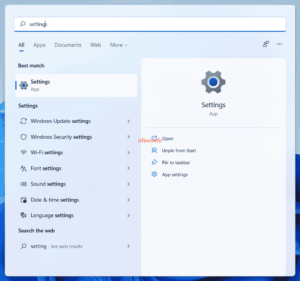
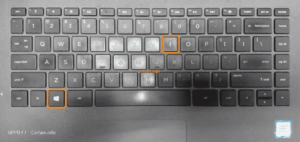
  1. Click the Search icon and type settings and select Settings or press the Windows and I keys at the same time.

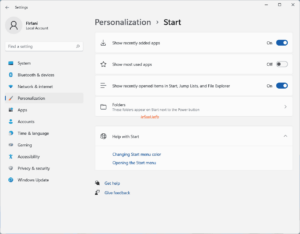
  1. Select PersonalizationStart – swipe left on Show most used apps until it becomes Off.

  1. Here are the results and if you want to re-enable it, click Start settings and change it to On again as in step 2.

Basically, the menu is created to make it easier for users to access frequently used or newly added applications, but if we have added it to a shortcut on the Desktop or Taskbar, of course it is not very useful.

Hope it helps, thank you.


Website Monitoring Guide with UptimeRobot

Website Monitoring Guide with UptimeRobot

There are many ways to monitor websites, one of which is UptimeRobot. Let’s just practice it :

  1. Click Register for Free, fill in the data and then click Register now and there will be a confirmation to the registered email.


  1. Open the confirmation email, click clicking here and you will be redirected to the login page.

  1. Click Add New Monitor, select the type of monitor you want and fill in the website data then click Create Monitor. Don’t forget to check Alert Contacts To Notify to get info via email. In the following image I created 2 monitors, namely HTTP(S) and Ping.


  1. There is a feature to view the uptime service, namely Status pages, click Status pages and fill in the data then click Create Public Status Page.


  1. Click the + sign on Add monitors, then the monitor type we created will move to Selected monitors then click Save and to see the results, you can click the eye icon under Actions.


Hope it helps, thank you.


Guide on How to Pay Motorcycle Tax Online

Guide on How to Pay Motorcycle Tax Online

A few days before the motorcycle tax ran out, I searched for good information via the internet and friends about online tax management. Understandably, because it is still a pandemic, it is possible for me to avoid crowds. Previously, I used to take care of it at the Gandaria City Mall.

After trying several applications, I finally managed to take care of the motorcycle tax online, it only took approximately 3 days after the registration process and the arrival of the new motorcycle tax in my wallet, wkwkwk.

I’m using  the SIGNAL app from my Android phone (there are some parts that may be different from your phone and can be adjusted according to the display), here’s the guide:

  1. Installation:
  • Open the Playstore and search for the samolnas jakarta application, if it appears, select SIGNAL – SAMSAT DIGITAL NASIONAL
  • Click Install, wait for it to finish and then click OPEN.
  • Swipe left on each information that appears and then on the last slide, click Daftar Disini.


  1. Self-Registration:
  • Enter the data according to the columns and click LANJUT.
  • Click VERIFIKASI SEKARANG – LANJUT – Izinkan – WHILE USING THE APP – ALLOW – Pakai foto ini – LANJUT – Pakai foto ini.
  • After completion, you will automatically receive an OTP to the mobile number that has been registered and make sure it has been successful then click KEMBALI KE BERANDA.


  1. E-mail Activation:
  • Select WHILE USING THE APP – OK – X (X sign).
  • Open the verification email, click AKTIVASI EMAIL and return to the application, make sure it has been successful.


  1. Vehicle Registration:
  • Click + Tambah Kendaraan Bermotor and fill in according to the vehicle data (can be seen on STNK) then click LANJUT.
  • Make sure the results are correct, to see them click LIHAT DAFTAR.
  • Click on the blue area to see the details.


  1. STNK Verification and Payment:
  • Click Pendaftaran Pengesahan STNK, select NRKB, then the vehicle number that has been registered will appear, click LANJUT.
  • Remember, make sure it is close to the due date, otherwise a message will appear Tidak Berhasil di Daftarkan.
  • Next, the payment nominal will appear, slide right on Kirim dokumen TBPKP, click LANJUT.
  • Select the desired shipment, click PILIH.
  • Fee details will appear, click LANJUT – LANJUT PROSES PEMBAYARAN.
  • Select the BANK account to be used, in this case I choose Bank BNI, click SELESAI.
  • Click Transaksi to see the ongoing process. If you have paid, it will check 4.


  1. Menu E-TBPKP:
  • On the homepage, click E-TBPKP, select NRKB – E-TBPKP 2021.
  • Tax data will appear to be sent.


  1. E-STNK VERIFICATION Menu:
  • On the homepage, click E-PENGESAHAN STNK, select NRKB – E-Pengesahan STNK 2021.
  • Vehicle data will appear.


  1. E-KD Menu:
  • On the homepage, click E-KD, select NRKB – E-KD 2021.
  • A Dana card from Jasa Raharja will appear.


  1. Transactions:
  • The next day (24th) I always monitor the process from the Transaksi menu.
  • On the 25th, was in the process of delivering and it turned out that had arrived at my house in the morning.

I would like to thank Samsat Jakarta for making it easier for motor vehicle owners to manage vehicle documents and I hope to be able to maintain this SIGNAL application.