Ruijie RG-AP720-L MACC Configuration

Ruijie RG-AP720-L MACC Configuration

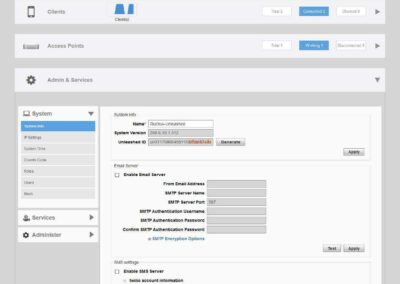
The following article is a continuation of this article. Previously, I would like to thank to mas Imam from Ruijie for providing information in the comment column so that I can continue writing for Ruijie.

Alhamdulillah, I was also able to get Ruijie back and it has been set by mas Bayu in MACC mode which is also connected to his Cloud account. Because I want to try the Cloud, he has to delete the Serial Number (SN) first so that I can configure it in my Cloud account later.

Here is the guide:

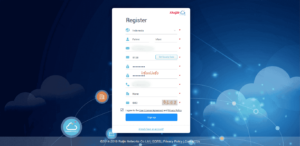
  1. I immediately created a Cloud account here and the initial display is as follows :

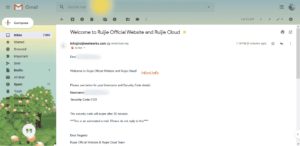
  1. I select Sign up, then fill in the required data in order, to Get Security Code will be sent via email. After clicking Sign up, you will immediately log in to the Cloud Dashboard.

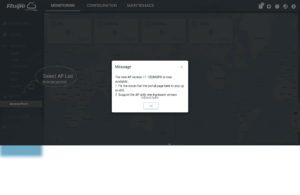
  1. Here’s what it looks like.

  1. To add a device, select Device – Access Point, on the AP List select Add AP – Add a Device, enter the serial number of the AP and for the Alias can be adjusted, in this case I fill in the LAB, then click OK, the result will look like the following :


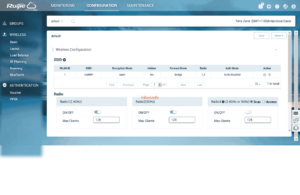
  1. For the AP configuration, because it is connected to the Cloud, it can be immediately changed as if accessing locally, only the appearance is different. Select CONFIGURATION – WIRELESS – Basic.

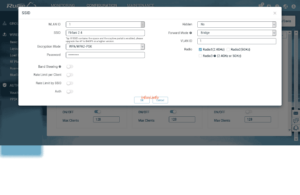
  1. Select Edit on the Action tab, I will change the SSID, radio frequency to 2.4 Ghz only and wifi password and then click OK.

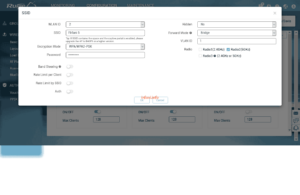
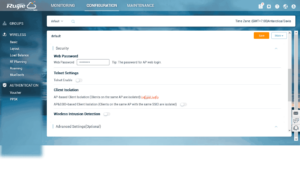
  1. To add the SSID, click on the + sign, for my frequency set 5 Ghz to make it easier to distinguish. I can’t click Save right away, I am required to fill in the login password to the AP first (to log in from the local side), the password can be the same as before or created a new one.

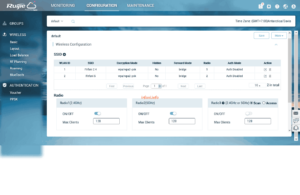
  1. On the Radio tab, it is used to turn the frequencies used on and off, so if any frequencies are turned off, then the SSID that uses them will not be recognized.

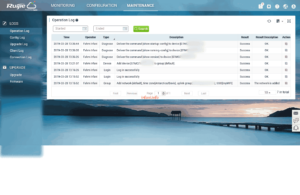
  1. To view the logs, select MAINTENANCE, you can select the log model to see in the LOGS.

  1. There is also a feature for firmware upgrades, which when I tried it turned out to be using the latest version.


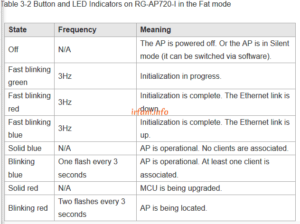
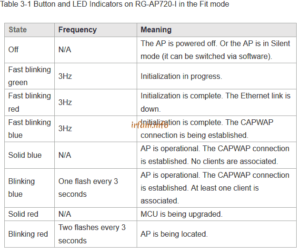
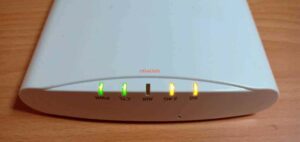
A little additional info for the indicators on Ruijie that I got from here.

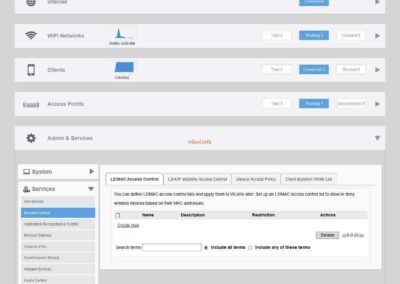
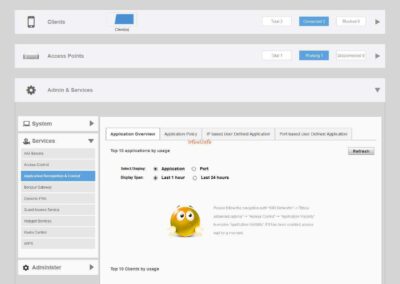
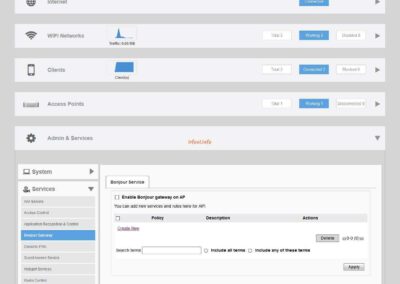
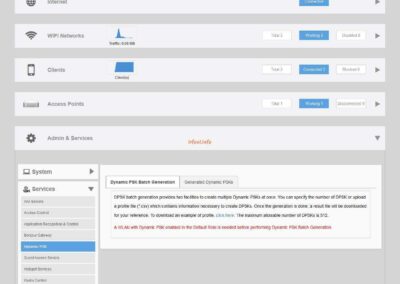
If I notice that there are some features that don’t seem to exist in the Cloud if I access them locally or there may be differences in sentences that I don’t understand, such as :

  1. Blacklist and Whitelist features

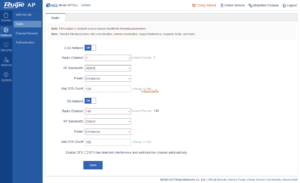
  1. DFS Features

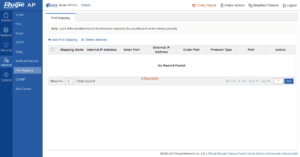
  1. Port Mapping Features

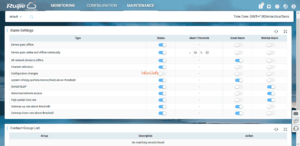
  1. Alarm Setting

If I check the menu, I get more but as I informed above, maybe I don’t really understand the feature.

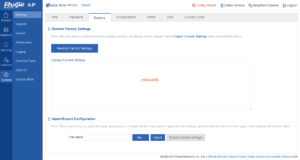
There is something strange, yes strange magic bin, namely on Restore Factory Settings, I accessed locally and clicked Restore Factory Settings and the result was indeed back to the original but strangely in the Cloud it is still monitored Online with a fixed configuration (there is still an SSID), as if there is no change.

I tried to log out and  log in again and the result was still the same, indeed the AP was still connected to  the internet. I scanned the wireless and it was not detected and I don’t know, suddenly the configuration changed to the original (Cloud). Is this Config Status Synced?

Curious? I tried to reset again, this time faster than the original one or indeed not reset, it only took about 5 minutes from the restart until it became solid blue, and after I logged in, it was immediately like the Cloud configuration.

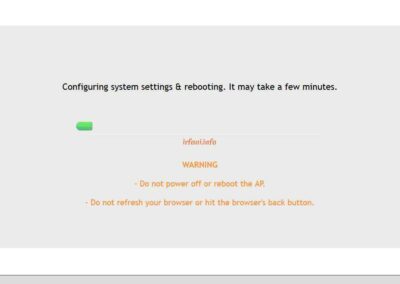
I’m still curious too, after I restore the third time, I still installed the router to get DHCP but  my internet is disabled, and after restarting only until the orange indicator and on the login page  automatically appears the following image :

I tried logging out and successfully logged in with the default password, which is admin. I tried to activate  the internet again and the result was, 1 minute after connecting the indicator from solid orange to flashing yellow then solid yellow and immediately changed again to flashing red and after 3 minutes it became solid blue.

If I Torch, the AP points to IP 35.197.150.240, and as the result above, the AP is instantly synced with the Cloud.

From this, I can conclude that APs that have used the MACC method, as long as the serial number is not deleted in the Cloud database,  will still synchronize when the local AP device is connected to  the internet.

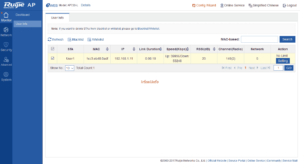
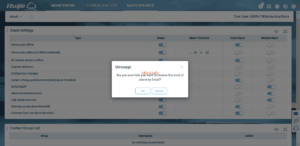
To delete an AP that has been registered, it can be seen in the following image :

Maybe only here is the information I provided, for the internet speed test I made in a different article. Thanks.


Ruckus Zonflex R310 AP Basic Configuration

Ruckus Zonflex R310 AP Basic Configuration

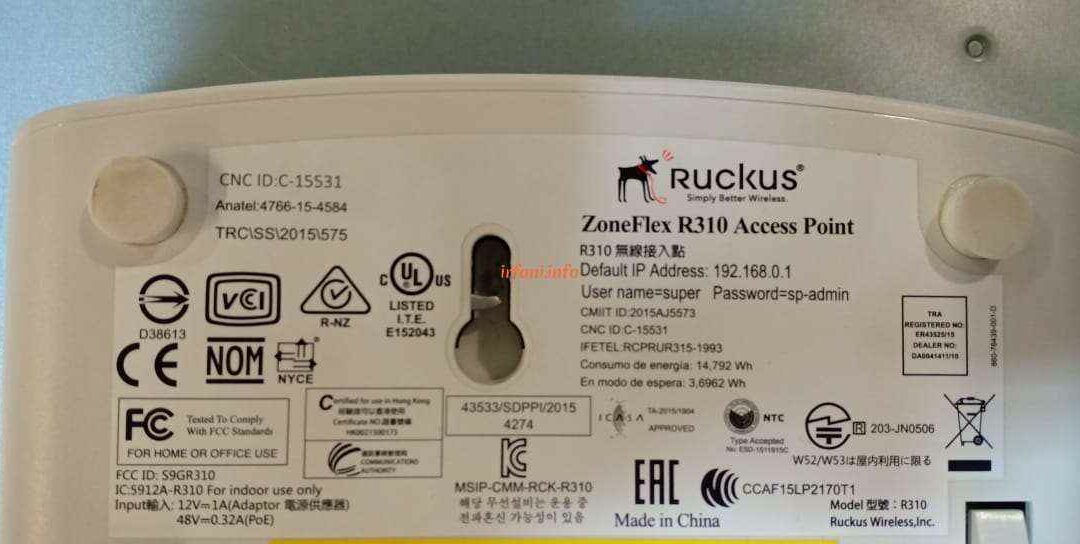
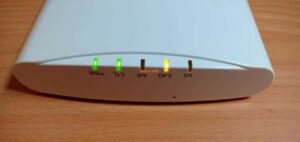
This is the first Ruckus device that I have tried, although it is not a new item, but it does not hurt that I learned to get to know the device. Because I don’t know the login password to the device, then I just reset it and the method is quite easy, press the reset button next to the LAN port for about 5 – 10 seconds in the state that the device is on and wait until the indicator light turns off and turns back on, the indication of being successfully reset is the indicator that lights up only the PWR and CTL lights, because the default wireless position is in a state disabled.

Here’s the initial configuration guide:

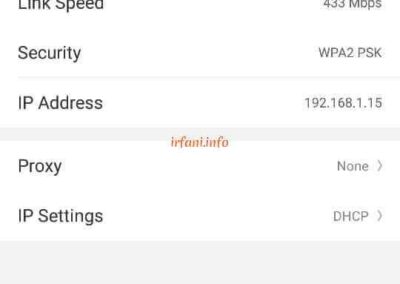
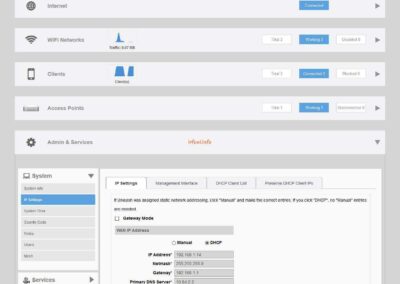
  1. The default IP address is 192.168.0.1 but since I installed it to the router, I accessed it using the IP obtained from the router, which is 192.168.1.14.

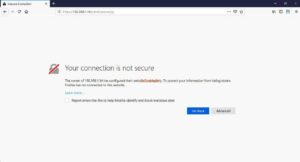
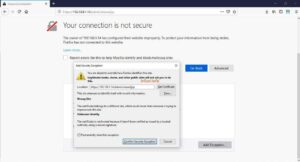
  1. If it appears like the following image, click Advanced – Add Exception – Confirm Security Exception and go straight to step 3:

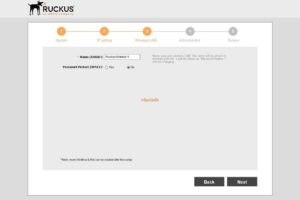
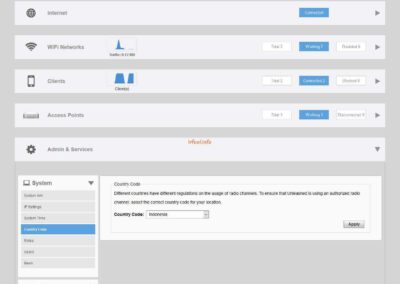
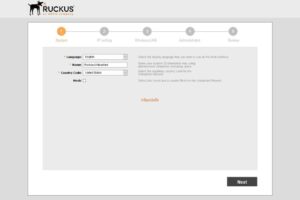
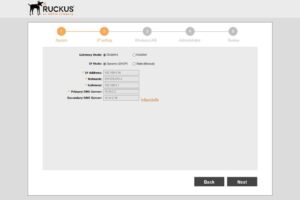
  1. I just changed the Country Code to Indonesia, then click Next. Since I have a primary router that already gives DCHP to this AP, I didn’t change the configuration, click Next to continue.

  1. I also did not change the SSID and provide a password, it will be configured later, click Next.

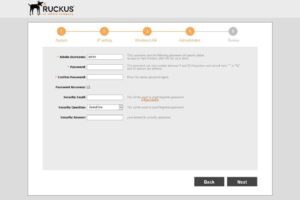
  1. For passwords that must be changed directly, while for Password Recovery I did not check, click Next again.

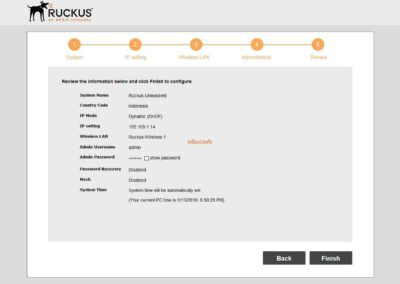
  1. Here are the review results from the process above, click Finish and OK to restart the device.


Here is the next configuration :

  1. Log in with the user and password that has been set beforehand, then click Unleash.

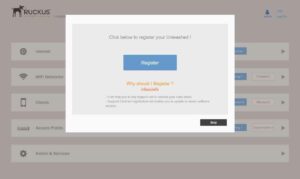
  1. I will not register this device, for that I choose Skip and Yes, Skip.

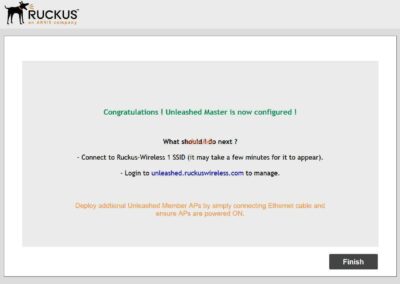
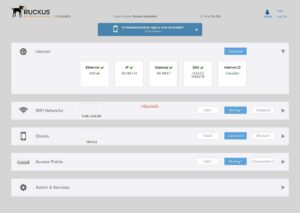
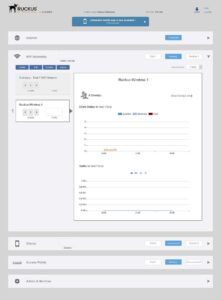
  1. It looks like the following picture, the internet status has been connected because indeed the main router has been connected to the internet.

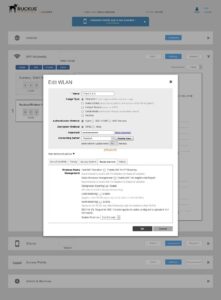
  1. I’m going to change the SSID I created earlier, click WiFi Networks and select Ruckus-Wireless 1 and then click Edit.

  1. Because this AP has 2 frequencies, namely 2.4G and 5G, so to make it easier, I will give the name FIrfani 2.4 G which indicates operating on the 2.4G frequency as shown in the following image. To provide a password, select WPA2 in the Encryption Method and enter  the desired password, then OK.

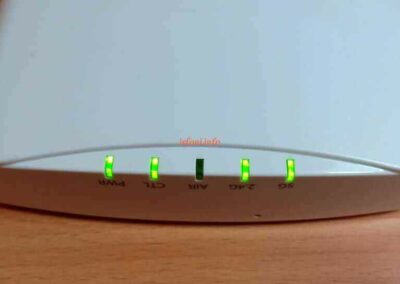
Note: the 2.4G indicator will light up Orange if it has been activated and turn Green if any device is connected.

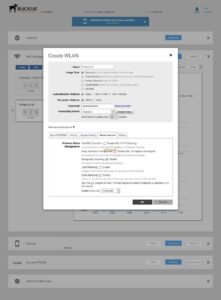
  1. Click Create to create a new SSID, for the SSID I named FIrfani 5 G which works on the 5 Ghz frequency.

Note: the 5G indicator will light up Orange if it is active and turn Green if any device is connected.

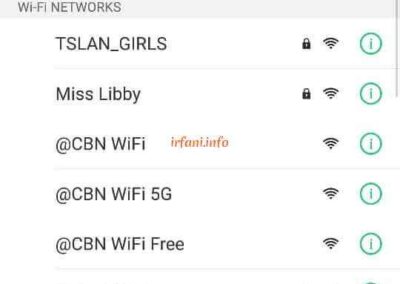
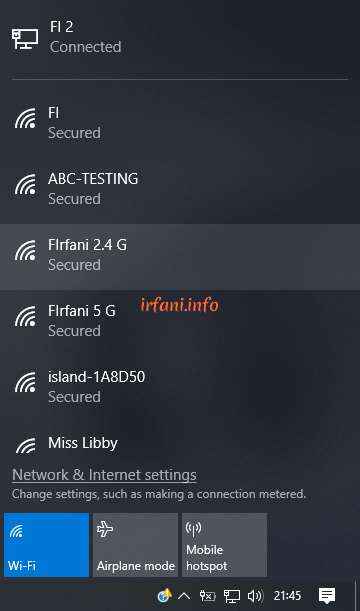
  1. I will connect the 2 SSIDs from different devices. For the 5 Ghz frequency, not all devices support it, for that if the device does not find the 5 G FIrfani SSID, then the device does not support it yet. But on the 2 devices I tried, both already support the 5 Ghz frequency.
Oh yes, the 2.4G and 5G indicators will turn Green if any device is connected.


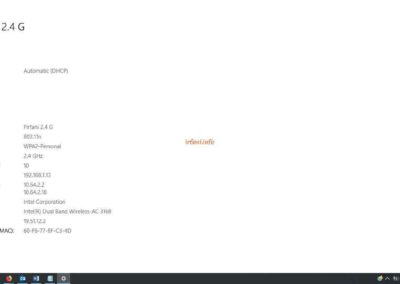
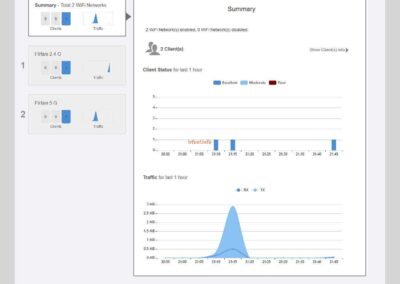
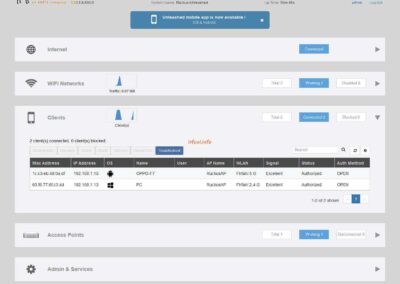
  1. Here are the results from the wireless and client sides.


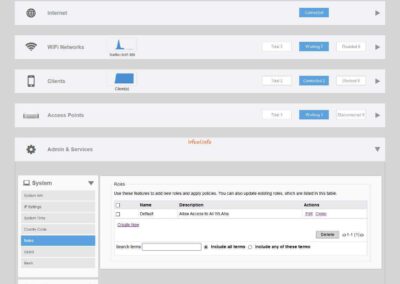
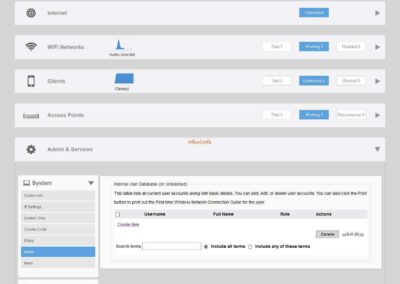
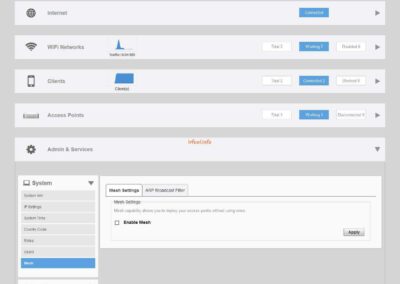
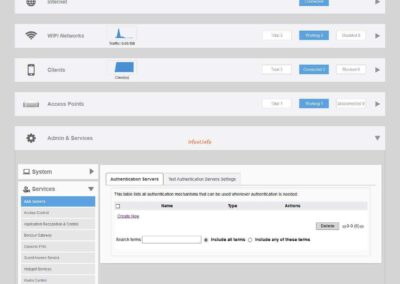
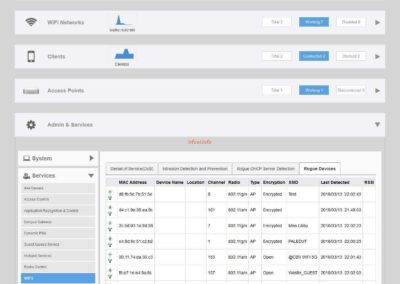
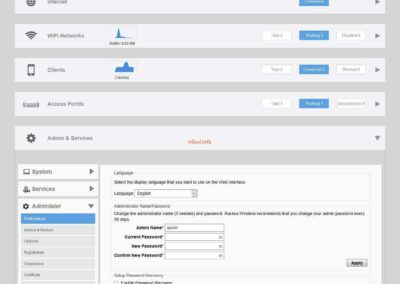
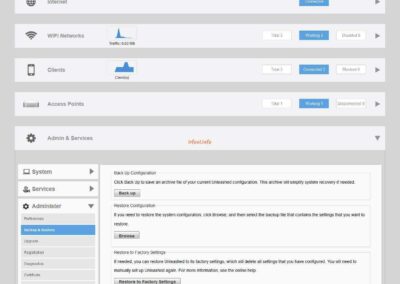
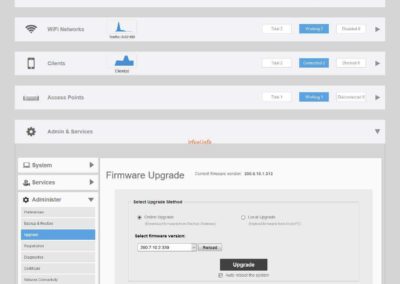
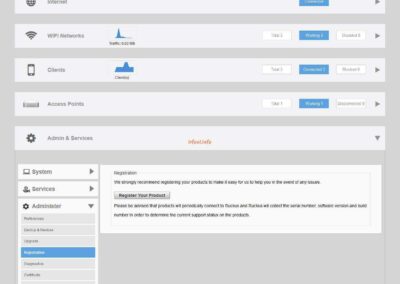
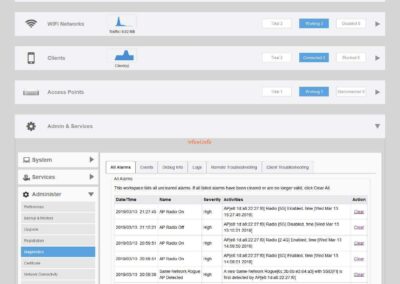
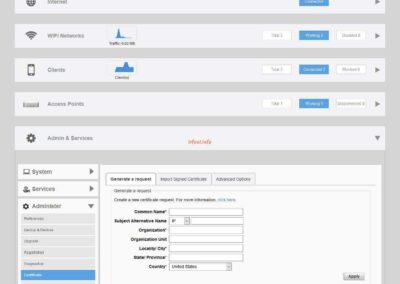
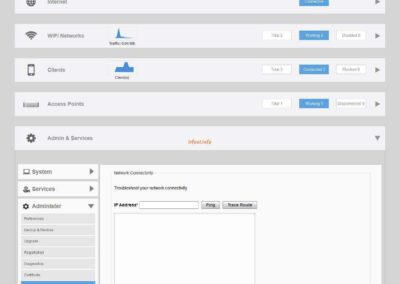
  1. While there is not much information that I can provide on the Admin & Services menu, so I will only share the following view :


That’s the provisional info that I can convey, for the speed test I made in a different article.


TP-Link TL-WR941ND Internet Speed ​​Test

TP-Link TL-WR941ND Internet Speed ​​Test

This article is a continuation of the previous article which can be read here.

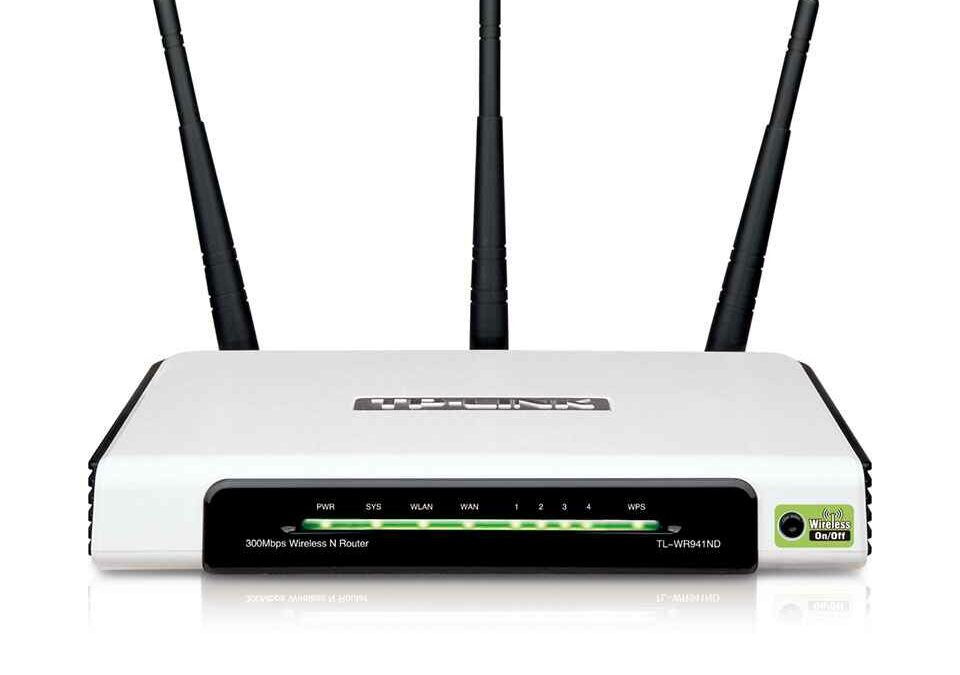
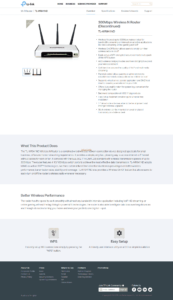
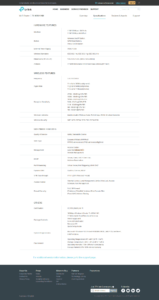
The device I’m trying right now is the TP-Link WR941ND router, here’s a description from the site.

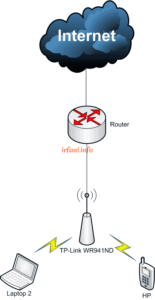
The topology is as follows :

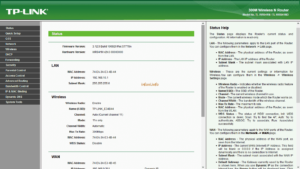
I set the wireless mode to 11n to be more optimal than the other modes and the rest is the default of the router.

The following are the test results of 5 devices :

Devices Processor / RAM Port LAN Wifi (Mbps) Ethernet (Mbps) Wireless (Mbps)
Lokal Internasional Lokal Internasional
D U D U D U D U
Asus X455LJ i3 5005U / 8 GB Gigabit 65 91 91 91 88 24 32 21 32
Lenovo G40 i5 5210U / 4 GB Gigabit 150 93 90 91 88 54 68 45 67
HP 240 G6 i5 7200U / 8 GB Gigabit 150         31 24 21 20
Asus TP201S N3710 / 4 GB 150         26 13 25 18
HP Oppo F7 65         37 36 39 46


The following is an overview of the test :


Asus X455LJ


Lenovo G40


HP 240 G6


Asus TP201S


HP Oppo F7

The conclusion is:

  1. The TP-Link device I use is still far from the bandwidth it should be, which is 500 Mbps, both with wired media (because the port is still Fast Ethernet) and wireless (because it only supports 2.4 Ghz). I have not yet known and found out how to make the wireless speed can be a maximum of 300 Mbps as informed in the description image above. If there is time and opportunity, I will inform you again.
  2. Of the 5 devices that I tried, the Lenovo G40 got the highest results both via cable and wireless, it should be that if you look at the device specifications, the HP 240 G6 can exceed that of the Lenovo G40, but I haven’t checked the device in detail, hopefully next time I can check in more detail.

Hope it helps and your day is fun, thank you.


Team Viewer Installation

Team Viewer Installation

This may be a simple guide but there’s no harm in making it for those who don’t understand yet. I forget when to start using this program, but among the programs I’ve tried (RADMIN, Remote Desktop and VNC) this is the easiest. The requirements are quite easy, just an internet connection, for the Operating System, there are many things that it supports, I have only tried for Windows and Mac.

In this guide, there will be 2 positions, me as the party who wants to be remote (steps 1 – 3, additional automatic access in steps 4 – 6), me as the party who wants to be remote (step 7).

I just started the installation method (this guide uses Team Viewer version 14):

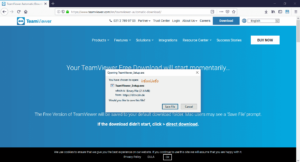
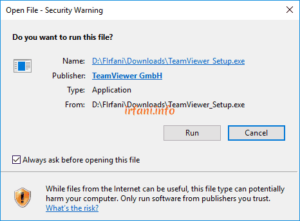
  1. Download the application on the https://download.teamviewer.com/full and click Save File, wait for it to finish then open the application in the place where it is saved, click 2 times to start the installation.

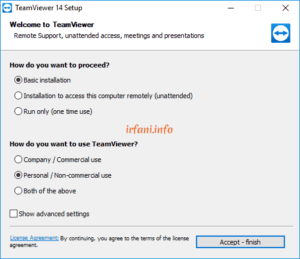
  1. Click Run, select Basic installation and Personal / Noncommercial use then click Acceptfinish.

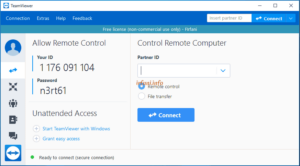
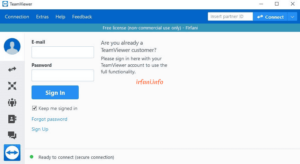
  1. If the following image has appeared, the process is complete, I can provide ID and password to colleagues who want to remote the device.

  1. In point 3, the remote process is still done manually (you must always provide info to the party who wants to use the remote), because the password will change when the program is restarted, quite troublesome if you are not always near the device. If you want the device to be remotely automatically enabled, you need to take the next step, namely Unattended Access, check Start TeamViewer with Windows and Grant easy access.
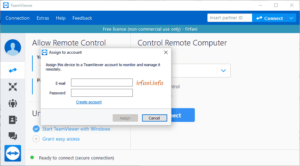
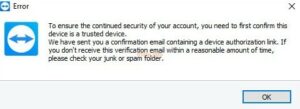
  2. In Grant easy access, a pop up will appear, enter the email and password that has been registered or if you don’t have an account, click Create account. In this case, because I already have an account, I choose to click Assign. The Team Viewer will send you a confirmation email before granting such access.

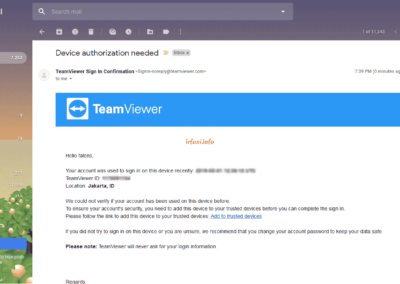
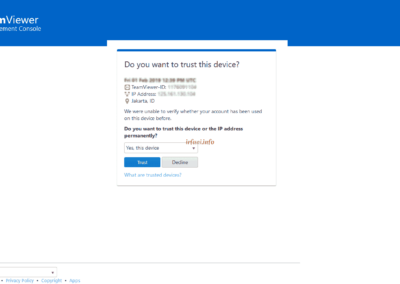
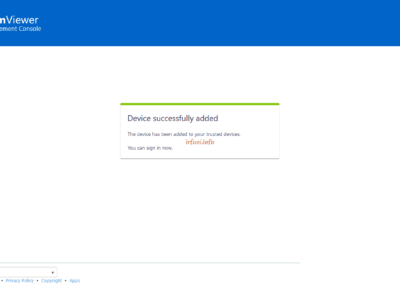
  1. I will open the confirmation email sent as authentication on the device I want to access, click Add to trusted devices, then it will open a new page, click Trust and the device can be accessed automatically.


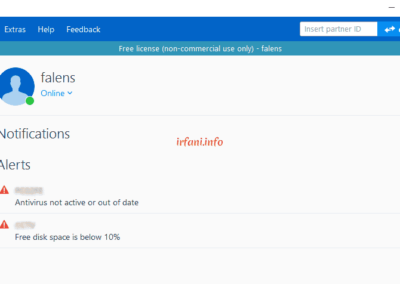
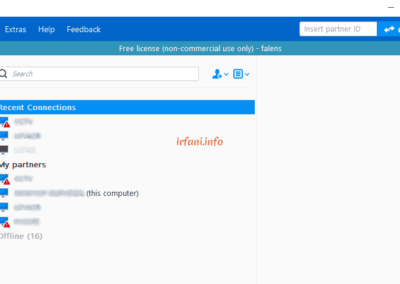
  1. If I want to see the devices I’ve given Unattended Access to, click the icon like contact picture, re-enter your registered email and password and then click Sign In.

Note: if you do steps 6 and 7 on the same device, you will be able to log in immediately without getting a confirmation email first, but if you are from a different device, you will get the same information as step 6.

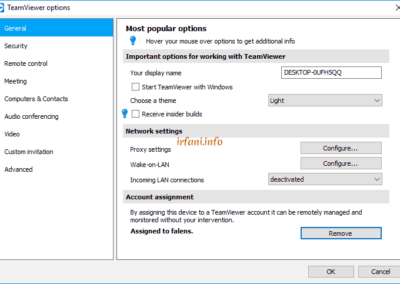
  1. To remove the account from the device, click Extras – Option, on the General – Account assignment tab, click Remove, and Remove again as a confirmation.


Good luck.


Internet Speed ​​Test

Internet Speed ​​Test

Actually, I am confused to give the right title to this article, but I hope you can understand it from the explanation I gave. At this time, I will discuss the internet bandwidth that is not in accordance with what I should get from the ISP.

Previously, I had a similar article but it was not uploaded because the bandwidth at that time was only 10 Mbps, so it was not maximum for this discussion. For this reason, when I wanted to make this article, I looked for a higher bandwidth first and finally I was able to use the Up To 500 Mbps bandwidth for downloads and uploads. Why do I use the word Up To? just to make sure that later if there is a difference that is not far from 500 Mbps, I will not have a problem with it.

A few introductory paragraphs before I go to the main destination.

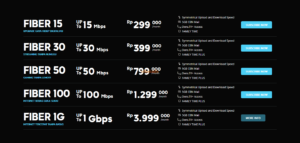
Here I take an example of an offer from an ISP:

Source https://indihome.co.id/tripleplay

Source https://my-republic.net/

Source https://cbn.id/personal/fiber/cbn-fiber.html

If you look at the 3 images above, then the highest speed offered by CBN, which is Up To 1 Gbps. Before I go any further, I emphasize that the testing here is about bandwidth speed, regardless of stability and other things.

The decision to take internet bandwidth services is generally adjusted to your needs, including:

  1. Internet usage
  2. The number of users

At point number 1, it is relative, whether it is used only for browsing, online games or work, because in general, a good salesperson will first ask the needs of his potential customers, so that they can give the right direction.

For point number 2, generally potential customers do not take this into account and will only complain if the connection is slow which has been unconsciously used by people around them at the same time. For example, I take a bandwidth of 10 Mbps, which if I use it myself is more than enough, but if my family/colleagues use it at that time, of course it will be reduced because the bandwidth is divided between them.

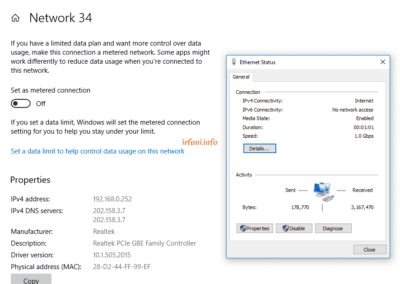
Actually, there is 1 additional point that is less often taken into account, namely devices used for internet connections, such as routers, access points (APs), switches and our own devices such as laptops and cellphones that are commonly used. If you connect a network device with different speeds, the connected device such as a PC, laptop or cellphone will be limited by that device.

Where is the influence? If you are taking a service below 50 Mbps, this can be ignored, but if you are using a service of 50 Mbps or above, this is worth taking into account.

Topology, this is the most important point, because if you know this topology, it will make it easier in the checking process if there are problems. Make sure you pay attention or ask again when the internet installation process is in your place.

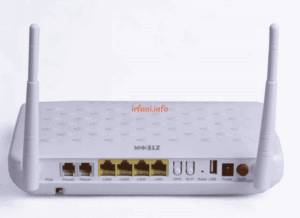
If your service already uses a Fiber connection, there will generally be media converters such as BDCOM, ONT and the like installed in your place that can function as an internet source or just media so there must be an additional router. The point is that ISPs will usually provide devices according to the services you use.

Example of one of the ONT devices

Before doing the experiment, I’ll explain the bandwidth and topology of the service I’m using.

Bandwidth = Up To 500 Mbps

Connection type = Broadband

Topology = ISP <-> My device

<-> = cable LAN cat 5


As per the topology image above, the ISP only gives me an ethernet (LAN) cable to connect to my device, so the internet source will be my own device such as a router or laptop.

Is it clear enough to get here? Hopefully yes, hehehe.

Ok, I’ve done a simulation and here’s the result:

Laptop Processor / RAM Port LAN Lokal (Mbps) Internasional (Mbps) Kesimpulan
Download Upload Download Upload
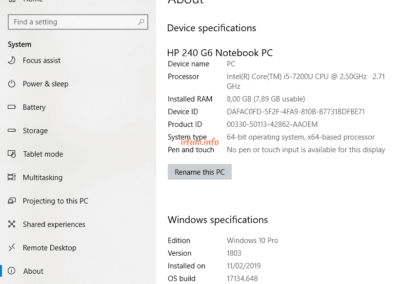
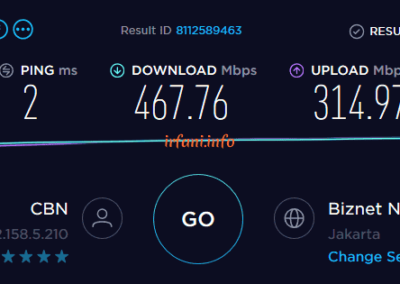
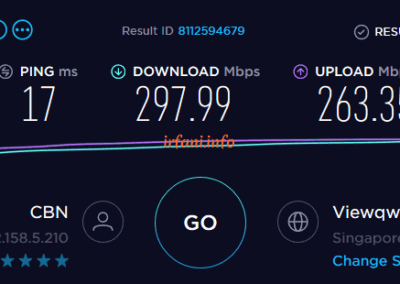
HP 240 G6 i5 7200U / 8 GB Gigabit 467 314 297 263 OK
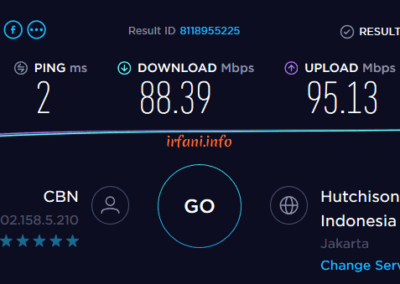
HP 240 G6 i5 7200U / 8 GB USB Fast Ethernet 88 95 kendala di perangkat USB
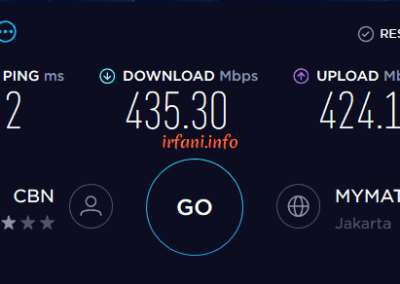
Asus X455LJ i3 5005U / 8 GB Gigabit 435 424 OK
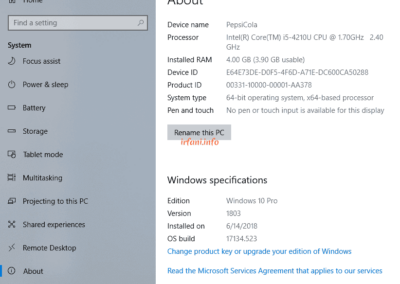
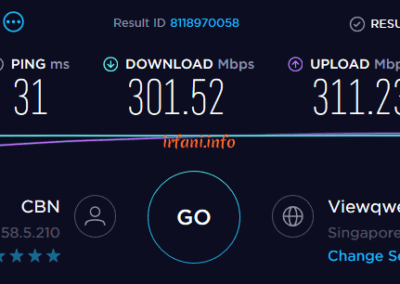
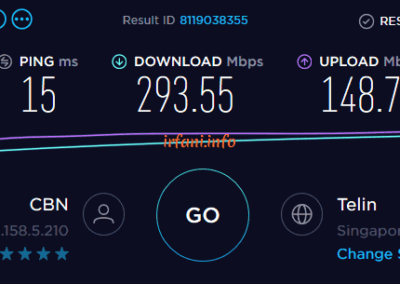
Lenovo G40 i5 5210U / 4 GB Gigabit 301 311 293 148 kendala di RAM


The results of the table above show that the bandwidth is close to 500 Mbps from a laptop that uses a Gigabit port and 8 GB of RAM, besides that it is still far from what is expected. For USB Fast Ethernet, I only use it as a comparison add-on, because on the HP 240 G6 there is only 1 ethernet port available. Oh yes, in this case I don’t really take into account uploads if they don’t fit because I think almost some internet users download more than uploads.

For international traffic, why didn’t it arrive too? Please remember, almost all ISPs that offer internet if they do not mention the bandwidth line, then it is certain that it is local bandwidth, why? because ISPs must pass the IIX line which incidentally is for use in Indonesia, while for international links (IX), they must have cooperation with other ISPs outside Indonesia (Upstream).

Remember, I adjusted to the title of this article, so I only did a speed test to make sure the internet speed I was using was appropriate. This is also a key point before finding any other issues that can be reported to the relevant ISP.

Hopefully by this point you can understand it first, because if you don’t understand it, it may be a bit difficult to understand the next article that will be related to many devices.


Test results with the HP 240 G6


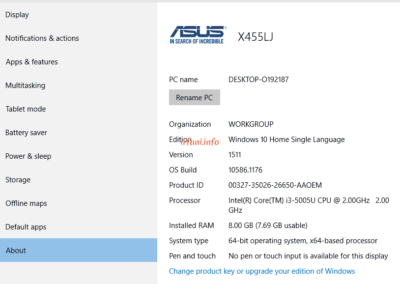
Test results with Asus X455LJ


Test results with the Lenovo G40


Transfer Data with Samsung Smart Switch

Transfer Data with Samsung Smart Switch

Usually if we buy a new cellphone (HP), of course we want all data on the old cellphone to move to the new cellphone, such as pictures, songs, contacts, etc. If the new cellphone is still the same brand as the old cellphone, it may not be too difficult, because there is already a data transfer application available from the cellphone aforementioned. Obstacles will be encountered if the brand is different, then a third-party application is needed to process it and it is not necessarily perfect.

This time I will transfer data from Samsung J5 to Samsung A7 with the Smart Switch (SS) application that is already available on each cellphone. Before doing, make sure the battery condition in each cellphone is above 50% so that it is sufficient during the transfer time. Here’s the guide.

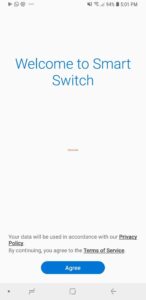
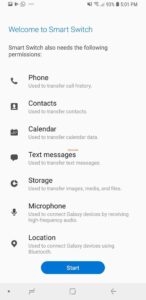
  1. Run the SS application on both cellphones. Click Agree and Start for further processing.

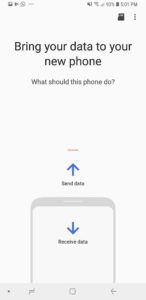
  1. On the Samsung J5, select Send data and on the Samsung A7, select Receive data.

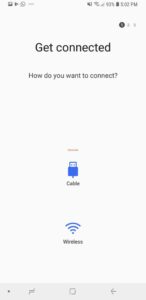
  1. Select Wireless on both cellphones as the connecting medium.

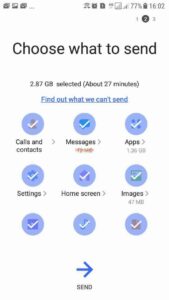
  1. On the Samsung J5, select the data you want to transfer, then click Send.

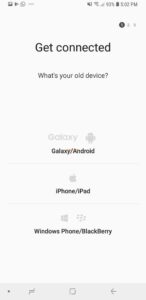
On the Samsung A7, select the OS of the old cellphone, in this case I choose Android.

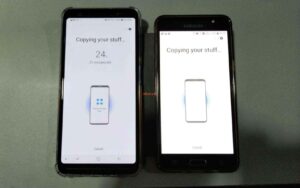
  1. The search process between cellphones will take place and on the Samsung A7 will ask for confirmation to receive data from the Samsung J5, click Receive for the next process.


  1. For the completion time depends on the amount of data transferred, and if it has been completed, then the configuration on the new cellphone will be similar (depending on the cellphone features) with the old cellphone, among others, phone call logs, SMS, contacts, email configuration (just re-enter the password for verification), third-party applications will also be installed on the new cellphone according to the cellphone old time, but excluding logins and previous data, for the WA application can be backed up first via Google so that it is easy to restore later, including the wallpaper will also be installed automatically.

In addition to the method above, there is also using the Smart Switch application for PC, if there is a chance again I will try it. Thanks.