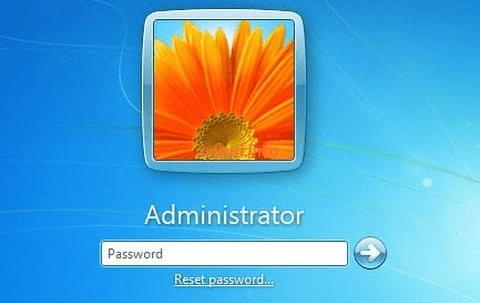
By default, an Administrator account has been created during installation on Windows Vista and its latest series (Windows 7, 8 and 10) but is inactive. Generally, Windows will create a new user with the Administrator type on the initial installation where the user can fill in a free name for it.
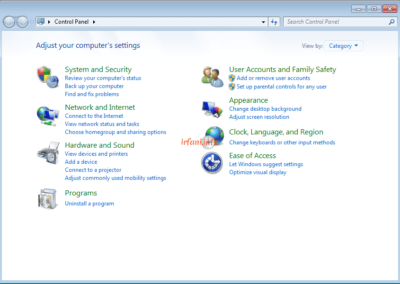
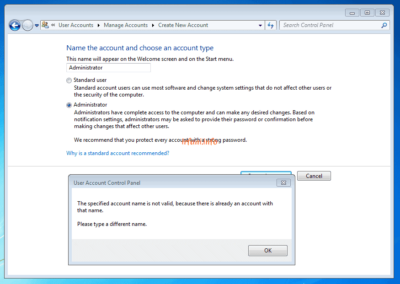
What if we want to activate it? If we try by clicking Start – Control Panel – Add or remove user accounts – Create a new account – fill in with Administrator then click Create Account then it will appear like the display below.
The message informs that the name of the Administrator account already exists, as I have informed in the first paragraph. For this reason, it only needs to be activated in the following way:
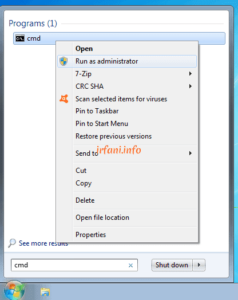
- Click Start – type cmd in the Search Box and once it appears, right-click on the program and select Run as administrator.
- If Windows asks for a password, please enter the password, but if you don’t know it, then in this case, it means that only Admin / IT can process it.
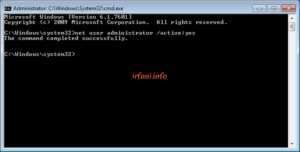
- If Windows doesn’t ask for a password and the following image appears, type “net user administrator /active:yes” (without quotes) and press Enter.
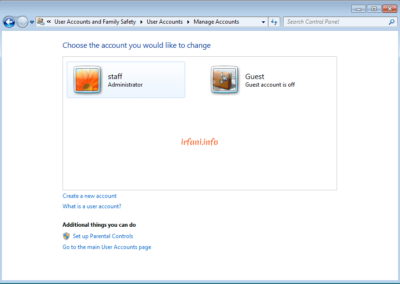
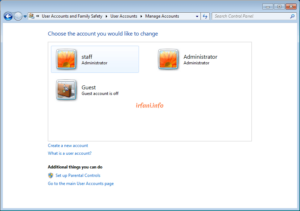
- Go back to Manage Accounts and you should see the Administrator account as shown in the following image.
Good luck and a great day.

