Ruijie Reyee RG-EW1200G Pro Configuration

Ruijie Reyee RG-EW1200G Pro Configuration

I found out about this AP from the training and FB group that I had participated in before and now thank God I was finally given the opportunity to try the Ruijie Reyee RG-EW1200G Pro device. I didn’t have much time to try it, about 1 hour, so I’m sorry if I haven’t been able to give maximum results.

Topology :

Internet <-> AP Ruijie <-> Laptop

Here’s the information I can provide :

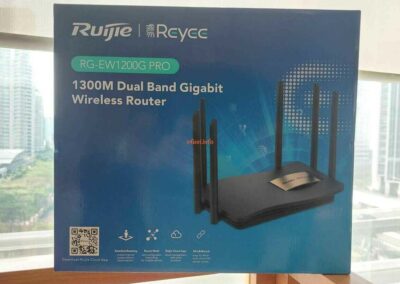
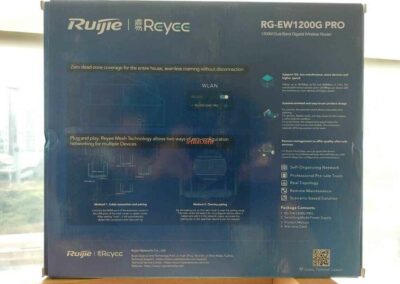
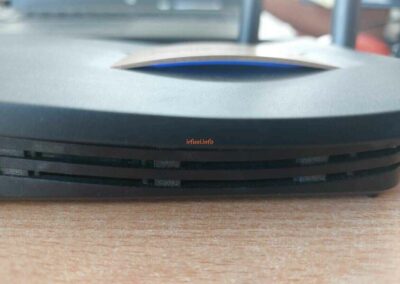
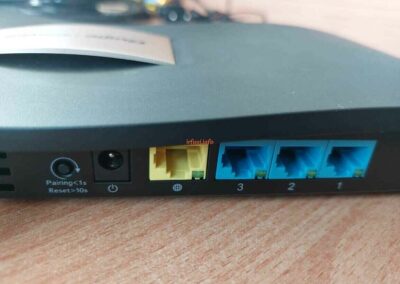
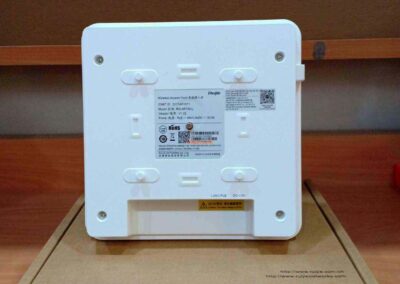
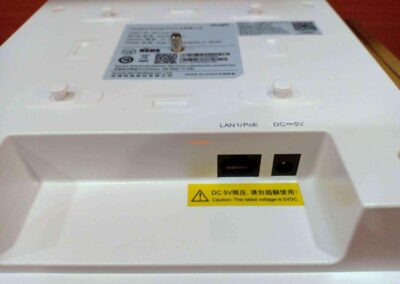
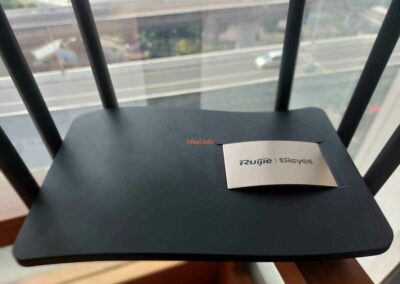
  1. Here’s a little photo of the AP and because I got an AP device that had been consolidated before, I will reset the AP, how to press the Reset button for about 10 seconds more like the text on the back until the blue light flashes (krrew06.jpeg).

Where is the blue light? under the words Ruijie | Reyeee. Honestly, I also just woke up when I connected the adapter, why didn’t there be a light indicator like a router in general. I also knew that when I reset the router in a slightly sideways position, I saw the blue light.


For the daytime, it is not very visible, but unfortunately I did not have time to try it at night.

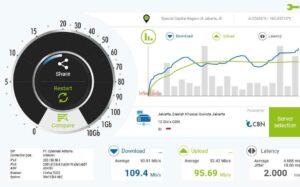
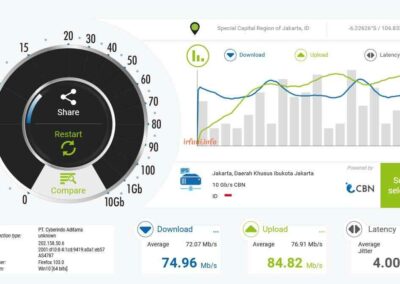
2. Okay, let’s continue, before I tried a speedtest from a laptop first to make sure my internet speed and here are the results.

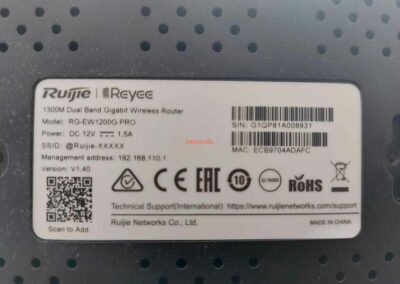
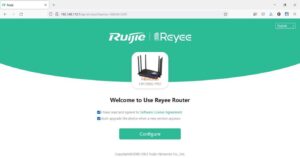
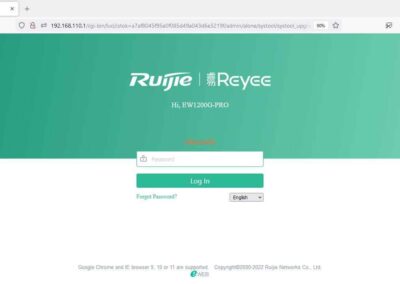
3. I will equate the IP block of the AP with the laptop, I installed the IP 192.168.110.2, where 192.168.110.1 is the default IP of the AP. Here’s what it looks like and click Configure.

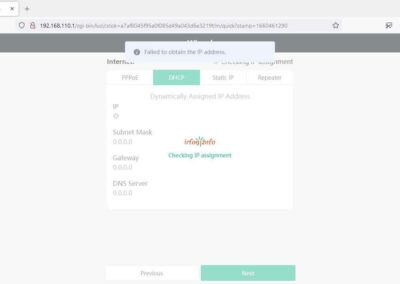
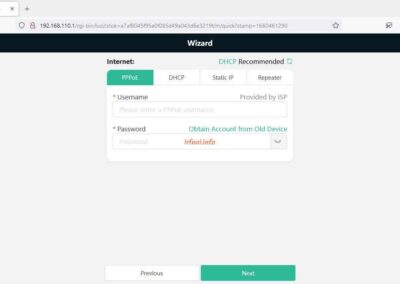
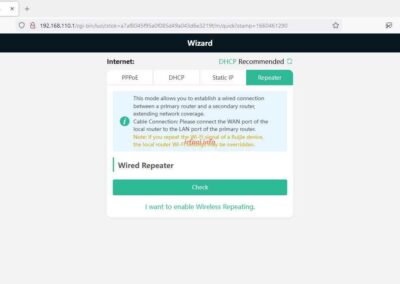
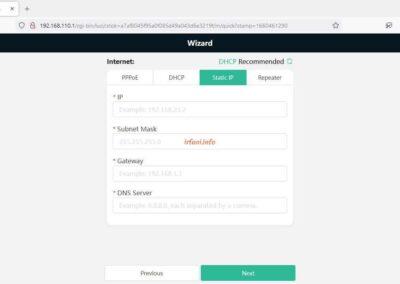
4. A wizard appears to connect the AP to the internet, in the first case is DHCP, because the router will be set to a static IP, then the error can be ignored. Here’s what it looks like for PPPoE, Static IP and Repeater settings. Once I have filled in the IP in Static IP, click Next.


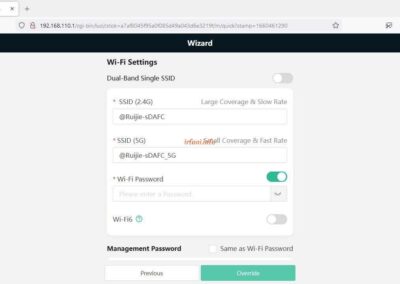
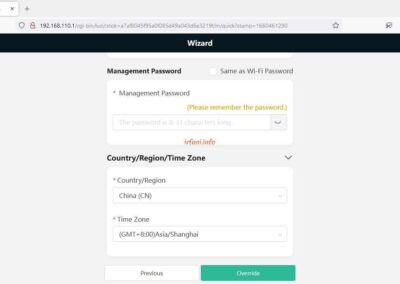
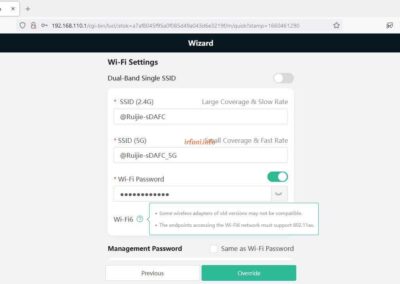
5. By default, the SSID name has been given for 2 frequencies and in this case I will not change it, just fill in the Management Password and change the Country/Region/Time Zone, click Override.


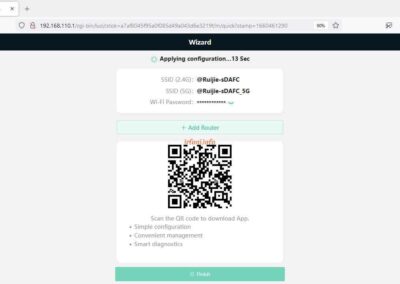
6. The SSID configuration that has been created appears, click Finish as many as 4x.


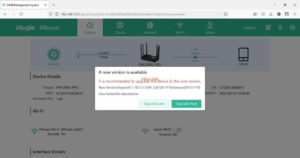
7. The AP has successfully connected to the internet, until a popup appears to upgrade the firmware to the latest version, in this case I click Upgrade Later.

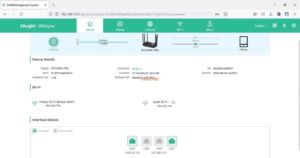
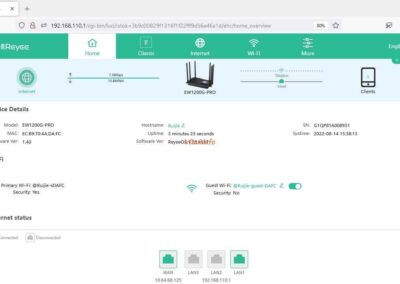
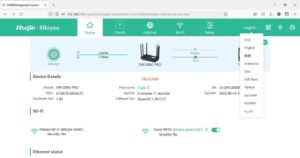
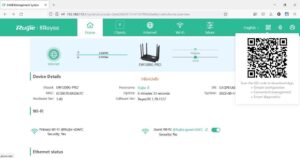
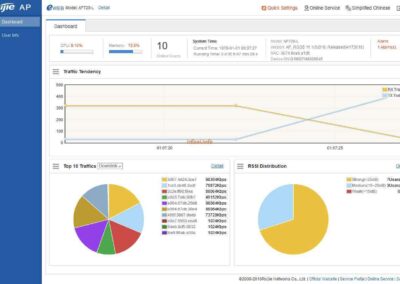
8. The following is the display from the Home page, which contains AP status information, the number of connected clients as well as the status of the LAN port and AP version.

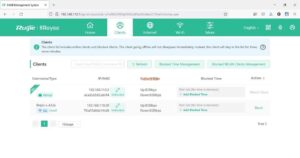
9. Clients page to see devices connected via cable and wireless and there is a feature to block but sorry I haven’t had time to try it.

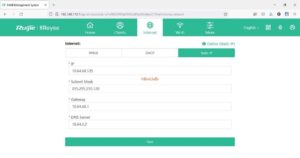
10. The Internet page is more or less like step 4, to connect the AP to the internet.

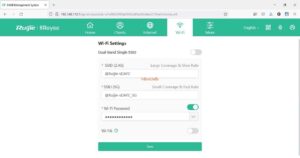
11. The Wi-Fi page is also like step 5.

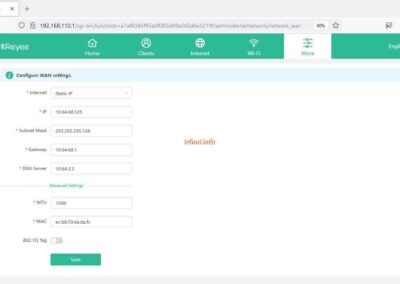
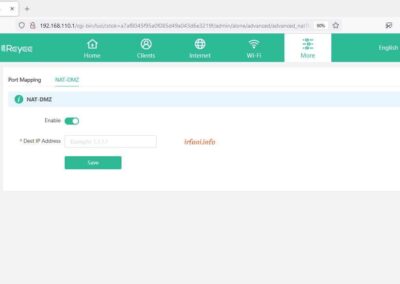
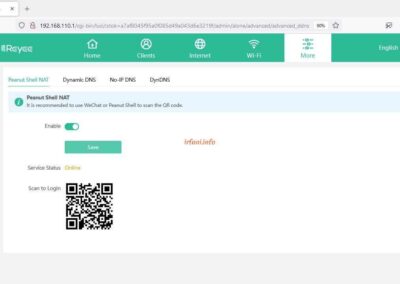
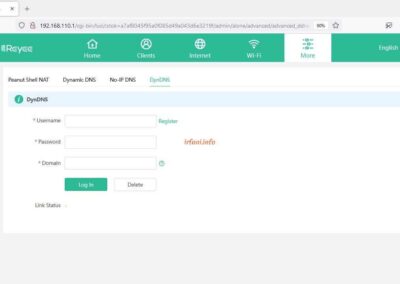
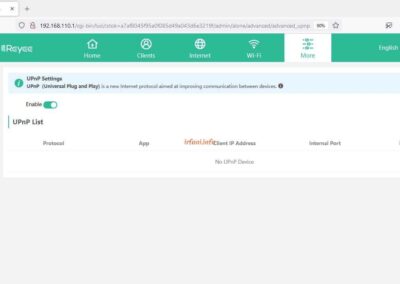
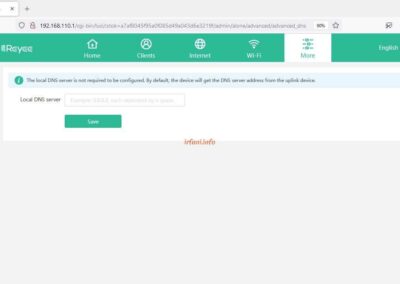
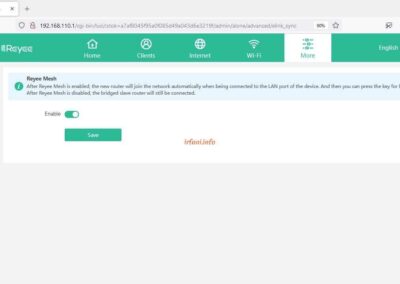
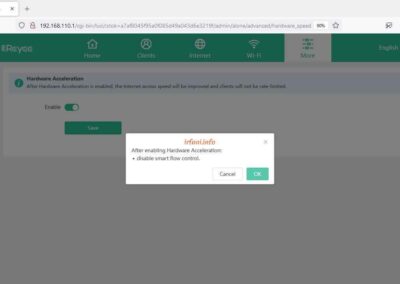
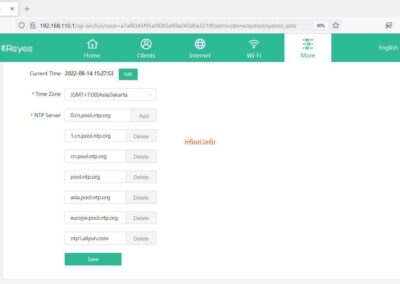
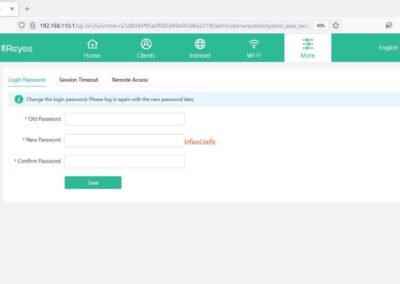
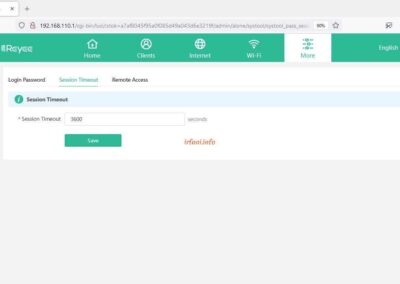
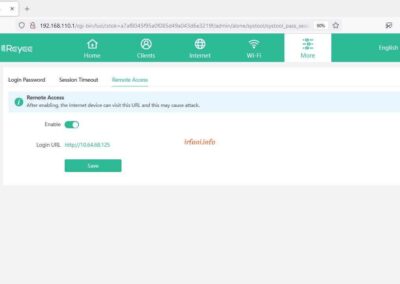
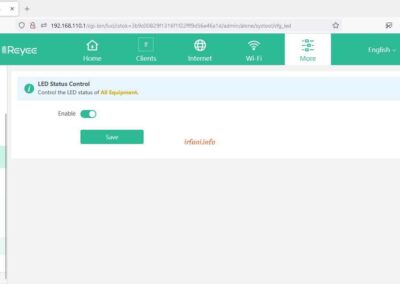
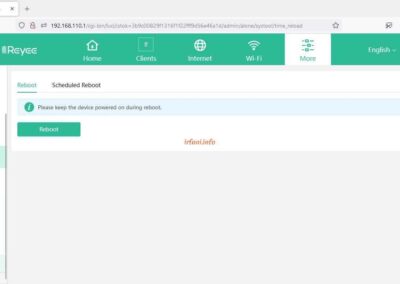
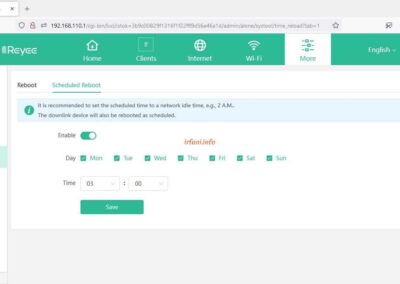
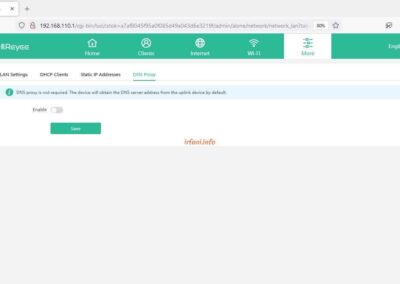
12. The More page turns out to see more features like Basics WAN as shown in the following image :


  • WAN : connects the AP to the internet.
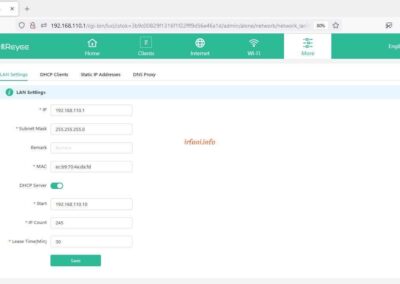
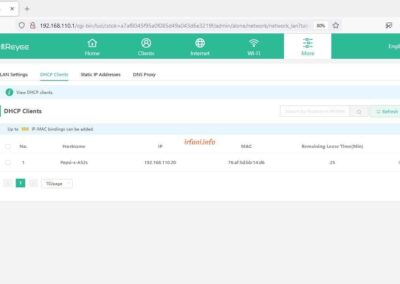
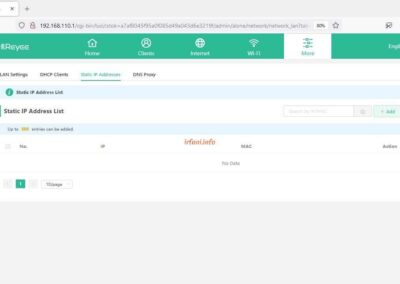
  • LAN : change the AP IP, configure the DHCP IP and view the connected devices.
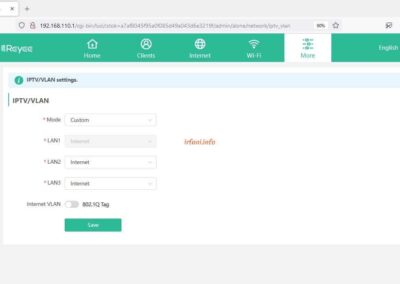
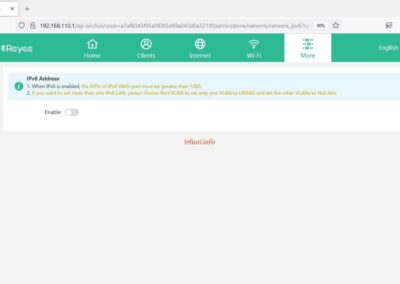
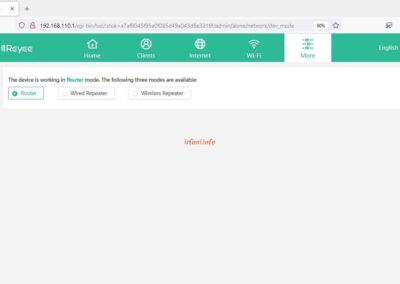
  • IPTV/VLAN, IPv6 Address and Repeater Mode sorry I haven’t tried it yet.

13. The Wireless page is as follows :


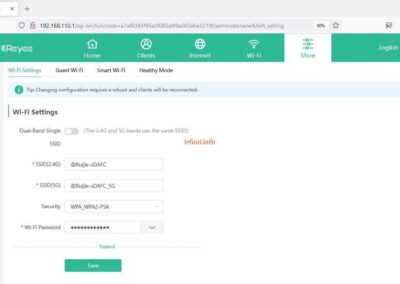
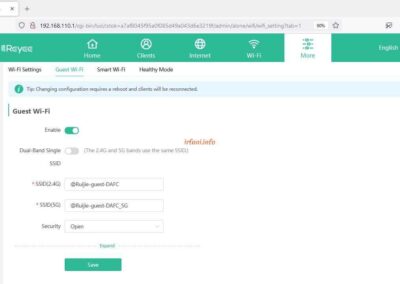
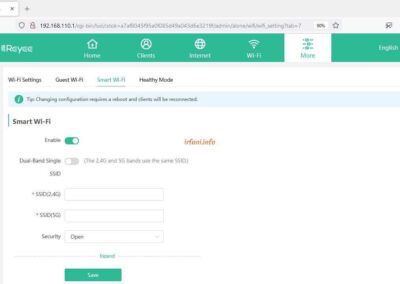
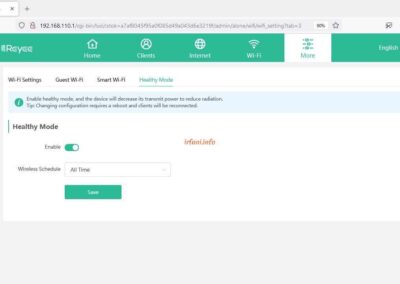
  • Wi-Fi : change the SSID name, frequency, password, activate Guest, for Smart Wi-Fi and Healthy Mode I haven’t tried it yet. I tried to activate the Guest Wi-Fi menu, which is usually so that connected devices cannot access the AP login page, but several times I tried, it turned out that my cellphone could still access the login page.
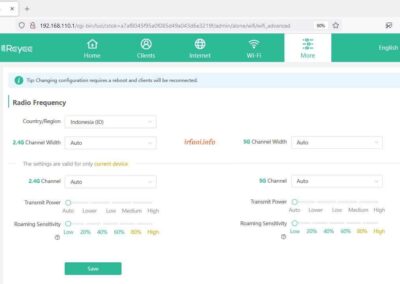
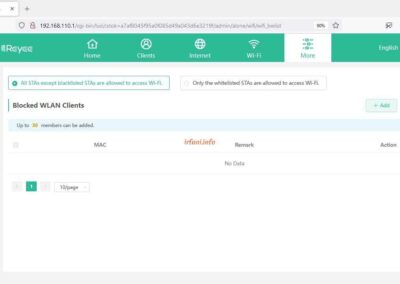
  • I have also not tried the Blacklist/Whitelist and Radio Frequency features.

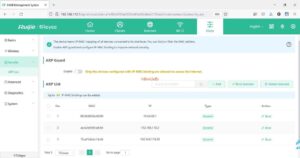
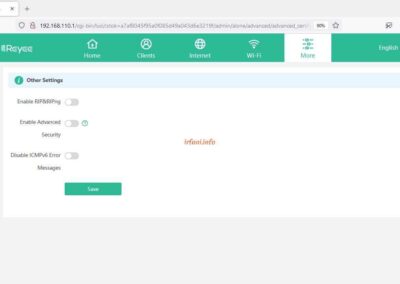
14. Security page – ARP List to give a static IP to the device’s MAC so that it is not used by other devices, but I haven’t tried it either.

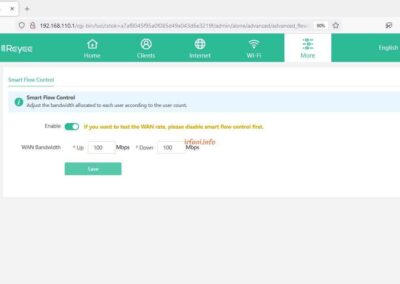
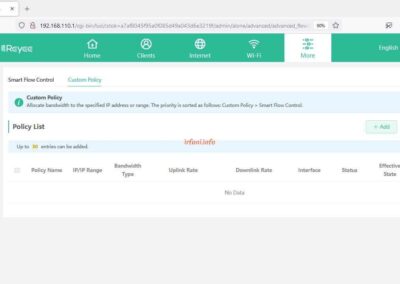
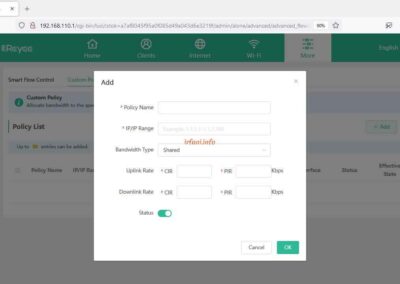
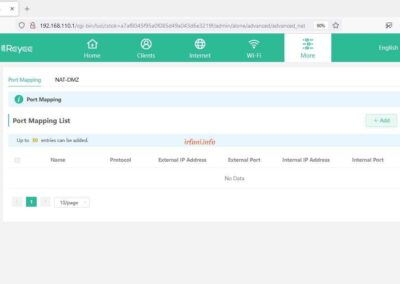
15. I haven’t had time to try the features on the Advanced page.


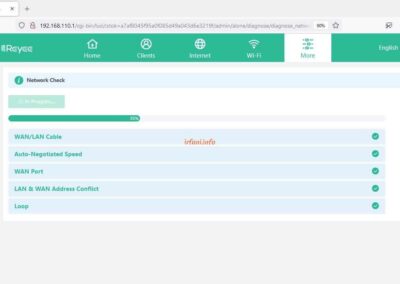
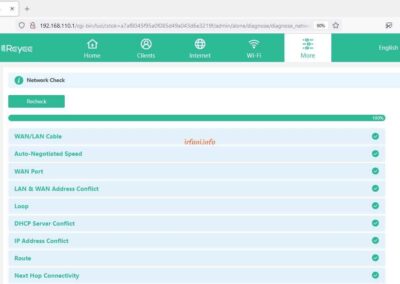
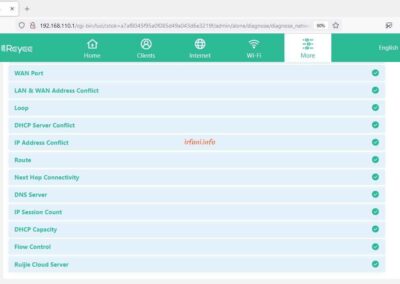
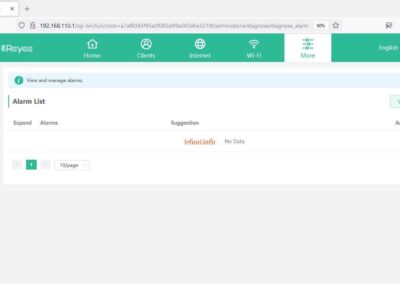
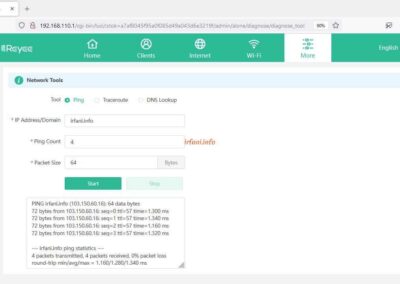
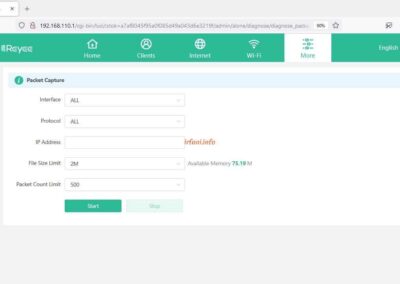
16. For Diagnostics, it’s the same, just try the features on the Network Tools menu.


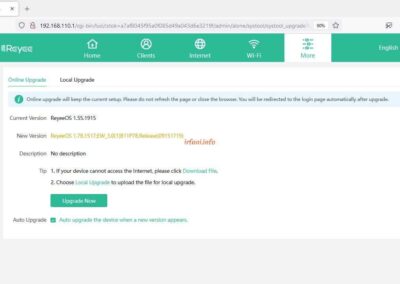
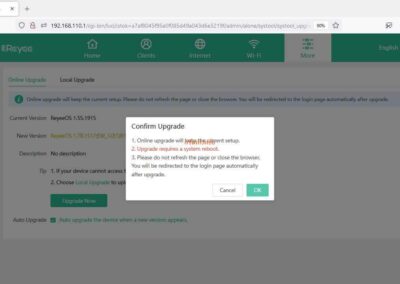
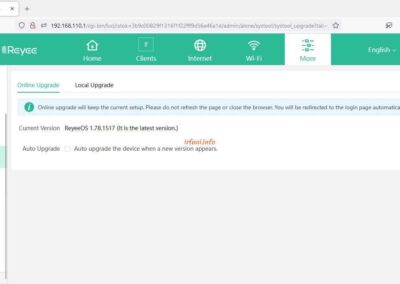
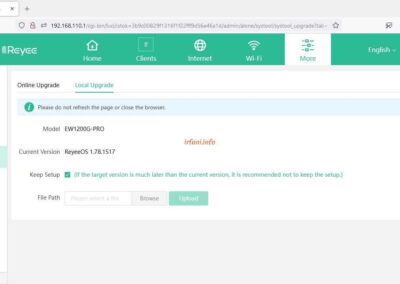
17. On the System page, only in the Online Upgrade feature that I tried, where after the upgrade process is complete, the router will return to the Home page and if we go back to the System – Upgrade page, it says that the router firmware is the latest version.


18. To change the AP language, click on the active language and select the desired language, it turns out that Indonesia is available, although I didn’t try it either.

19. There is also a QR code to download the Ruijie application to remote this AP device online, I haven’t tried it either.

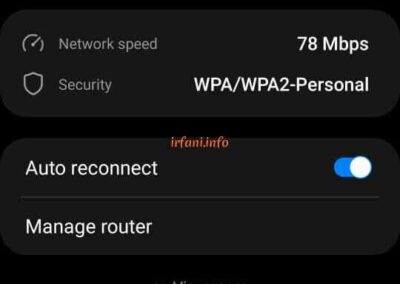
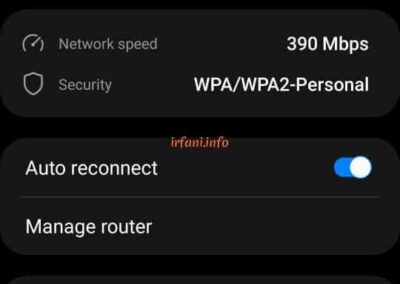
20. Here are the results of the speedtest from my laptop via cable and my cellphone via wireless using different frequencies.


Conclusion :

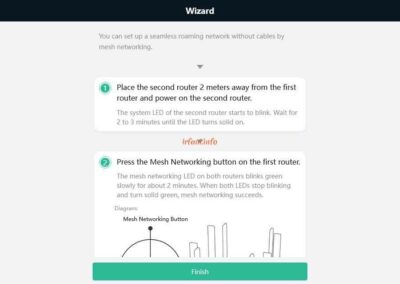
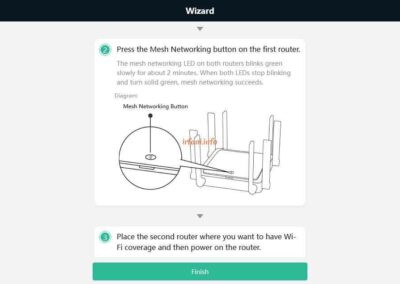
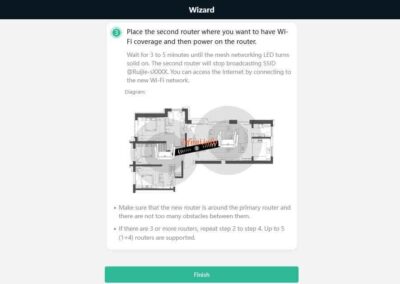
The main feature of this AP is Reyee Mesh but therefore only 1 router is available and the time is short, so sorry I can’t give much results yet. Hopefully next time I can try again. Thanks.

 

Ruijie RG-AP720-L MACC Configuration

Ruijie RG-AP720-L MACC Configuration

The following article is a continuation of this article. Previously, I would like to thank to mas Imam from Ruijie for providing information in the comment column so that I can continue writing for Ruijie.

Alhamdulillah, I was also able to get Ruijie back and it has been set by mas Bayu in MACC mode which is also connected to his Cloud account. Because I want to try the Cloud, he has to delete the Serial Number (SN) first so that I can configure it in my Cloud account later.

Here is the guide:

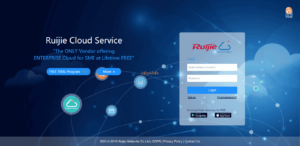
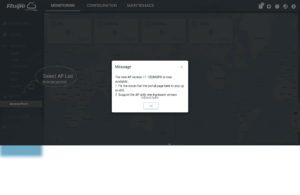
  1. I immediately created a Cloud account here and the initial display is as follows :

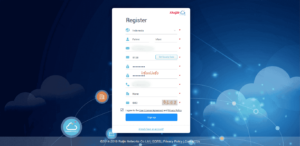
  1. I select Sign up, then fill in the required data in order, to Get Security Code will be sent via email. After clicking Sign up, you will immediately log in to the Cloud Dashboard.

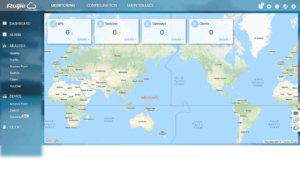
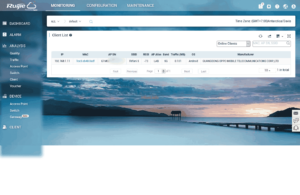
  1. Here’s what it looks like.

  1. To add a device, select Device – Access Point, on the AP List select Add AP – Add a Device, enter the serial number of the AP and for the Alias can be adjusted, in this case I fill in the LAB, then click OK, the result will look like the following :


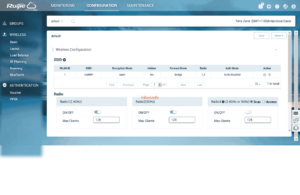
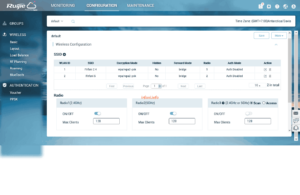
  1. For the AP configuration, because it is connected to the Cloud, it can be immediately changed as if accessing locally, only the appearance is different. Select CONFIGURATION – WIRELESS – Basic.

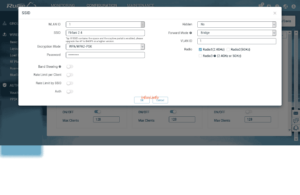
  1. Select Edit on the Action tab, I will change the SSID, radio frequency to 2.4 Ghz only and wifi password and then click OK.

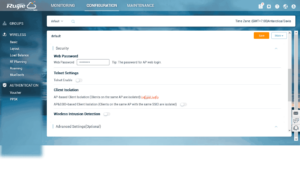
  1. To add the SSID, click on the + sign, for my frequency set 5 Ghz to make it easier to distinguish. I can’t click Save right away, I am required to fill in the login password to the AP first (to log in from the local side), the password can be the same as before or created a new one.

  1. On the Radio tab, it is used to turn the frequencies used on and off, so if any frequencies are turned off, then the SSID that uses them will not be recognized.

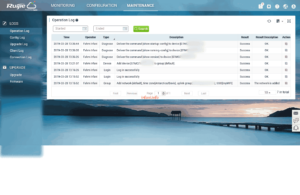
  1. To view the logs, select MAINTENANCE, you can select the log model to see in the LOGS.

  1. There is also a feature for firmware upgrades, which when I tried it turned out to be using the latest version.


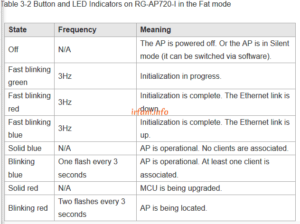
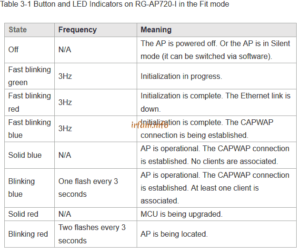
A little additional info for the indicators on Ruijie that I got from here.

If I notice that there are some features that don’t seem to exist in the Cloud if I access them locally or there may be differences in sentences that I don’t understand, such as :

  1. Blacklist and Whitelist features

  1. DFS Features

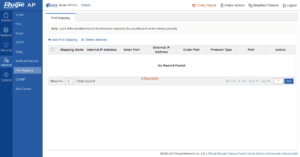
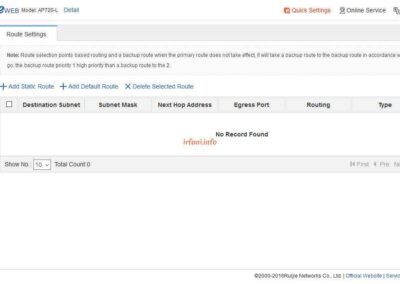
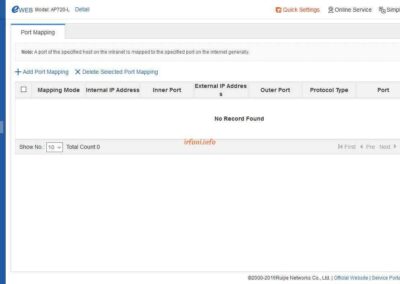
  1. Port Mapping Features

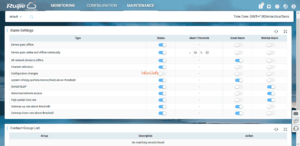
  1. Alarm Setting

If I check the menu, I get more but as I informed above, maybe I don’t really understand the feature.

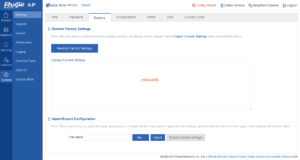
There is something strange, yes strange magic bin, namely on Restore Factory Settings, I accessed locally and clicked Restore Factory Settings and the result was indeed back to the original but strangely in the Cloud it is still monitored Online with a fixed configuration (there is still an SSID), as if there is no change.

I tried to log out and  log in again and the result was still the same, indeed the AP was still connected to  the internet. I scanned the wireless and it was not detected and I don’t know, suddenly the configuration changed to the original (Cloud). Is this Config Status Synced?

Curious? I tried to reset again, this time faster than the original one or indeed not reset, it only took about 5 minutes from the restart until it became solid blue, and after I logged in, it was immediately like the Cloud configuration.

I’m still curious too, after I restore the third time, I still installed the router to get DHCP but  my internet is disabled, and after restarting only until the orange indicator and on the login page  automatically appears the following image :

I tried logging out and successfully logged in with the default password, which is admin. I tried to activate  the internet again and the result was, 1 minute after connecting the indicator from solid orange to flashing yellow then solid yellow and immediately changed again to flashing red and after 3 minutes it became solid blue.

If I Torch, the AP points to IP 35.197.150.240, and as the result above, the AP is instantly synced with the Cloud.

From this, I can conclude that APs that have used the MACC method, as long as the serial number is not deleted in the Cloud database,  will still synchronize when the local AP device is connected to  the internet.

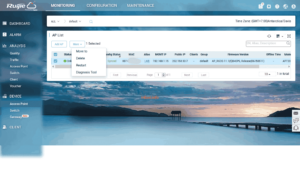
To delete an AP that has been registered, it can be seen in the following image :

Maybe only here is the information I provided, for the internet speed test I made in a different article. Thanks.
 

Ruijie RG-AP720-L Basic Configuration

Ruijie RG-AP720-L Basic Configuration

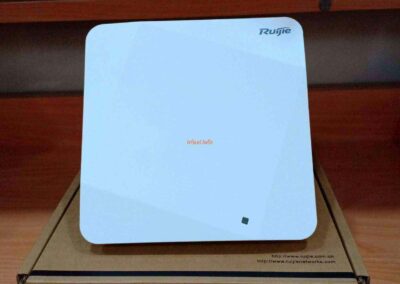
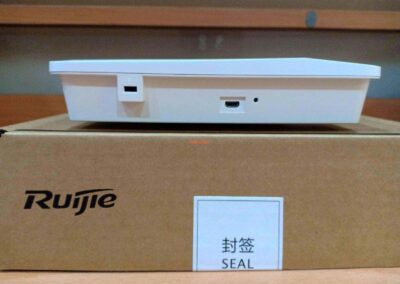
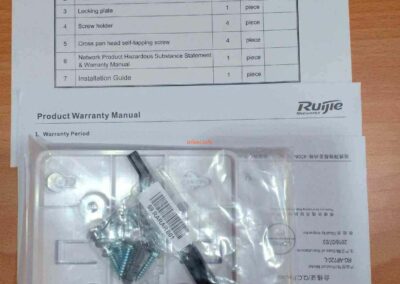
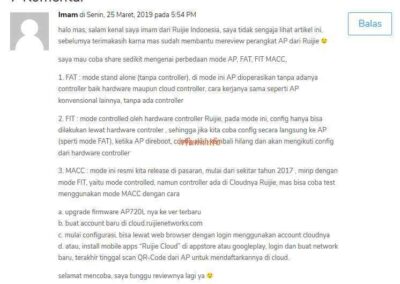
Ruijie hmmm the brand I just heard about for the Access Point (AP) device that will be discussed this time and as always, this time the test was very short because I wanted to install it in the customer’s place, hehehe. The item I got was still in new condition, so you can see the contents of the box first.


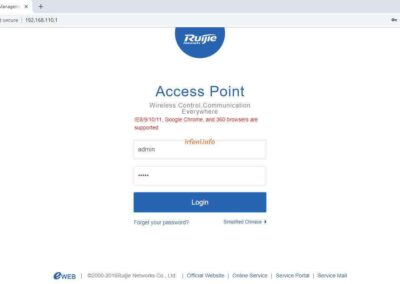
This AP has a default IP of 192.168.110.1 with the same username and password, namely admin. But when I tried it I didn’t use the IP, because in general the AP only forwards the connection from the main device that gives the DHCP IP, so I tried directly from the DHCP IP that the IP has obtained.

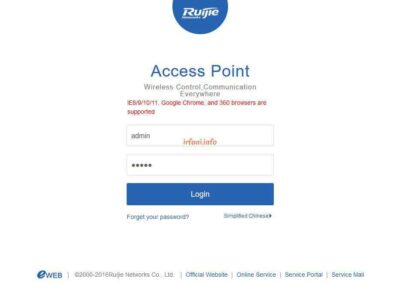
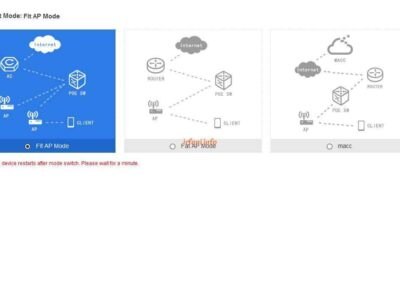
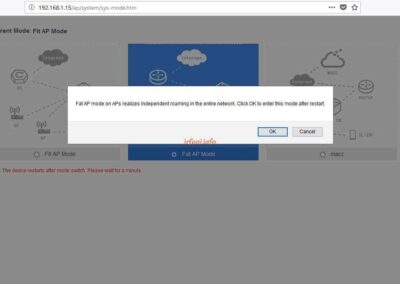
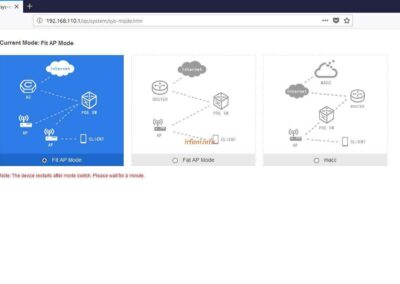
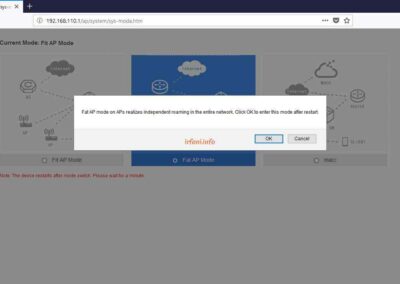
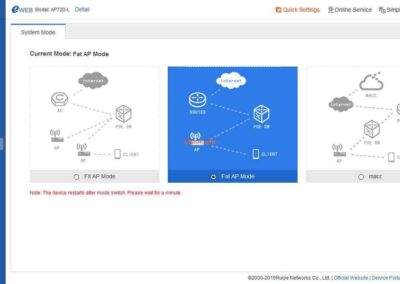
When opening the home page, information will appear that this device can be accessed by more than 360 browsers and after logging in will appear 3 options, namely, Fit AP, Fat AP and macc which for the topology can be seen from the available images. At first I was confused, because by default Fit AP was selected, but no configuration was found, then I changed it to Fat AP and was even more confused because the AP became inaccessible and did not get a DHCP IP after the reboot process. I tried rebooting Mikrotik and the AP the result is still the same.


Finally I tried to reset the AP (press the Reset button for about 10 seconds in the lit position until the LED flashed green) and this time I tried to equate the IP block with the AP. After logging in and reappearing the mode page, again I selected Fat AP and repeated the same thing as above, but previously I had Ping to IP 192.168.110.1 to make sure the connection, the result was after rebooting to RTO, again I tried to pair directly from Mikrotik and then get the DHCP IP again, is this a bug? (*)


Topology :

Internet <–> router (DHCP) <–> Ruijie RG-AP720-L

The following is the configuration of Ruijie RG-AP720-L :

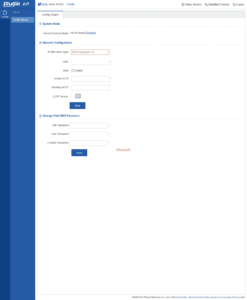
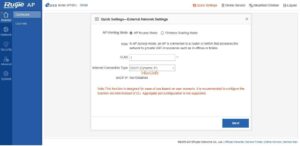
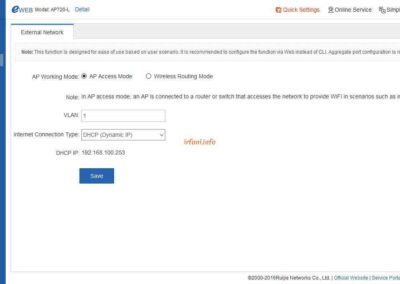
  1. After successfully logging in with the DHCP IP, Quick Settings will appear to select the AP mode to be used, because getting the internet from the main router then I select the following mode then Next :

AP Working Mode : AP Access Mode

Internet Connection Type : DHCP

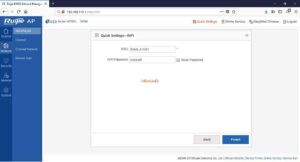
  1. Enter the desired SSID and password, then click Finish.

Until this step, the AP should be able to directly connect to the internet and my current position is to replace the old AP device to this Ruijie AP, of course, the SSID and password are the same as the configuration of the old AP, so if you look at the Dashboard, it will automatically connect to the device that has been connected to the old AP before.

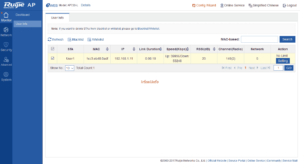
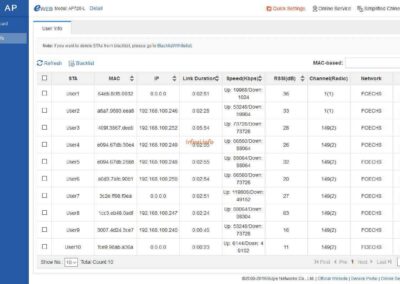
  1. In the Monitor – User Info tab we can see the details of the connected device with the following info :
  • Channel (Radio) : to see the wireless frequency used (2.4 or 5).
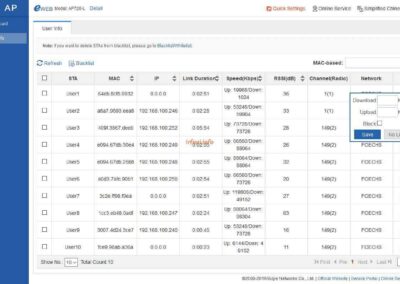
  • Action : limits bandwidth or blocks against a device.


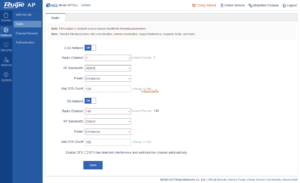
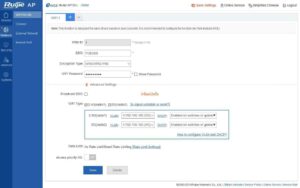
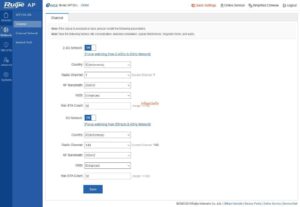
4. To add and change SSID and wireless channels, it can be set in Network – Wifi/WLAN.

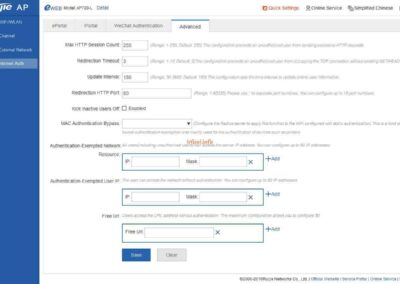
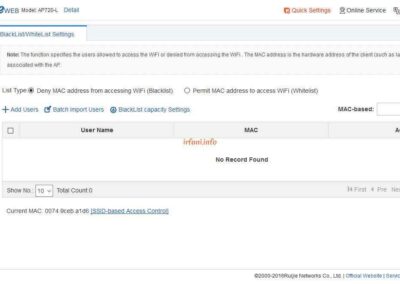
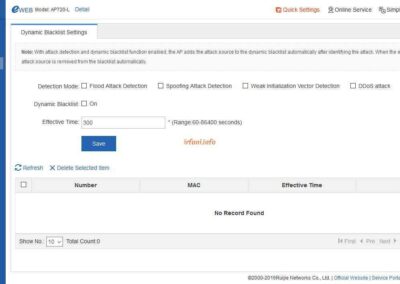
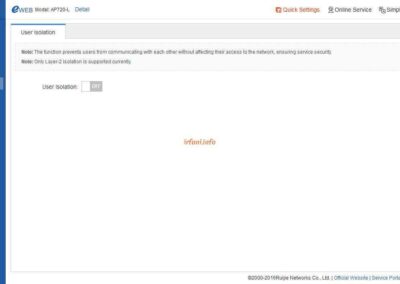
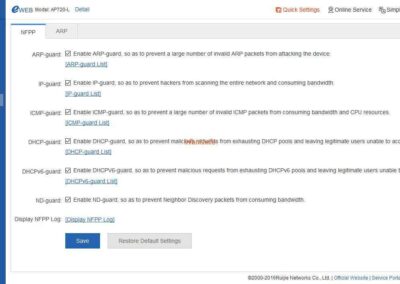
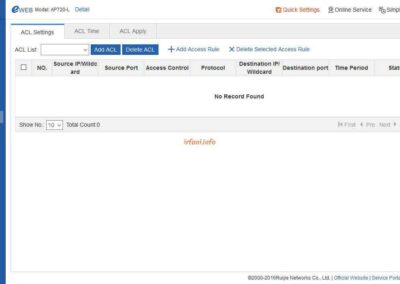
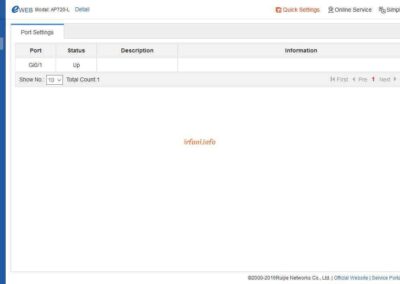
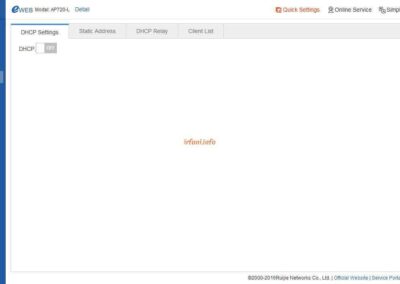
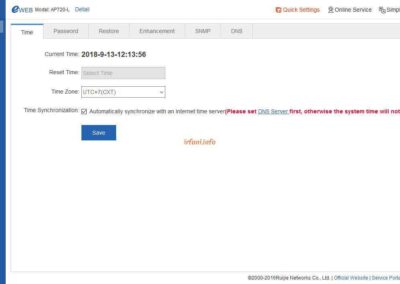
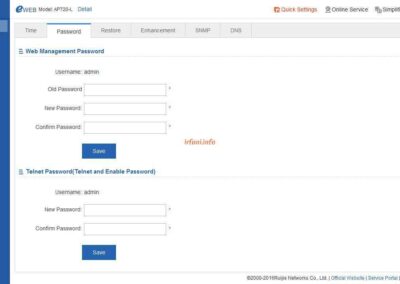
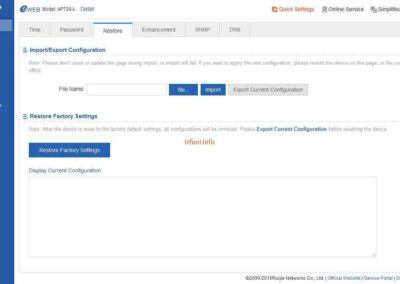
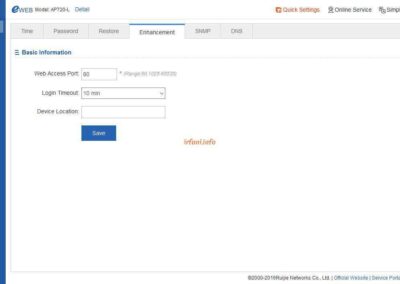
Attached to the AP, I did not take all the pages, only a few that I thought were important.

(*) After a few days, I got the AP for retesting, but this time after rebooting, I was able to successfully log back into the IP 192.168.110.1.


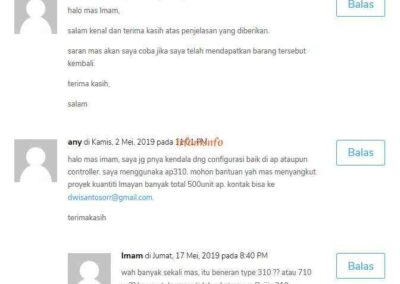
Previously, I apologized and thanked the commenters, but due to the server move, I did not back up this page but recreated it, for that I made a comment in the form of a “screenshot” only. Thanks.