Taking Advantage of ADSL Wireless Modem 2 – TP-Link TD-W8101G

Taking Advantage of ADSL Wireless Modem 2 – TP-Link TD-W8101G

T: Do you have an extender router that is not used? The router at home is broken.

S: Wireless router or what do you mean?

T : bla bla bla bla bla …

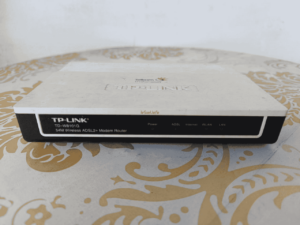
It turned out that he needed  an additional router to connect to the internet from the main router  because he router was currently using was broken. After I checked in the warehouse, I found the TP-Link TD-W8101G router modem.

For this guide, it’s similar to the one I’ve made before here, so it’s just a different router and this time I’ve made it a bit detailed enough to make it easier.

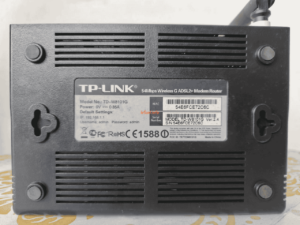
Here is  the default  information of  the router:

IP: 192.168.1.1

Username : admin

Password : admin

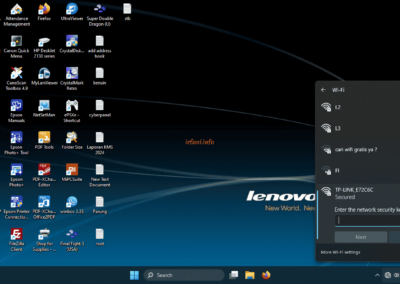
SSID : TP-Link_XXXXX (XXXXX is usually the MAC Address of the TP-Link, in this case what I have is TP-LINK_E72C6C), so it can be adjusted from the sticker attached to the bottom of the modem.

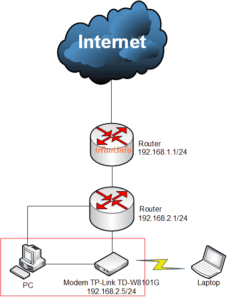
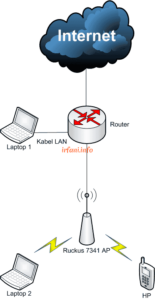
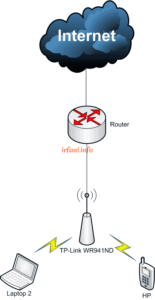
For the final topology as follows but when doing this guide I am using a PC, so just connect the LAN cable  to the PC and modem (like in the red box), do not connect to a network that is already running as it will cause looping.

Here is the guide :

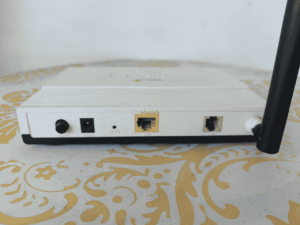
  1. Because this router has not been used for a long time, I will immediately reset it by pressing  the reset button between the power port and the LAN port for 5-10 seconds.

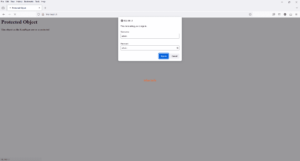
  1. If the reset is successful, then when you type IP 192.168.1.1 on the browser it will be the following image, type admin in the Username and Password  column and then click Sign in.

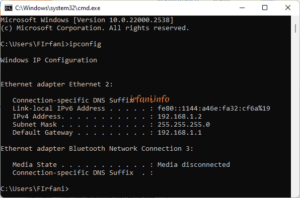
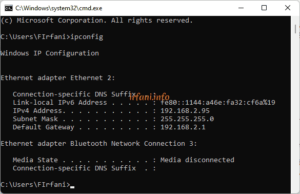
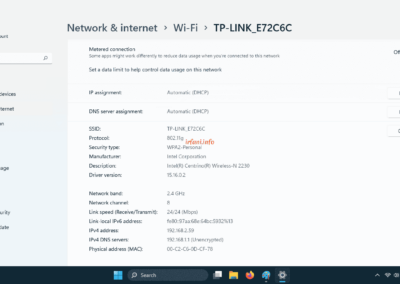
and I check the IP on the PC will get the following.

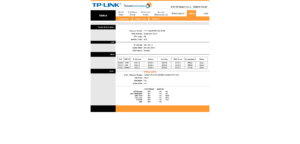
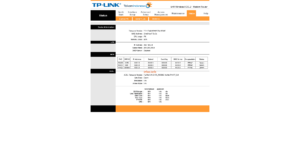
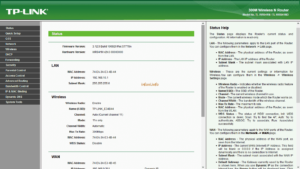
  1. Once opened, it will be directed to the Status tab.

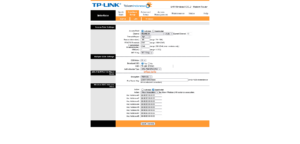
  1. Click the Interface Setup – Wireless tab. You can change the SSID according to the name you want, but in this example I will only provide a password, here is the information and then click SAVE :

Authentication Type = WPA-PSK/WPA2-PSK

Encryption = TKIP/AES

Pre-Shared Key = wireless password

  1. I will replace the default IP with  an empty IP, in case I change from 192.168.1.1 to 192.168.2.5 and turn off the DHCP (Disable) feature because DHCP is already provided from the router before, then click SAVE.

Note: The IP that will be given must be the same as the IP block that is already running, otherwise you will not be able to connect to the internet.

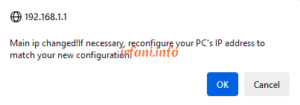
  1. Click OK if the following confirmation appears.

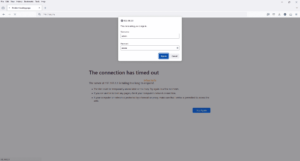
  1. If I refresh (press F5 on the keyboard) the page will likely look like this (I’m using the Firefox browser, the error will be different if you’re using a different browser).

  1. Unplug  the LAN  cable from  the PC and connect it to the previous router, as well as for the TP-Link TD-W8101G router modem (as in the topology). If true, then when we type IP 192.168.2.5 on the browser the following image will appear.

and I check the IP on the PC will get the following.

  1. If you are logged in, then the IP has changed.

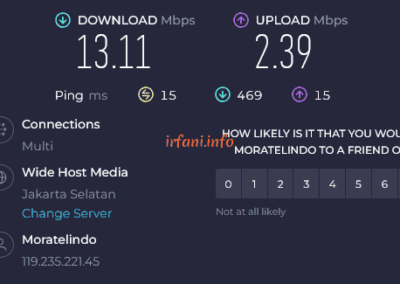
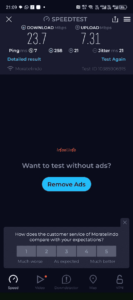
  1. The following are the results of the test using a laptop and cellphone.


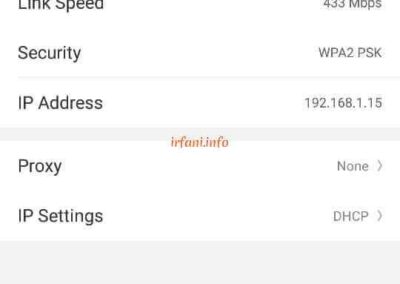
To be honest, the results are not very satisfactory because they are very far from the available bandwidth, which is 50 Mbps, here are the test results from cellphones using the same frequency, namely 2.4 Ghz, the results are better for downloading.

Finally, hopefully this article can help take advantage of unused routers, hehehe, thank you and have a nice day.

 

Ruckus ZoneFlex 7341 AP Internet Speed ​​Test

Ruckus ZoneFlex 7341 AP Internet Speed ​​Test

This article is a continuation of the previous article which can be read here.

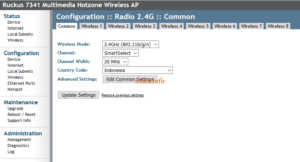
The device I am currently trying is the Ruckus ZoneFlex 7341 AP (Single-band, 2.4GHz, 11n), because this product has been discontinued, so there is no description that I can inform, but you can search the internet for it.

The topology is as follows :

There are not many options that can be changed for testing from this device.

The following are the test results of 4 devices:

Devices Processor / RAM Wifi (Mbps)

Wireless

Local (Mbps) International (Mbps)
Download Upload Download Upload
Asus X455LJ i3 5005U / 8 GB 65 37 36 26 41
HP 240 G6 i5 7200U / 8 GB 65 39 35 32 37
Asus TP201S N3710 / 4 GB 150 7 37 6 28
HP Oppo F7 65 37 45 29 43

The following is an overview of the test :


Asus X455LJ


HP 240 G6


Asus TP201S


HP Oppo F7

The conclusion is:

The results of this test are not much different from previous TP-Link devices. But the most surprising result is the result for the Asus TP201S, which is very absurd. Technically I don’t know for sure about this, even though the laptop has been restarted many times but the results are more or less the same and sometimes even worse, but if you try using other wireless, the results are better. Thank you.


Ruijie RG-AP720-L MACC Configuration

Ruijie RG-AP720-L MACC Configuration

The following article is a continuation of this article. Previously, I would like to thank to mas Imam from Ruijie for providing information in the comment column so that I can continue writing for Ruijie.

Alhamdulillah, I was also able to get Ruijie back and it has been set by mas Bayu in MACC mode which is also connected to his Cloud account. Because I want to try the Cloud, he has to delete the Serial Number (SN) first so that I can configure it in my Cloud account later.

Here is the guide:

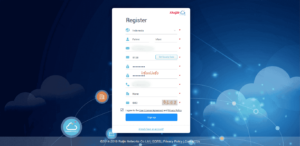
  1. I immediately created a Cloud account here and the initial display is as follows :

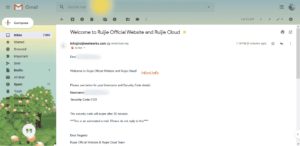
  1. I select Sign up, then fill in the required data in order, to Get Security Code will be sent via email. After clicking Sign up, you will immediately log in to the Cloud Dashboard.

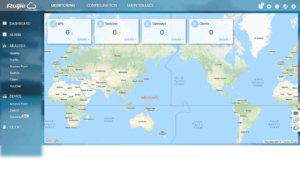
  1. Here’s what it looks like.

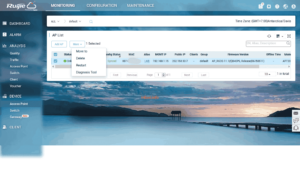
  1. To add a device, select Device – Access Point, on the AP List select Add AP – Add a Device, enter the serial number of the AP and for the Alias can be adjusted, in this case I fill in the LAB, then click OK, the result will look like the following :


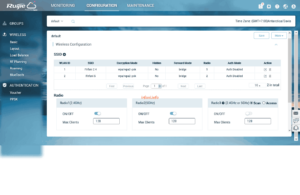
  1. For the AP configuration, because it is connected to the Cloud, it can be immediately changed as if accessing locally, only the appearance is different. Select CONFIGURATION – WIRELESS – Basic.

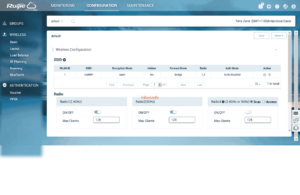
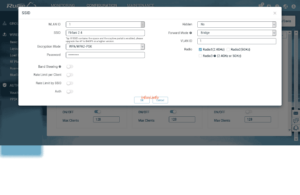
  1. Select Edit on the Action tab, I will change the SSID, radio frequency to 2.4 Ghz only and wifi password and then click OK.

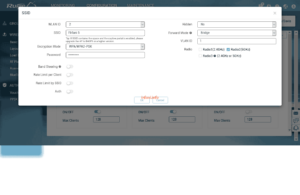
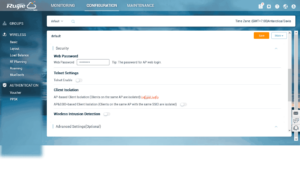
  1. To add the SSID, click on the + sign, for my frequency set 5 Ghz to make it easier to distinguish. I can’t click Save right away, I am required to fill in the login password to the AP first (to log in from the local side), the password can be the same as before or created a new one.

  1. On the Radio tab, it is used to turn the frequencies used on and off, so if any frequencies are turned off, then the SSID that uses them will not be recognized.

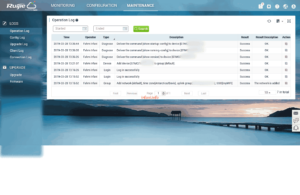
  1. To view the logs, select MAINTENANCE, you can select the log model to see in the LOGS.

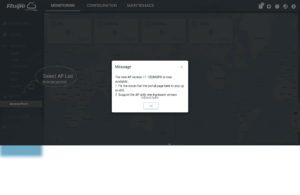
  1. There is also a feature for firmware upgrades, which when I tried it turned out to be using the latest version.


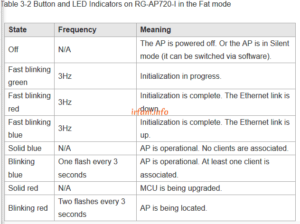
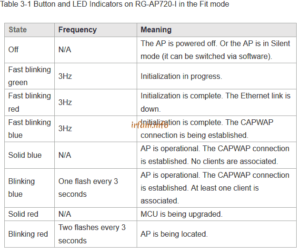
A little additional info for the indicators on Ruijie that I got from here.

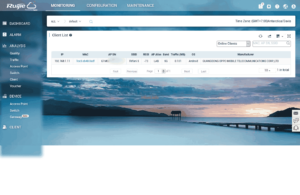
If I notice that there are some features that don’t seem to exist in the Cloud if I access them locally or there may be differences in sentences that I don’t understand, such as :

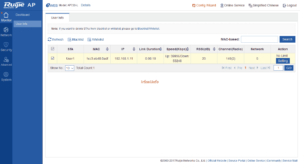
  1. Blacklist and Whitelist features

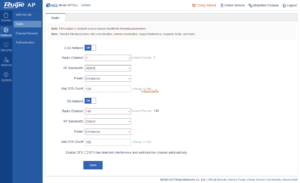
  1. DFS Features

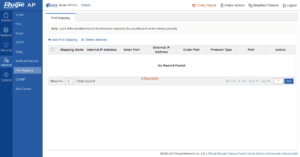
  1. Port Mapping Features

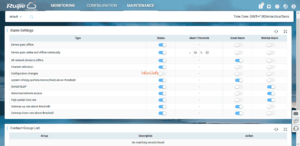
  1. Alarm Setting

If I check the menu, I get more but as I informed above, maybe I don’t really understand the feature.

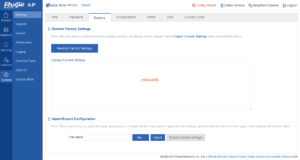
There is something strange, yes strange magic bin, namely on Restore Factory Settings, I accessed locally and clicked Restore Factory Settings and the result was indeed back to the original but strangely in the Cloud it is still monitored Online with a fixed configuration (there is still an SSID), as if there is no change.

I tried to log out and  log in again and the result was still the same, indeed the AP was still connected to  the internet. I scanned the wireless and it was not detected and I don’t know, suddenly the configuration changed to the original (Cloud). Is this Config Status Synced?

Curious? I tried to reset again, this time faster than the original one or indeed not reset, it only took about 5 minutes from the restart until it became solid blue, and after I logged in, it was immediately like the Cloud configuration.

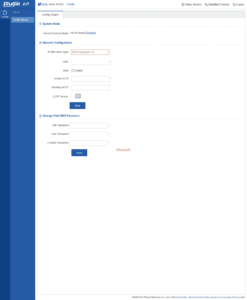
I’m still curious too, after I restore the third time, I still installed the router to get DHCP but  my internet is disabled, and after restarting only until the orange indicator and on the login page  automatically appears the following image :

I tried logging out and successfully logged in with the default password, which is admin. I tried to activate  the internet again and the result was, 1 minute after connecting the indicator from solid orange to flashing yellow then solid yellow and immediately changed again to flashing red and after 3 minutes it became solid blue.

If I Torch, the AP points to IP 35.197.150.240, and as the result above, the AP is instantly synced with the Cloud.

From this, I can conclude that APs that have used the MACC method, as long as the serial number is not deleted in the Cloud database,  will still synchronize when the local AP device is connected to  the internet.

To delete an AP that has been registered, it can be seen in the following image :

Maybe only here is the information I provided, for the internet speed test I made in a different article. Thanks.


Ruckus Zonflex R310 AP Basic Configuration

Ruckus Zonflex R310 AP Basic Configuration

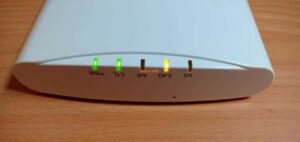
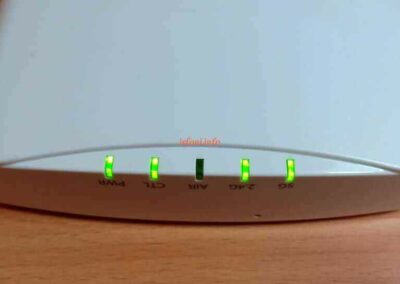
This is the first Ruckus device that I have tried, although it is not a new item, but it does not hurt that I learned to get to know the device. Because I don’t know the login password to the device, then I just reset it and the method is quite easy, press the reset button next to the LAN port for about 5 – 10 seconds in the state that the device is on and wait until the indicator light turns off and turns back on, the indication of being successfully reset is the indicator that lights up only the PWR and CTL lights, because the default wireless position is in a state disabled.

Here’s the initial configuration guide:

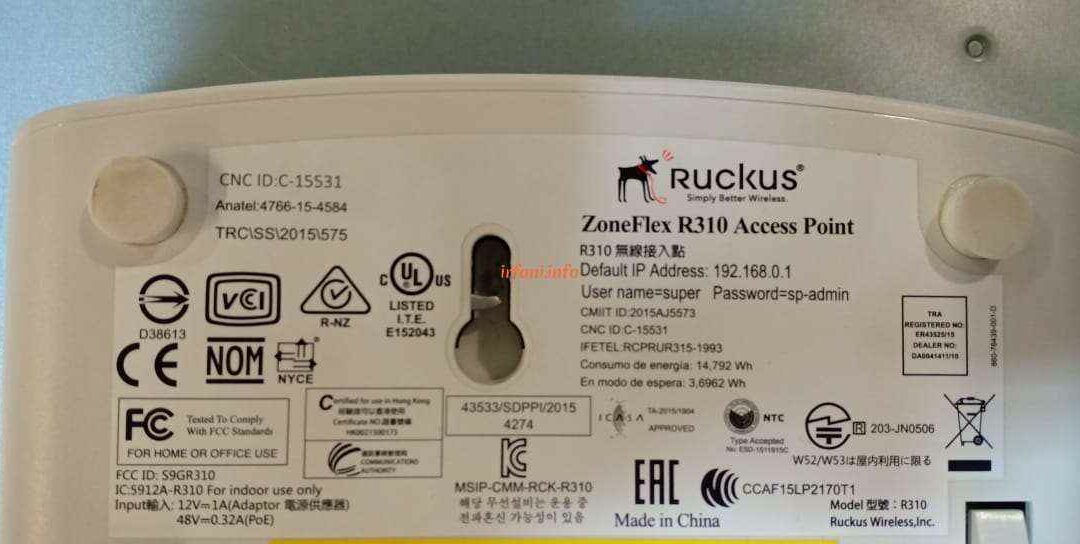
  1. The default IP address is 192.168.0.1 but since I installed it to the router, I accessed it using the IP obtained from the router, which is 192.168.1.14.

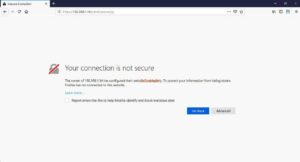
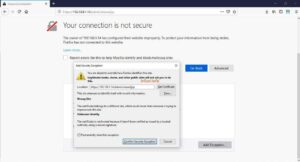
  1. If it appears like the following image, click Advanced – Add Exception – Confirm Security Exception and go straight to step 3:

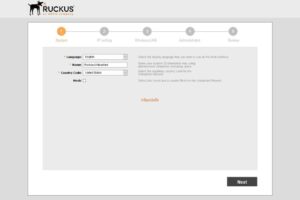
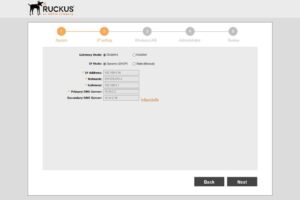
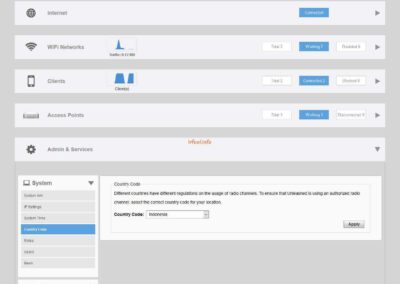
  1. I just changed the Country Code to Indonesia, then click Next. Since I have a primary router that already gives DCHP to this AP, I didn’t change the configuration, click Next to continue.

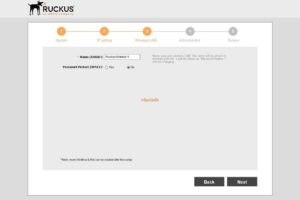
  1. I also did not change the SSID and provide a password, it will be configured later, click Next.

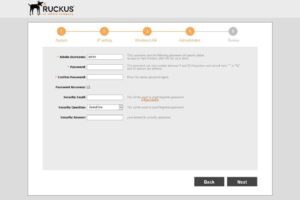
  1. For passwords that must be changed directly, while for Password Recovery I did not check, click Next again.

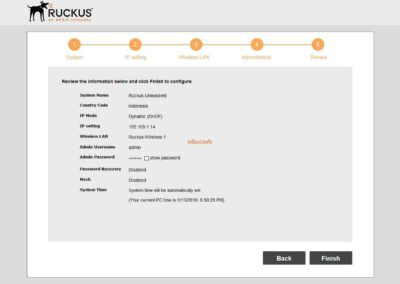
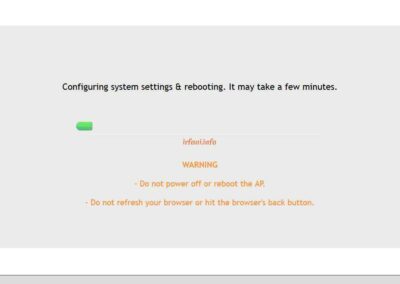
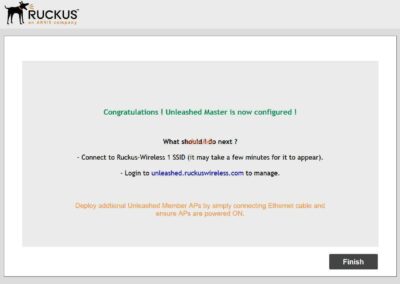
  1. Here are the review results from the process above, click Finish and OK to restart the device.


Here is the next configuration :

  1. Log in with the user and password that has been set beforehand, then click Unleash.

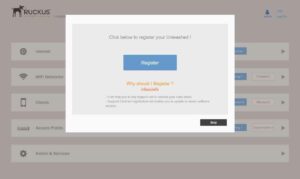
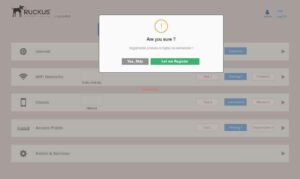
  1. I will not register this device, for that I choose Skip and Yes, Skip.

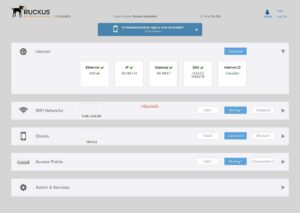
  1. It looks like the following picture, the internet status has been connected because indeed the main router has been connected to the internet.

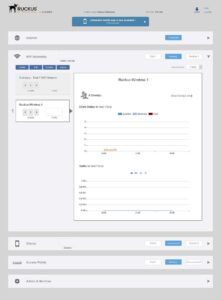
  1. I’m going to change the SSID I created earlier, click WiFi Networks and select Ruckus-Wireless 1 and then click Edit.

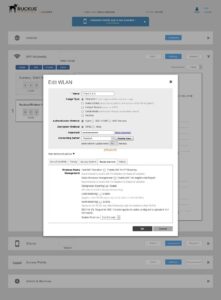
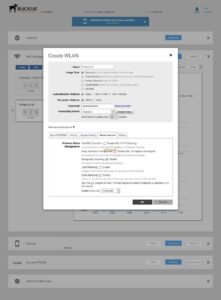
  1. Because this AP has 2 frequencies, namely 2.4G and 5G, so to make it easier, I will give the name FIrfani 2.4 G which indicates operating on the 2.4G frequency as shown in the following image. To provide a password, select WPA2 in the Encryption Method and enter  the desired password, then OK.

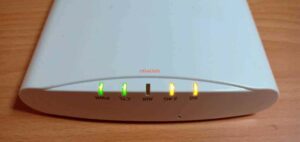
Note: the 2.4G indicator will light up Orange if it has been activated and turn Green if any device is connected.

  1. Click Create to create a new SSID, for the SSID I named FIrfani 5 G which works on the 5 Ghz frequency.

Note: the 5G indicator will light up Orange if it is active and turn Green if any device is connected.
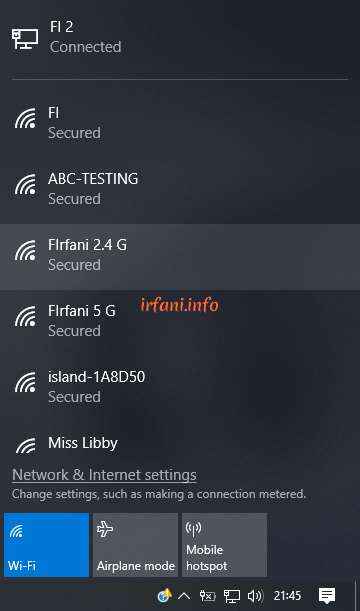
  1. I will connect the 2 SSIDs from different devices. For the 5 Ghz frequency, not all devices support it, for that if the device does not find the 5 G FIrfani SSID, then the device does not support it yet. But on the 2 devices I tried, both already support the 5 Ghz frequency.
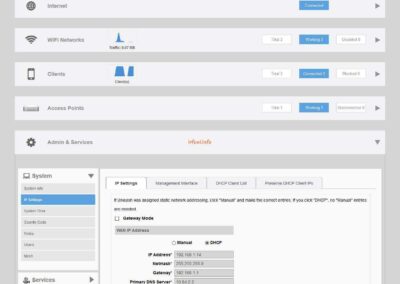
Oh yes, the 2.4G and 5G indicators will turn Green if any device is connected.
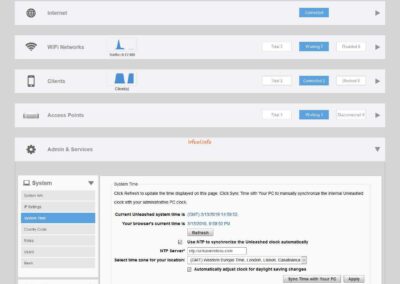


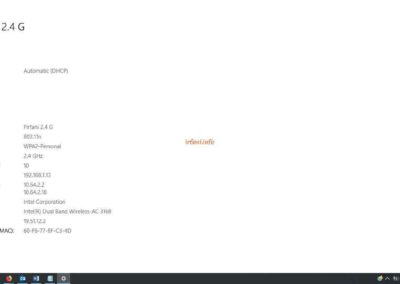
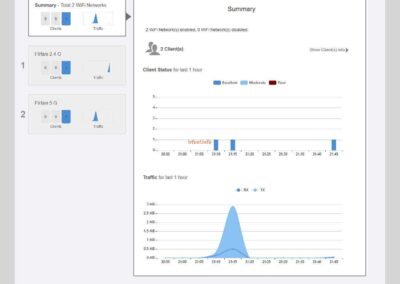
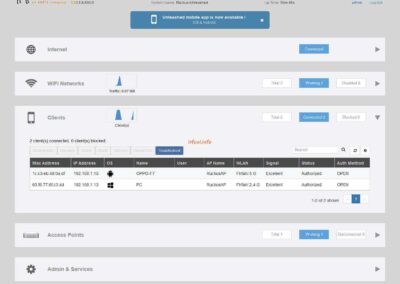
  1. Here are the results from the wireless and client sides.


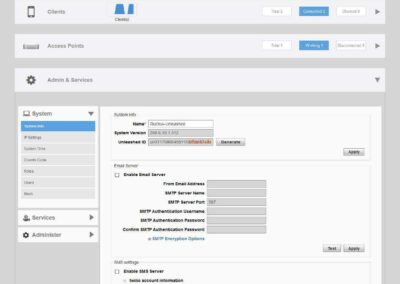
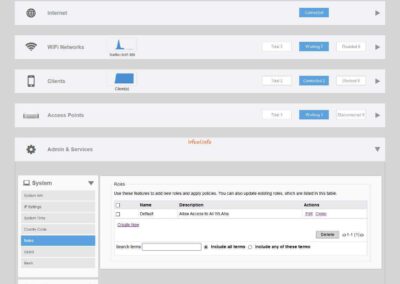
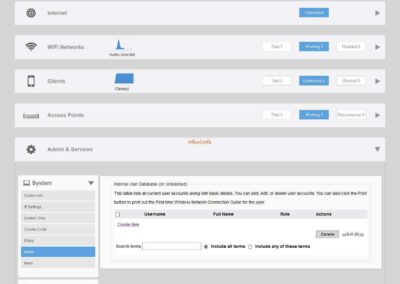
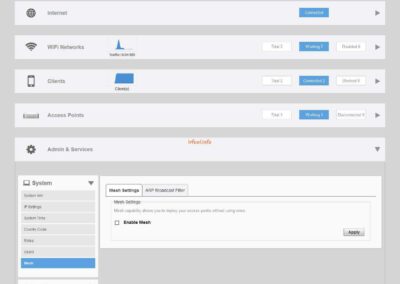
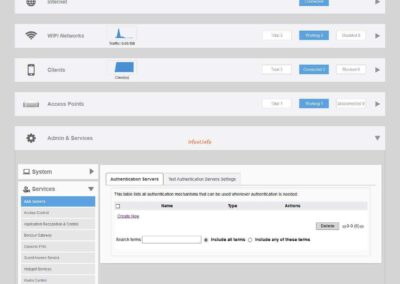
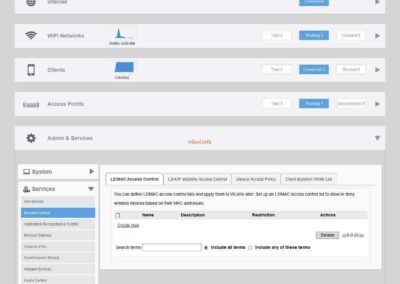
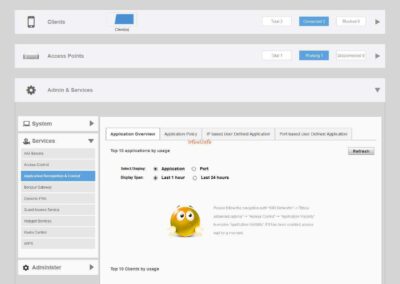
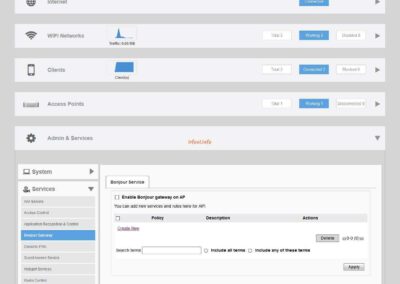
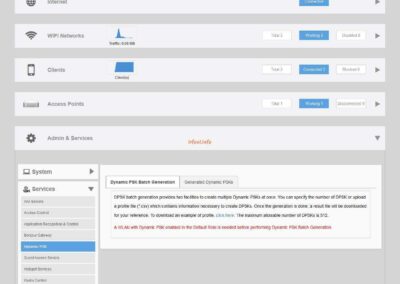
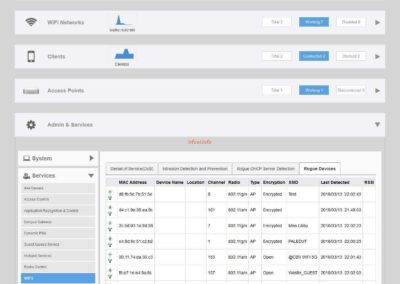
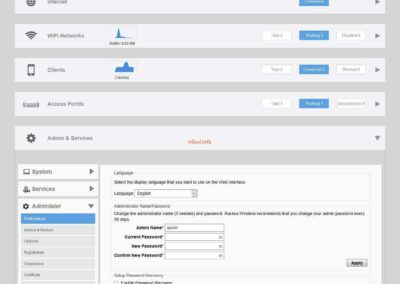
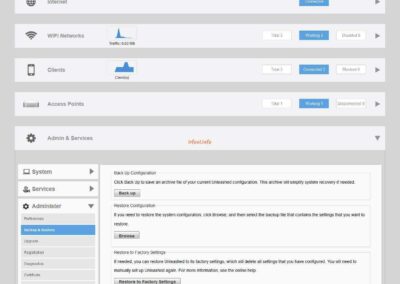
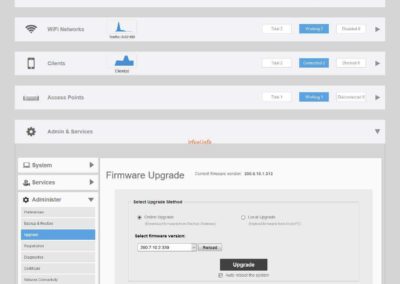
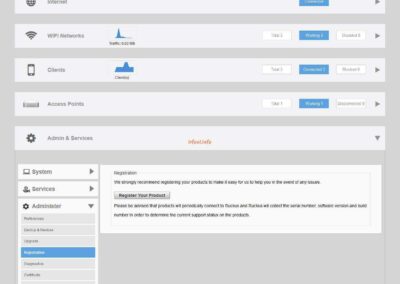
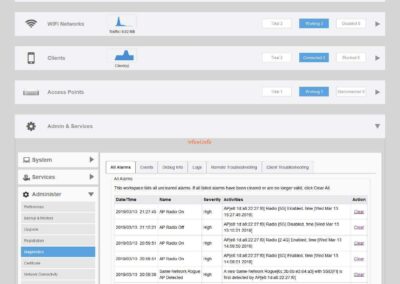
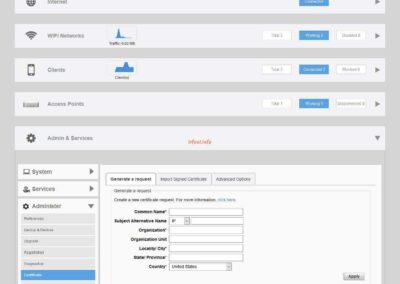
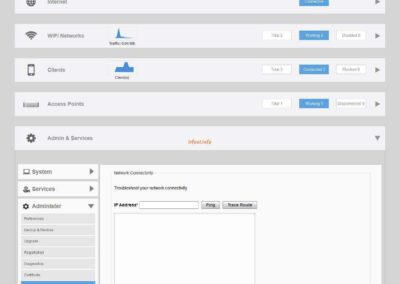
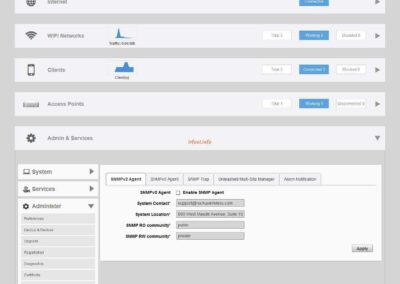
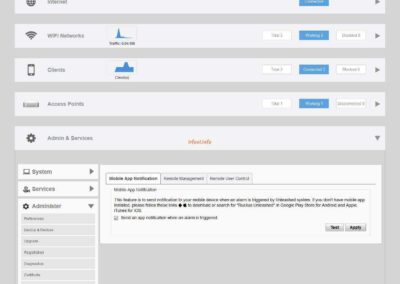
  1. While there is not much information that I can provide on the Admin & Services menu, so I will only share the following view :


That’s the provisional info that I can convey, for the speed test I made in a different article.


TP-Link TL-WR941ND Internet Speed ​​Test

TP-Link TL-WR941ND Internet Speed ​​Test

This article is a continuation of the previous article which can be read here.

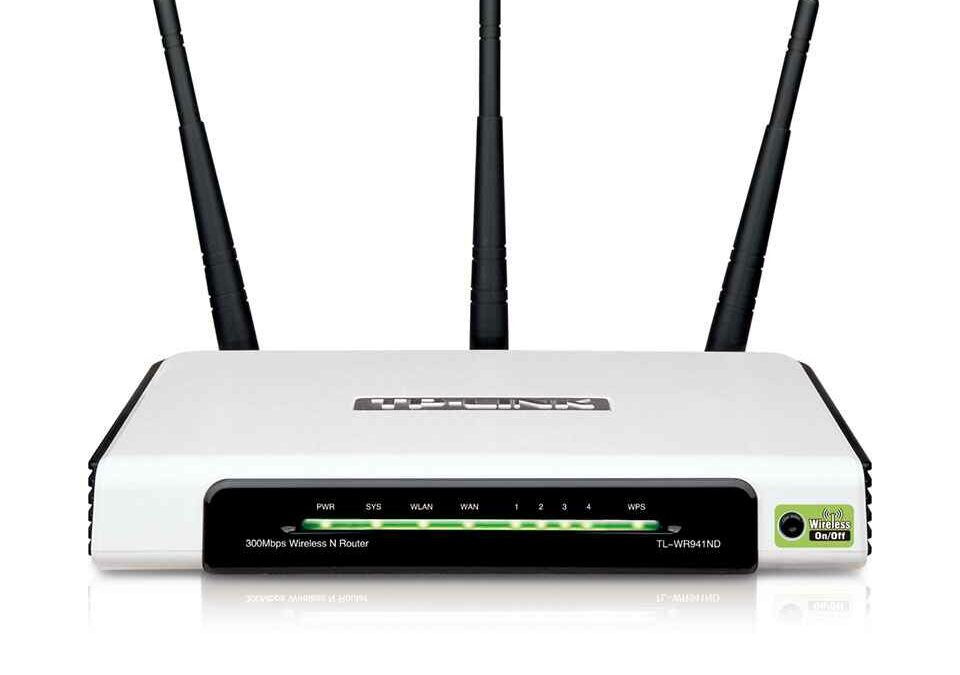
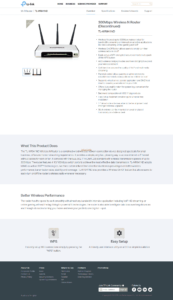
The device I’m trying right now is the TP-Link WR941ND router, here’s a description from the site.

The topology is as follows :

I set the wireless mode to 11n to be more optimal than the other modes and the rest is the default of the router.

The following are the test results of 5 devices :

Devices Processor / RAM Port LAN Wifi (Mbps) Ethernet (Mbps) Wireless (Mbps)
Lokal Internasional Lokal Internasional
D U D U D U D U
Asus X455LJ i3 5005U / 8 GB Gigabit 65 91 91 91 88 24 32 21 32
Lenovo G40 i5 5210U / 4 GB Gigabit 150 93 90 91 88 54 68 45 67
HP 240 G6 i5 7200U / 8 GB Gigabit 150         31 24 21 20
Asus TP201S N3710 / 4 GB 150         26 13 25 18
HP Oppo F7 65         37 36 39 46


The following is an overview of the test :


Asus X455LJ


Lenovo G40


HP 240 G6


Asus TP201S


HP Oppo F7

The conclusion is:

  1. The TP-Link device I use is still far from the bandwidth it should be, which is 500 Mbps, both with wired media (because the port is still Fast Ethernet) and wireless (because it only supports 2.4 Ghz). I have not yet known and found out how to make the wireless speed can be a maximum of 300 Mbps as informed in the description image above. If there is time and opportunity, I will inform you again.
  2. Of the 5 devices that I tried, the Lenovo G40 got the highest results both via cable and wireless, it should be that if you look at the device specifications, the HP 240 G6 can exceed that of the Lenovo G40, but I haven’t checked the device in detail, hopefully next time I can check in more detail.

Hope it helps and your day is fun, thank you.