Monitor Traffic Online

Monitor Traffic Online

To find out the traffic conditions or the path we will pass, I usually check via Google Maps (red indicates traffic jam). But there is a different event, this time I will try to monitor CCTV traffic from 2 sources, namely:

  1. CCTV belonging to the Department of Transportation which can be accessed here.

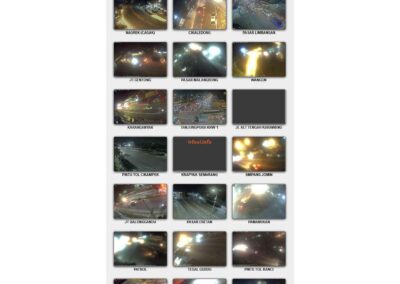
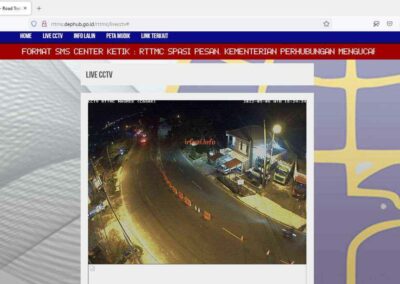
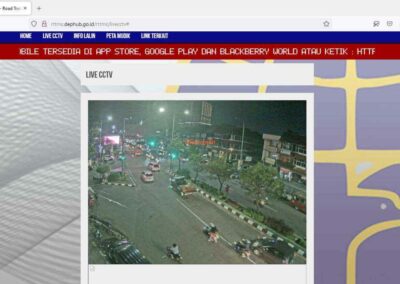
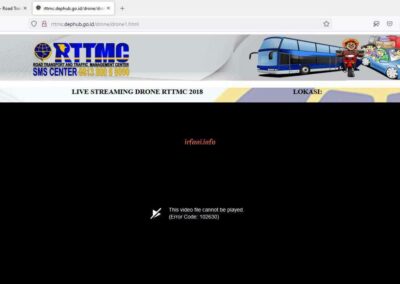
On the page, there are about 36 CCTVs from various regions and 2 via drones, but when I tried to access via drone, it didn’t work.

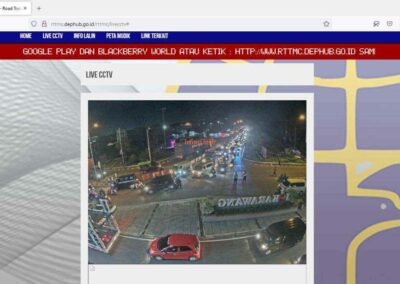
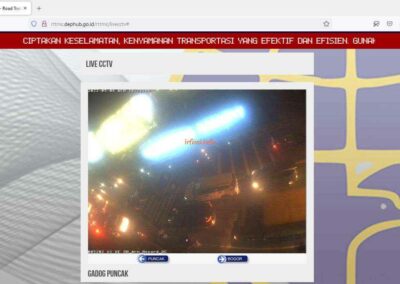
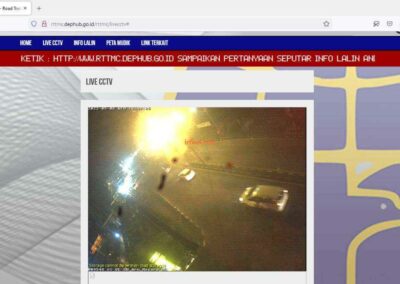
I tried to access some CCTVs but it seemed that the clock listed did not match the clock when I accessed it, around 19.30 WIB. There are even some that do not display the time.

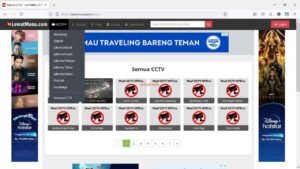
Here’s how it looks :


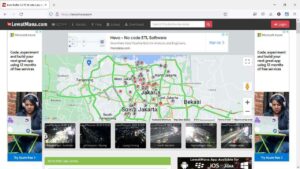
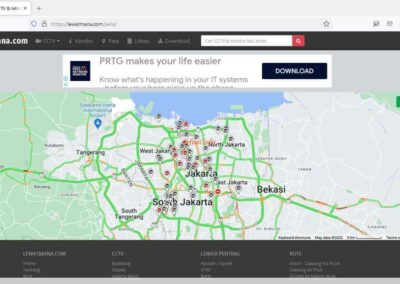
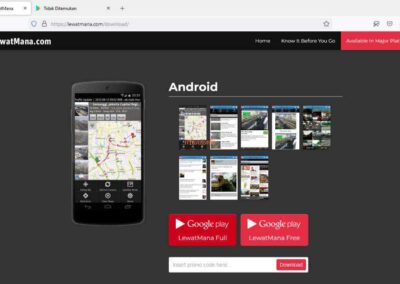
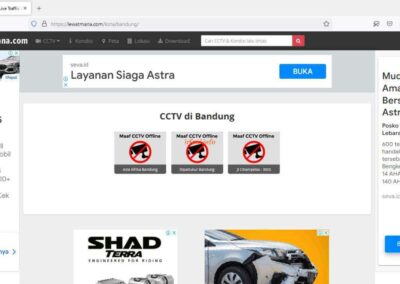
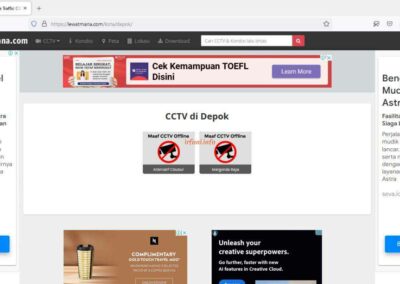
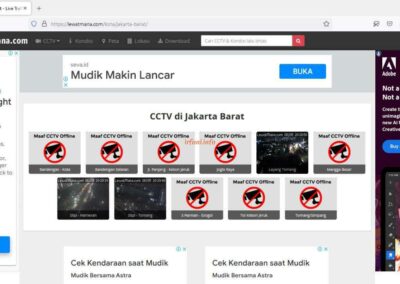
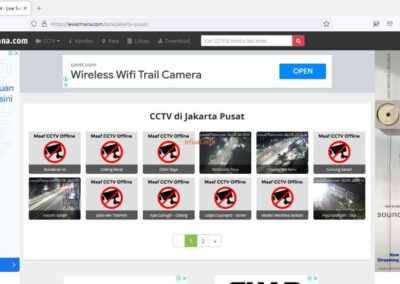
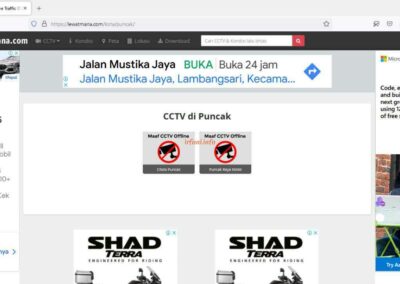
  1. lewatmana.com site whether there are several CCTVs on this site, maybe more than 20 CCTVs and also a map on the home page to more easily monitor the area we want.

Unlike before, there are many advertisements on the page, yes, it may be one of the sources of funds so that this site continues to operate.

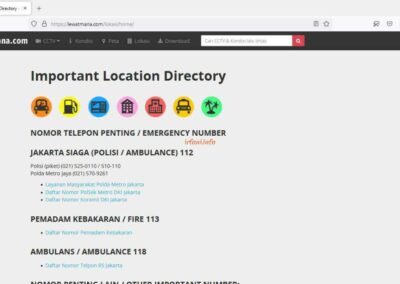
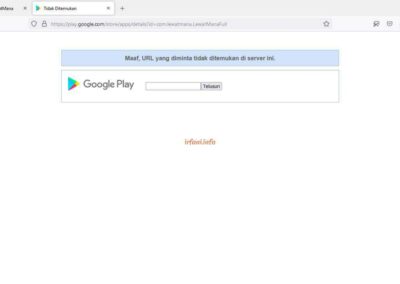
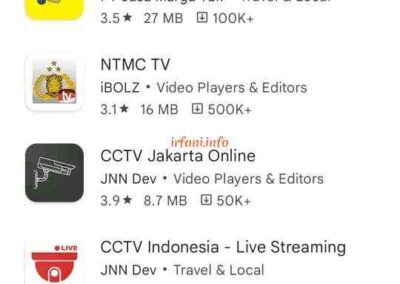
There are several navigation buttons for easy access on this site such as CCTV, Condition, Map, Location and Download which look like the following. But if I try to click Google play Full or Free and a search from the cellphone does not find the application.

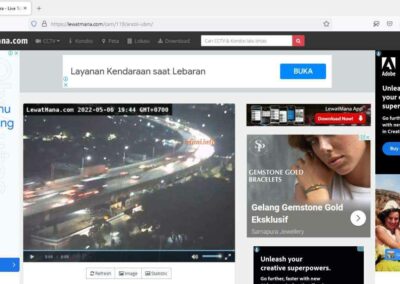
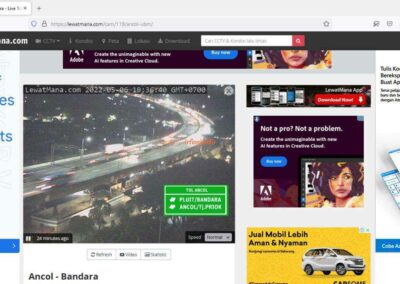
I tried to access one of the CCTVs in the Ancol area. At first I was confused because the image did not move and after I clicked Refresh the image would be updated with the latest time. It turns out that there are indeed images and videos, to view the video, click Video but it doesn’t seem to be live streaming like Dishub’s, maybe to save bandwidth. So I can only see about 7 seconds and to see the current situation, click Refresh again to get the latest results.

It is also mentioned that the location of the camera makes it easier to see the direction and destination of traffic and what is more interesting is the Timelapse where we can see re-recordings starting from 30 minutes, 2 hours, 24 hours and 2 days before.

And on the page below, there are comments that will be directly connected to the Twitter application.

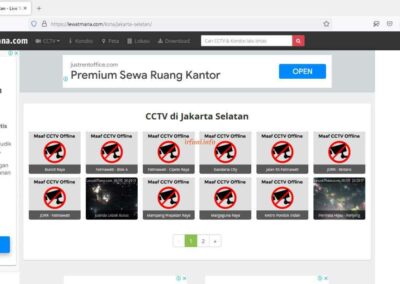
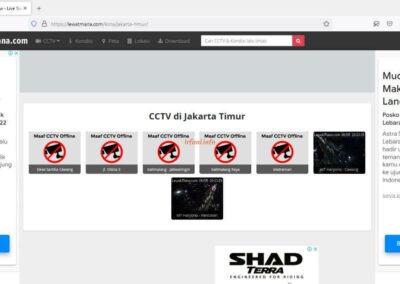
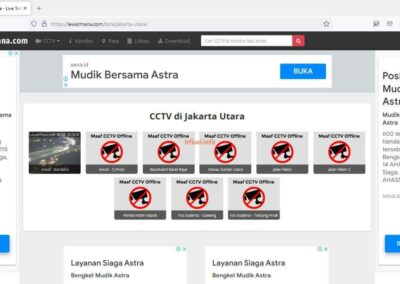
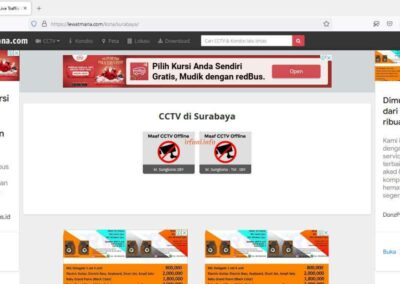
The following is the view of CCTV at each location.


Oh yes, make sure your internet connection is stable to access the CCTV, hopefully it helps, thank you.


Superspring IP Camera IP410 Installation

Superspring IP Camera IP410 Installation

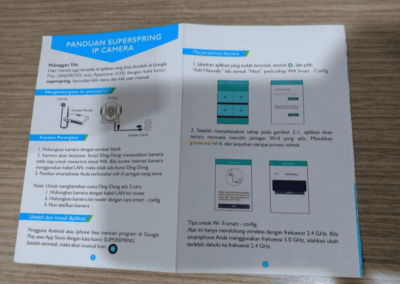
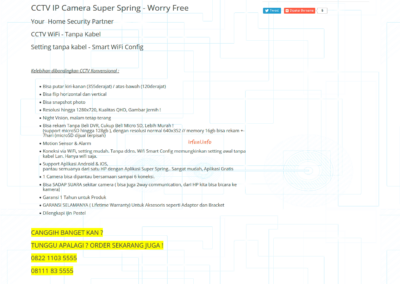
This time I will provide a guide to the installation of IP cameras (the installation in question is by application, not physically). I tried this device for more or less just a few hours, after which it was returned to the owner. This is the IP camera that I first tried, previously there was a CCTV NVR that had the same function, namely to monitor accompanied by recording somewhere but using hard disk media as a storage place.
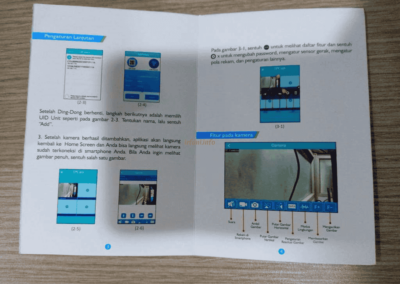
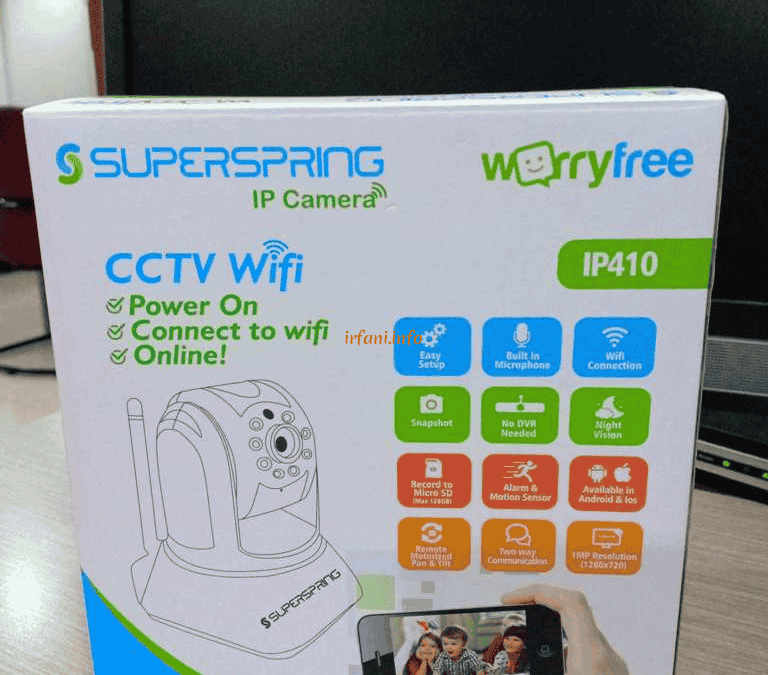
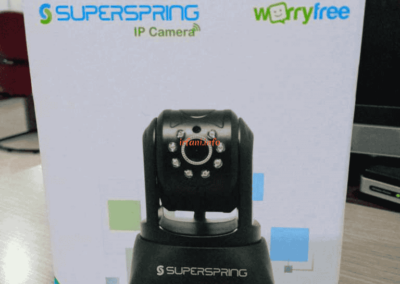
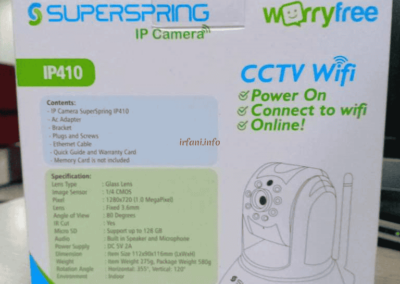
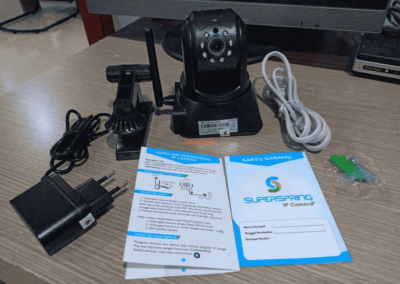
The contents in the sales box are:

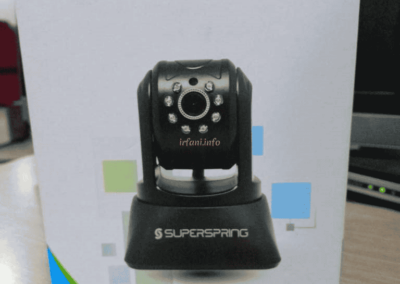
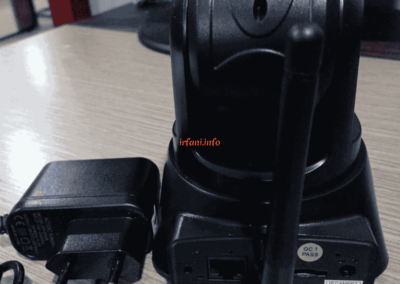
  1. IP Camera Device
  2. Adaptor, Input 0.3A, Output 5V 2mA
  3. Warranty card
  4. Guide cards
  5. Cable LAN 1m
  6. Bracket
  7. Screws and fischers

Equipment Needed:

  1. Router wireless
  2. Smartphones (HP) that have the Super Spring IP CAM application installed


If you look at the guidance provided and the browsing results of the seller’s site and the experiments I conducted, there is a difference at the beginning of the camera search process. The following is the topology and installation method:

Topology : smartphone <–> router wireless <–*> IP Cam

<–> = wireless.

<–*> = wireless or LAN cable.

  1. Make sure your cellphone is connected to the wireless router and the Super Spring IP CAM application is installed, here’s what the application looks like.


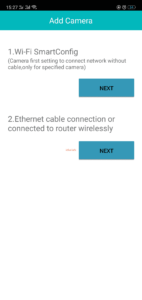
  1. Click the + sign on the home page to add a camera and then select Add manually.

  1. There will be 2 ways, namely Wi-Fi SmartConfig and Ethernet cable, in this case I choose wirelessly, but it doesn’t matter if you use a LAN cable because you will get similar results.

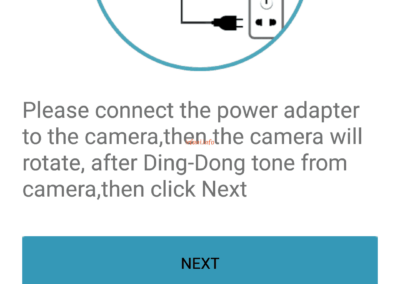
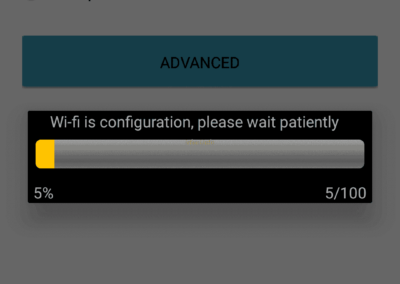
  1. Information appears to turn on the camera accompanied by a voice notification. On Add Camera the wireless name will be listed automatically and cannot be changed, you can only fill in the password in the Wifi passw column…, please fill in the wifi password then click ADVANCED and the result will appear like the following image:


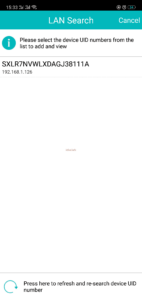
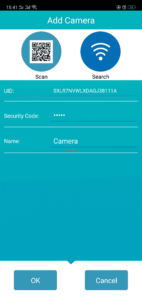
  1. Select the UID number listed so that the following image appears, then click OK.

  1. Here are the results. Select the image to zoom in with an icon to set the camera.

The distance between the IP Cam, cellphone and router in this test is about 50 cm, very close. When I try to play the right, left, up and down direction, it’s quite responsive but sometimes there are pauses as well.

There is a configuration if you want to see or change it, namely by selecting the dot circle 3 in the upper right, it will appear like the camera and video results, delete and edit the camera, for 1 feature I don’t know the function yet.

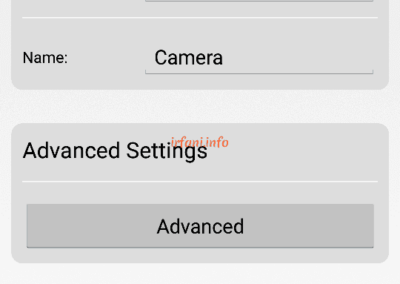
Advanced Settings :

  • Set up a wireless connection
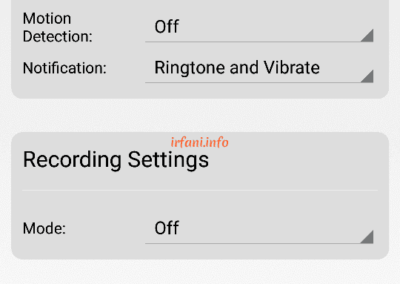
  • Setting up motion sensors
  • Set the recording mode
  • View the installed Micro SD capacity

Time Setting :

  • Managing time


Note: I don’t use Micro SD, if you use the Snapshot feature and video recording, then the results will be stored on the cellphone.

We apologize if there is still a lack of information for the device, thank you.