Solution The parameter is incorrect

Solution The parameter is incorrect

My colleague’s hard disk (HDD) the day before was normal and the next morning when it was connected to the laptop, experienced the above error. Alhamdulillah, after I helped fix it, I was finally able to access the data again by doing the following in Windows 11:

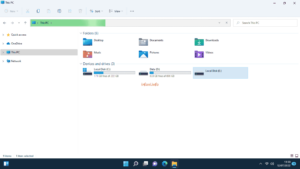
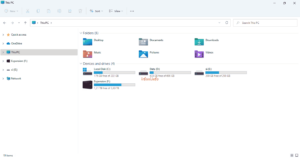
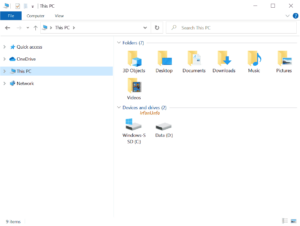
  1. Here is the status of the HDD when connected to the laptop, only the E drive appears but the data status is not visible.

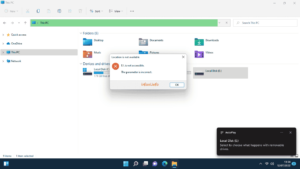
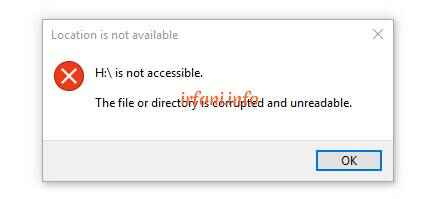
  1. When I click on the Local Disk E, the following error appears :

E:\ is not accessible

The parameter is incorrect

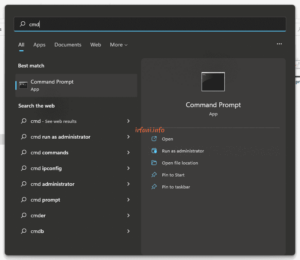
  1. Click Start or the Search icon, type cmd and select Run as administrator.

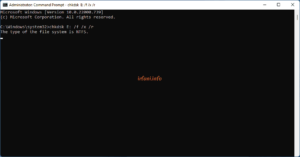
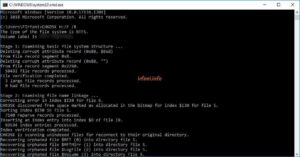
  1. Type chkdsk E: /f /x /r and then Enter, for drive E it is tailored to your HDD drive.

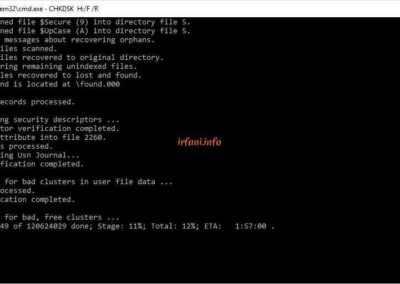
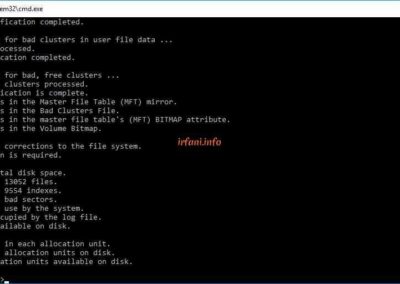
  1. The repair process ran for about 2 hours on my laptop.


  1. Here are the results of the fix, I can access the HDD again (ignore drive F) and there are bad sectors that may be the cause of the error.

The causes of the above obstacles include power failure, bad sectors, being infected with viruses or a damaged Windows system. I recommend always backing up your data to avoid unwanted things like the problems my colleagues are experiencing. Thanks.
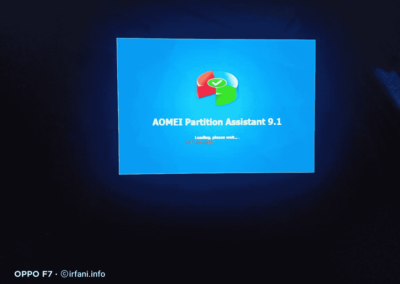
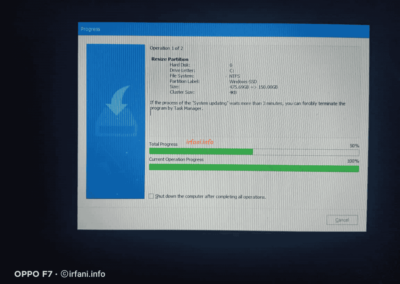
 

Hard Disk Partition with AOMEI Partition

Hard Disk Partition with AOMEI Partition

Laptops that have the original OS installed, generally only consist of 1 partition (visible), namely C. Actually, there are also other partitions but they are not shown in Windows Explorer.

Here’s a guide to create a hard disk partition (HDD) in Windows 10 with the free version of the AOMEI Partition app.

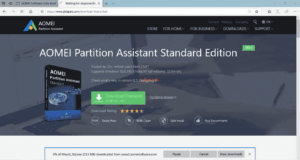
  1. Open the following link https://www.diskpart.com/download-home.html then click Download Freeware or you can directly click https://www2.aomeisoftware.com/download/pa/PAssist_Std.exe, wait until the download process is complete.

Note: The image and version below are screenshots at the time, so it’s definitely different if you download it next time, the difference between the image and the version of the app at that time.

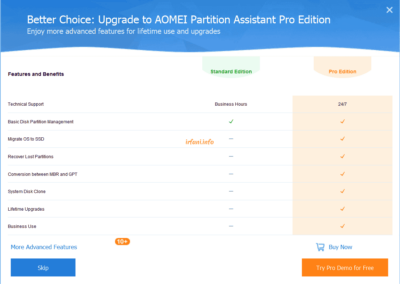
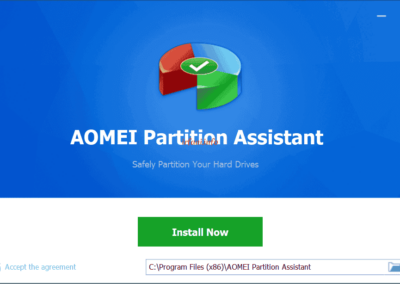
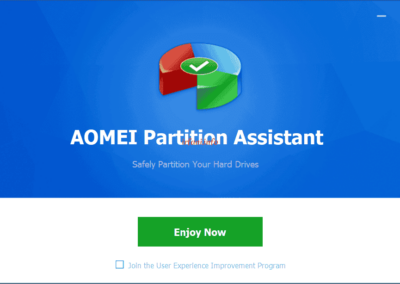
  1. Click the file and then click OK- Skip – Install Now and Enjoy Now as shown in the following image and AOMEI Partition will open automatically.


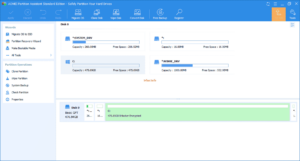
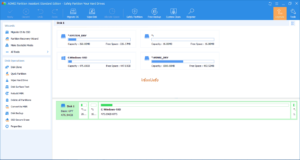
  1. If it doesn’t open automatically, click AOMEI Partition on the Desktop and here’s what it looks like. Please note, if there is Bitlocker Encrypted info on the C drive, then follow the following steps so that the HDD can be partitioned, but if it is only C, please continue to step 7.

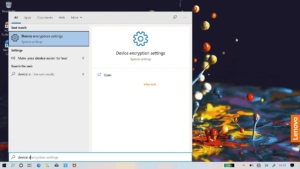
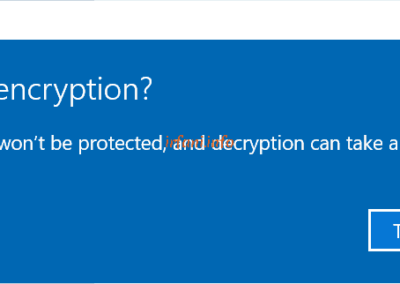
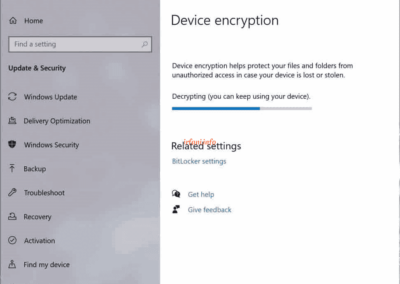
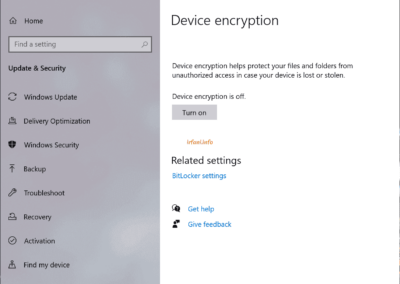
  1. Click the Windows button and then type device encryption settings.

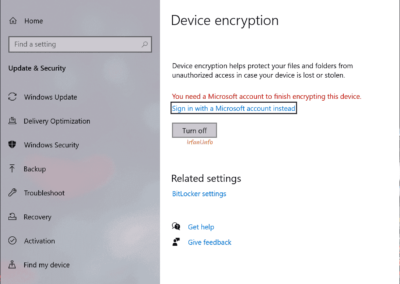
  1. Click Turn off and wait for the process to complete.


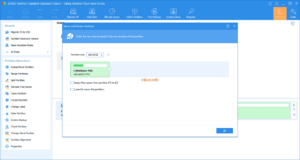
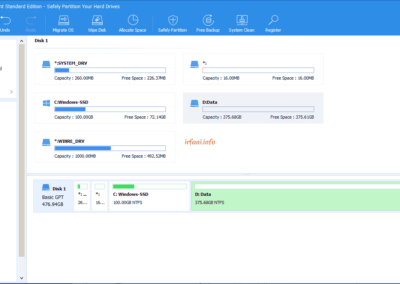
  1. Reopen AOMEI Partition and make sure the display for C drive is as follows.

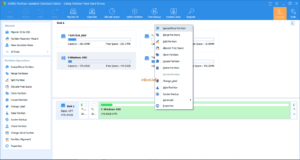
  1. Right-click on C:Windows-SSD and select Resize/Move Partition.

  1. Fill in the desired size in Partition size or slide the green white circle, click OK.

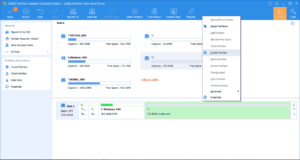
  1. The size of the partition in C will change and there will be any partitions left after it. Right-click on the empty partition and select Create Partition.

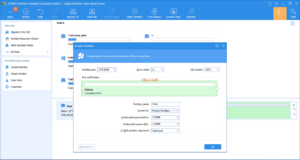
10. Repeat as step 9, but in this you can select the partition letter after that, in this case I select D on Drive Letter and NTFS File System and label Data in Partition Label (click Advanced). I only want to create 2 partitions, namely C and D, then I automatically allocate all the remaining partitions, then click OK.

Note: If your HDD is large enough for 1 TB and you want to create 3 or 4 partitions, then repeat steps 9 and 10 as many partitions as you want to create.

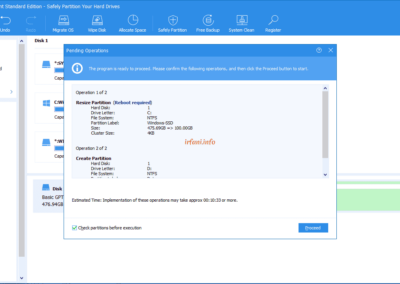
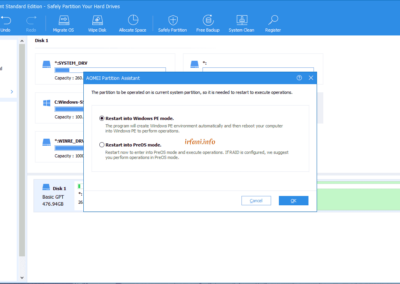
11. Here’s what 2 partitions look like, click Apply for the next process, then click Proceed and OK.


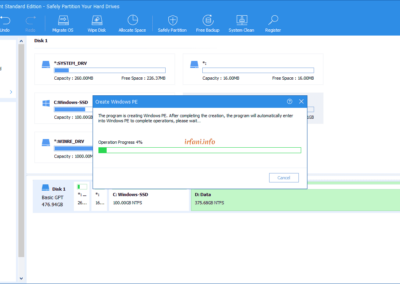
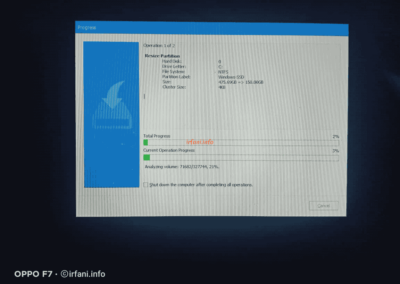
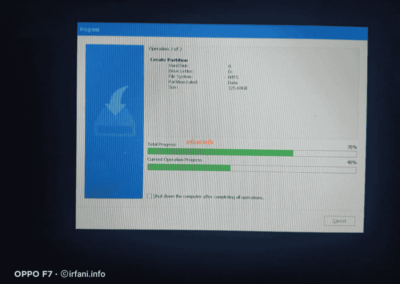
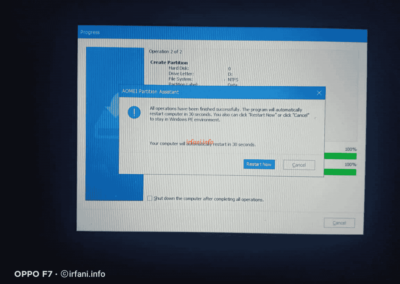
12. The partition process will run under Windows (the laptop will restart automatically) and wait for the process to complete as shown in the following image.


13. Please open Windows Explorer and make sure the result is like the image below.

Good luck and thank you.


Solution The file or Directory Is Corrupted and Unreadable

Solution The file or Directory Is Corrupted and Unreadable

The above problem message (The file or Directory Is Corrupted and Unreadable) appears when I connect an external hard disk (EHD) to the laptop. The condition of the EHD at that time was as usual (lit and did not sound). Here are the steps I took to fix it and thank God it worked.

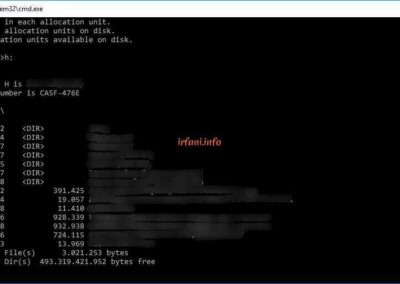
  1. Open the command prompt and type CHKDSK H:/F /R (drive H is adjusted to the problematic drive).

Actually, it’s just the steps above, hehehe. The rest is just waiting for the results, the process time depends on the specifications of the laptop and the capacity of the EHD.


In the repair, it takes approximately 1 hour with the specifications of an Intel Core i5 laptop, 8 GB of RAM and 500 GB HDD. If it still doesn’t work, you may be able to try other ways such as replacing the EHD case, but if several options have been done and still fail or a new error message may appear, it is possible that the EHD has been damaged, the last option certainly brings to the expert to dismantle the EHD.

Thank you and good luck.


Removing Test Mode Message in Windows

Removing Test Mode Message in Windows

Suddenly on the bottom right of my laptop screen appeared info like the image above which was quite disturbing to the view of the wallpaper used.

Quoting information from Microsoft , namely “The test mode message indicates that the test signing mode on the operating system starts on the computer. Test signing mode can be initiated if the program is installed in the testing phase because it uses a driver that is not digitally signed by Microsoft.

Microsoft is adding a test mode to Windows so that users can test programs without having to provide an authentication certificate.” But if I searched before, it seems that the drivers I use are official from each of the existing vendors, whether there is an automatic update to a certain party.

How to delete it is also very easy, currently I use the Windows 10 OS, but this method can also be applied in Windows 7 and Windows 8, only the difference is in the Command Prompt search, the commands used remain the same..

Here’s how to delete it:

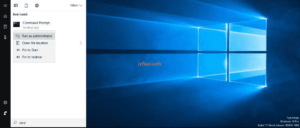
  1. Click the Windows logo and then type cmd, then the search results will appear, right-click on the Command Prompt and then select Run as administrator, click Yes to continue if a warning window appears.

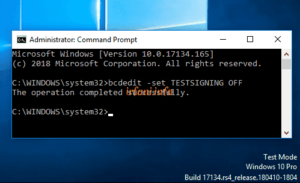
  1. Type “bcdedit -set TESTSIGNING OFF in the Command Prompt window that appears and then press Enter, if it has been successful, please restart Windows to see the result, very easy isn’t it.

Good luck and a great day.


Choosing an External Hard Drive

Choosing an External Hard Drive

Today still don’t have an external hard disk (HDE)? yes, no problem, hehehe.

I just want to share if you want to buy HDE, here is my advice:

  1. Make sure to buy from an authorized warranty, not a store or distributor’s warranty. If you buy it online, make sure the store is an official store / partner / reseller, to be honest it is a bit difficult if you buy it offline or to a direct store where we may not know the reputation of the store, but you can still ask about the status of the HDE warranty.
  2. The market price of the official warranty and the store warranty is quite far apart, there can be a difference of hundreds of thousands of rupiah or maybe more.
  3. Capacity in general, either official or store warranty is not very significant.
  4. Operating System (OS), make sure it also supports the device you are using
  5. For this point, it may be a bit missed (and I also missed it before the case below), namely the hard disk (HD) and the case are as separate as possible, you can look at the reviews or ask the store where you bought it.

I think the HDE is separate between the hard disk (HD) and the case*, because of the few HDEs I’ve ever opened, it’s always separate. I got this problem when a friend asked to check the HDE (2.5 inches / the size of a notebook HDD) which was problematic and indeed I checked it was unstable for the power and I asked for permission to open it, and only then did I find out that the HD and the case are one. So in the sense that the HD has been installed with data and power components (cannot be separated) and the repair process is also quite difficult (unless it is done by experts).

*the case here means that  the HD cover and the plug components (data and power) are separate from the HD.

So what I mean in this sharing is, if you want to buy HDE, it would be good if you looked for info first whether the HDE is separate between HD and the case, for this I recommend you can look for it on Youtube (because there is a live video on how to open it). This is aimed at, if the HDE has a problem, it can make it easier to check, whether HD or the case. If it’s HD, just buy HD again and vice versa.

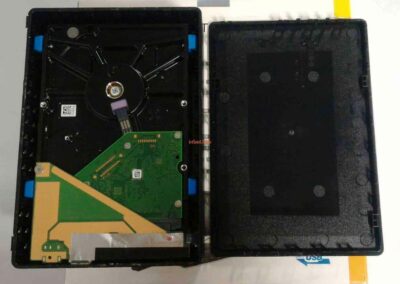
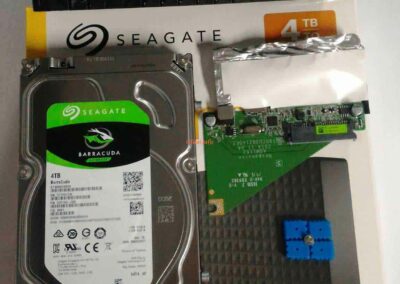
This time I opened the HDE Seagate Expansion Desktop 4 TB (3.5 inches) that I just bought in April 2018, why did I buy it?   😊 Here are the results after I opened it (I actually wanted to make the video, but when I opened the cover, it was quite difficult). For the 2.5″ HDE, there is also a separate one.

“Note: Opening the case during the warranty period will cause the warranty to be lost, please do so wisely.”

Why didn’t I mention the HDE that is integrated with the case ? because I don’t want to corner a certain brand. Am I pro to Seagate ? Not really, because even in the example above I have violated the warranty rules (forfeited warranty) at my own risk, which in fact may not need to be done because there is a lot of information on the internet.

As I have informed above, many HDE brands are also separate between HD and the case, but again my goal in this article is to make it easier to check if there is damage. Happy choosing.