How to fix error 0x800406C in Ms. Outlook 2007

How to fix error 0x800406C in Ms. Outlook 2007

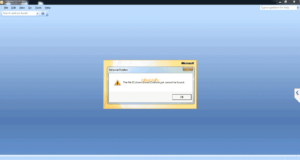
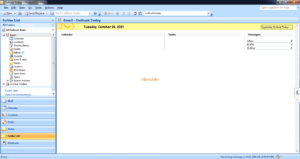
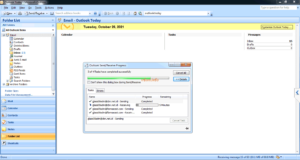
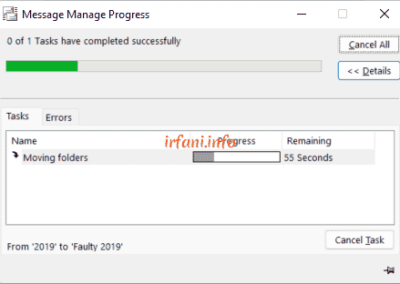
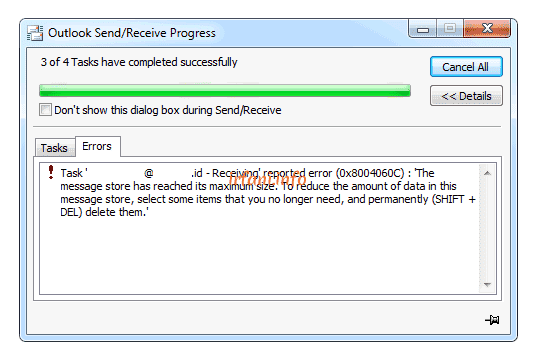
If you get 0x800406C error in Ms. Outlook 2007 as shown in the above picture, hope this article is the solution.

The error is due to  the fact that (.pst) capacity of Ms. Outlook 2007 is full, which can only hold 20 GB per .pst.

There are 2 solutions, namely :

  1. Delete emails that are no longer needed, such as the info in the image above.
  2. Or by creating a new .pst to accommodate sending and receiving emails. I prefer this step because it is easier than deleting emails. Just follow these steps :


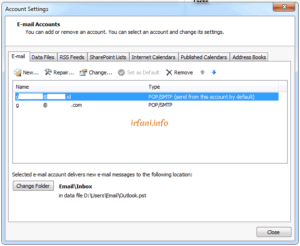
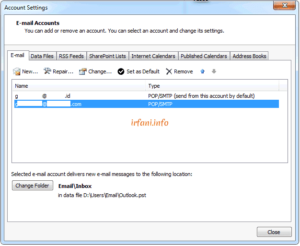
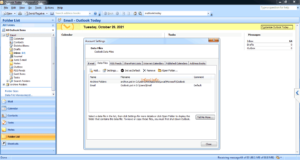
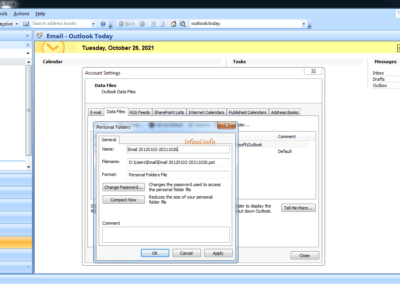
  1. Click on Tools – Account Settings – Email, in this step I just want to see if there is only 1 or more email accounts and if they are stored in the same .pst. In the following image there are 2 email addresses, and if I click on the email, then both will point to the same location, which is D:\Users\Email\Outlook.pst as in the error above.

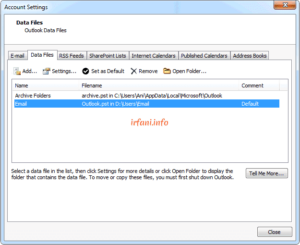
  1. Select the Data Files tab, then click the inbox name (in this practice it is Email) and then click Open Folder.

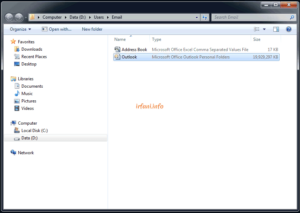
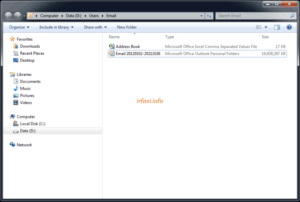
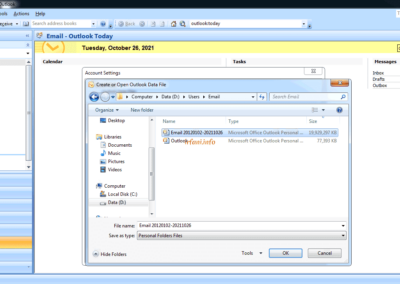
  1. Then a new window will open where the .pst location is stored and as I informed above, the size of the Outlook.pst is almost 20 GB (19,929,297 KB).

  1. Right-click the Outlook.pst file and select Rename (or press F2 on the keyboard), in this example I gave the name according to the email period which will be easier if one day I see the email again.

  1. Close Ms. Outlook and reopen it, you should get  the following error, which is due to the old .pst not found (because it has been changed from Outlook.pst to Email 20120102-20211026.pst).

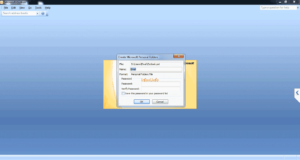
  1. Ms. Outlook will automatically create a new .pst for the email to use, in which case I still stay in the same location and give Outlook a name for the new .pst.

  1. Then for the name of the Inbox I named Email, then click OK and here are the results.

  1. Ms. Outlook will immediately do the Send Receive process again and it should be normal as shown in the following image.

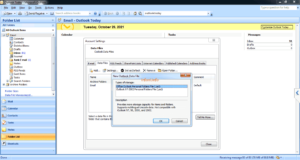
  1. Step 8 should be done, but what if I want to keep seeing the previous emails, because in .pst that I have created, only  the most recent emails will appear (including the delivery). If you want to see previous emails, click Tools – Account Settings – Data Files – Add, select the first one and then click OK.

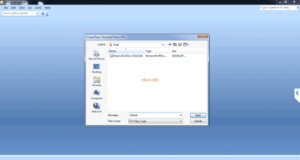
  1. Navigate to the old .pst then click OK and OK again then Close.


  1. The result will be as follows, where in the Folder List display there is Email.pst (for the latest) and Email 20120102-20211026.pst (for the previous email).

Good luck and have a nice day, thank you.


Creating Archives in Ms. Outlook 2019

Creating Archives in Ms. Outlook 2019

I’m a bit confused about giving the right title for this article. At first I didn’t intend to create one but since I was currently in the process of moving  emails that were no longer needed, the idea came up to make it a guide.

Introduction:

Every day I receive about 100 – 200 incoming emails and some with attachments, of course the size of *.pst will get bigger and make Ms. Outlook slow.

Solution:

For that I have separated the emails (by year) that are not needed to another *.pst. Why not just throw it away? I was worried that I would need the email at some point, so I could reappear it easily.

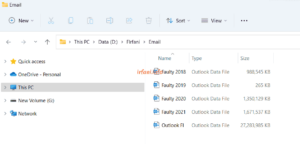
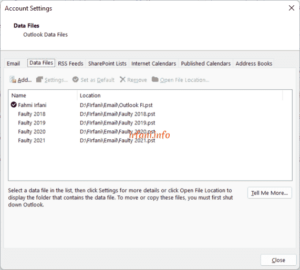
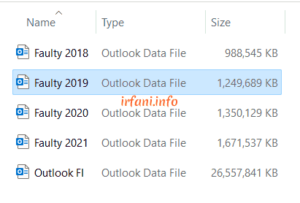
If you look at the image above, the size of the Outlook FI email is about 27 GB and the other sizes are about 1 GB, only 1 is about 265 KB, yes because I haven’t moved it yet. I leave 1 so that it can be practiced in this article.

Here is the guide in Ms. Outlook 2019:

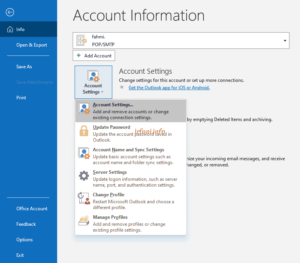
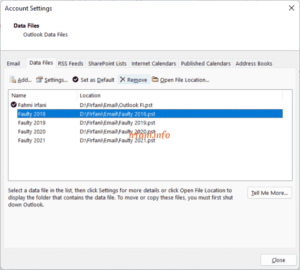
  1. Click File – Account Settings – Account Settings – Data Files.

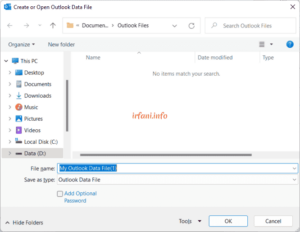
  1. Click Add – give it a name and choose a location to save *.pst, click OK – Close. In this case I have previously created the name Faulty 20XX and it is located in the same place as the main email.
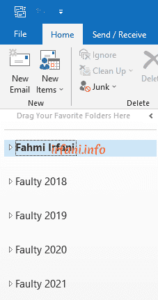
  1. The email Folder Pane display will be as follows.

  1. Right-click on the email folder to be moved (in this case it is Faulty 2019), click Move Folder and navigate to the *.pst that has been created, click OK and wait for the process to finish.


  1. Here are the results of the move, the size of Faulty 2019.pst which was previously only about 265 KB to 1.2 GB and the size of Outlook FI.pst has decreased.

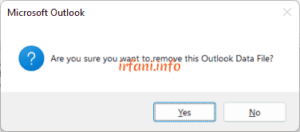
Currently I can delete all Faulty 20XX in the Folder Pane because I don’t need it anymore, the method is the same as step 1 but the second step is to select the Faulty that you want to delete then click Remove and select Yes, repeat 3 times (because there are 4 Faulty to be deleted) then click Close.
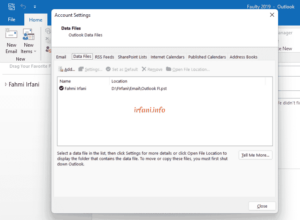
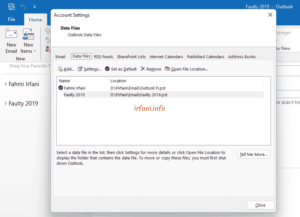
The Data Files and Folder Pane display will look like this :

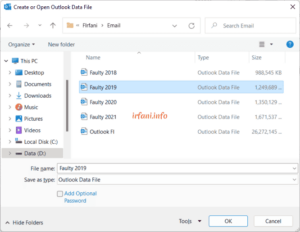
What if one day I want to reopen the *.pst? Do it like steps 1 and 2, but in this case I don’t give a name but just select the existing *.pst and click OK.

The results are as follows :

Cover:

The point is how can I still save emails that are no longer needed so that they don’t overload Ms. Outlook (of course, affecting the performance of the laptop) and display them again if one day they need to.

Pretty easy, right? Good luck, thank you.


SMTP Problem Solution in Ms. Outlook 2007 in cPanel

SMTP Problem Solution in Ms. Outlook 2007 in cPanel

Precisely I forgot the exact time of the incident, at that time there was a friend who informed me that suddenly I could not send an email from Ms. Outlook 2007. Worse, all those who use Ms. Outlook 2007 experience the same thing from the same email server in the same location. If you are looking for this problem, of course you will find 1001 solutions that are varied and of course adjusted to the problem faced such as, antivirus, firewall, ISP, SMTP port, Ms. Outlook itself, IP address and other kinds.

Because of the simultaneous incident, my assumption at that time was that the email SMTP server was having problems, I tried to restart it but the result remained the same, I did not try to telnet to the server because it was blocked. Why am I not suspicious of Public IP? This is also not possible because it uses 2 ISPs, which of course have different IPs.

Then I tried to change from “Use same settings…..” to “Log on using….” on the Outgoing Server, of course by using an email account from a different domain, and the result is normal.

The more curious I was about it, the more I tried with the email account that had a problem with Ms. Outlook 2016, the result was normal. So the problem is, with Ms. Outlook 2007 it can’t send emails with port 465/587 which was previously normal, but with Ms. Outlook 2016 with the same configuration the results are normal.

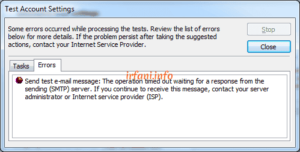
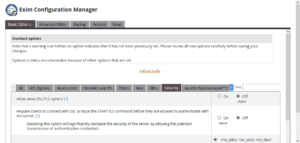
After searching deeper into the deepest ocean, I finally found a partial solution to this, which was to disable the configuration on “Require clients to connect with SSL or issue the STARTTLS command before they are allowed to authenticate with the server.” and the result was that I was only able to send with the 587 Auto configuration, the rest still get the same error.

Maybe while this information is what I can provide, if there is any update later, I will convey it immediately. Thanks.


CBN Email Guide in Ms. Outlook 2007

CBN Email Guide in Ms. Outlook 2007

Continuing with the previous guidance, here is the CBN email guide in Ms. Outlook 2007.

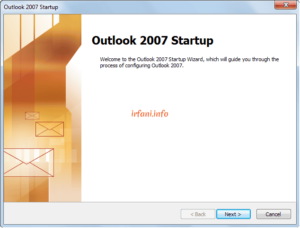
  1. Open Ms. Outlook 2007, here’s what it looks like if you’re just opening it for the first time, click Next. If you’ve opened it before, proceed to step 9.

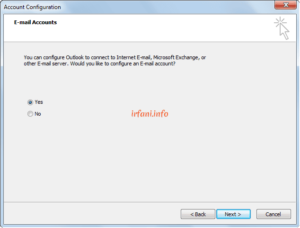
  1. Select Yes, click Next.

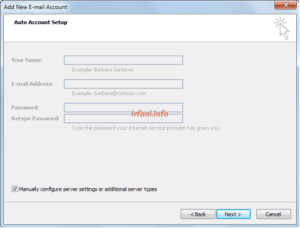
  1. Select Manually configure server settings or additional server types, click Next.

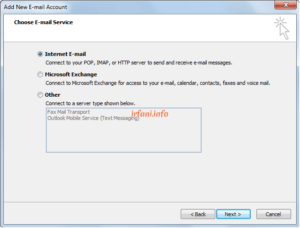
  1. Select Internet E-mail, click Next.

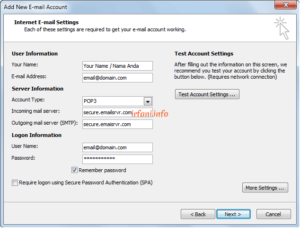
  1. Fill in the following data and then click More Settings.

Your Name : Your name (which will be displayed).

E-mail Address: email address.

Account Type : POP3.

Incoming mail server : secure.emailsrvr.com.

Outgoing mail server : secure.emailsrvr.com.

User Name: email address.

Password : email password.

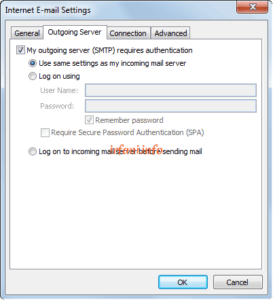
  1. Click tab Outgoing Server dan check My outgoing server (SMTP) requires authentication.

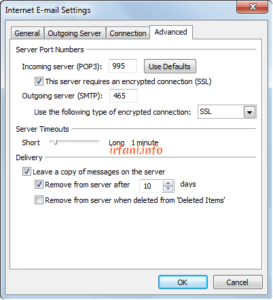
  1. Click the Advanced tab and fill in the following image then click OK.

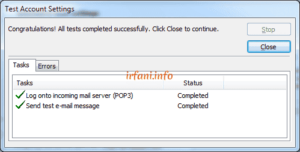
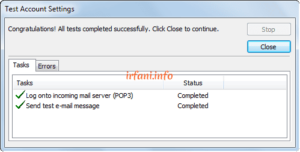
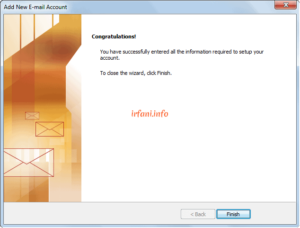
  1. Click Test Account Settings and make sure the result is like the following image then click Close – NEXT – Finish. Until this step, the email configuration process has been completed.

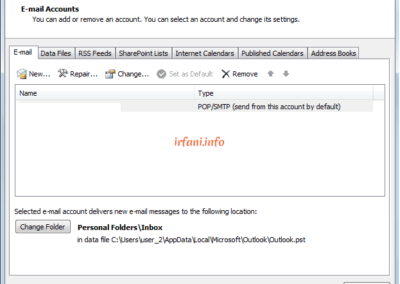
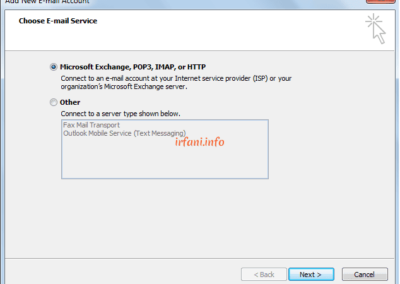
  1. Click on Tools – Account Settings –  Email tab – New – Microsoft Exchange, POP3, IMAP or HTTP – Next and go back to step 3.

You have been able to try to receive and send e-mail from Ms. Outlook 2007. Good luck, thank you.


Import Emails from Outlook Express to Ms. Outlook 2003

Import Emails from Outlook Express to Ms. Outlook 2003

Microsoft Outlook Express 6 (MSOE6) is  a free basic email program from Windows XP.

In Outlook Express, each email folder is stored in a single file (DBX). For example, the Inbox folder in Outlook Express is a single file, Inbox.dbx, Sent Items folder, Sent Items.dbx. In contrast, Ms. Outlook (MSO) stores each message as an individual file.
The maximum DBX file size  is 2 GB and this can cause some serious problems (generally too fast to fill) if the user is actively communicating via email. For this reason, I will switch the MSOE6 program to MSO so that you are more flexible in using email, the way is by importing email messages  and account information from MSOE6 to MSO.
If Outlook Express and Ms. Outlook are installed on the same computer, you need to know this information so that you can find and copy the correct folder when needed. I started it through Ms. Outlook because it was easier (in this case it was my first time using Ms. Outlook 2003 after installation).

Here is the guide:

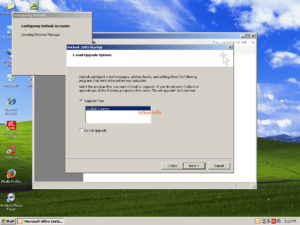
  1. Click the Ms. Outlook 2003 icon, it will automatically check if there is an email in Outlook Express, select Upgrade form and then click Next.

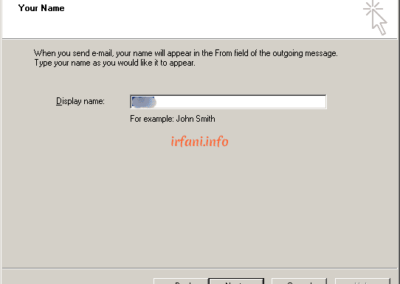
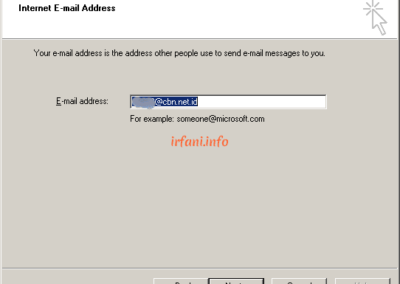
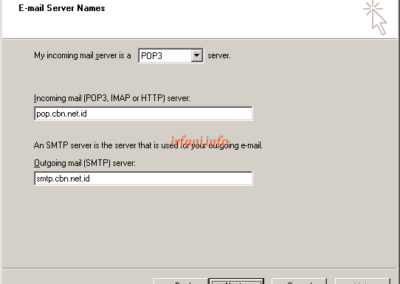
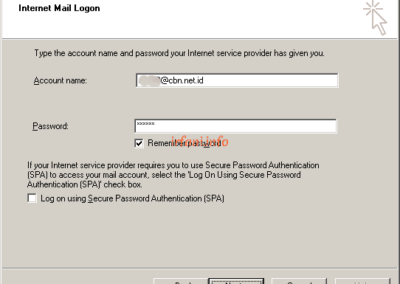
  1. Fill in the details of the email information obtained from the email provider as shown in the following image, then Next.
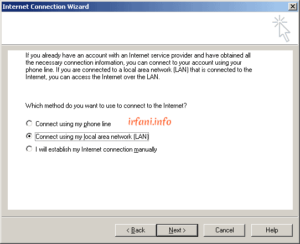
  1. Select Connect using my local area network (LAN), then Next and Finish.

  1. Select Yes and wait for the import process to complete (the import process depends on the number of emails and the specifications of the laptop/PC used).

Good luck, thank you.