Disable PHP Mail in Plesk

Disable PHP Mail in Plesk

Several times I get an email from my own domain where the email is not actually registered, it can also be called a spoof email. Finally I also found a solution to this problem, which is to disable the mail function in the PHP configuration.

Here is the guide:

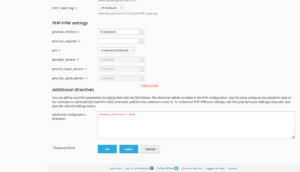
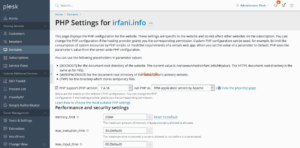
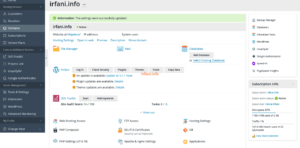
Login to Plesk, click Subscriptions – domain name – PHP Settings and scroll down to the Additional configuration directives field, fill in disable_functions = mail, then click OK.

I also disabled the Sendmail function (applies in its entirety):

Log in to Plesk, click Tools & Settings – Mail Server Settings – Disable the Allow user and scripts to use Sendmail option and click OK.

Or if you only want to from the type of service (Service Plans):

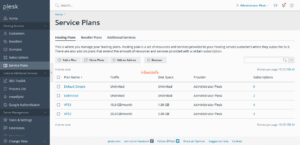
Log in to Plesk, click on Service Plans – service type name – Mail – Disable the Allow using Sendmail for scripts and users on this subscription option and then click Update & Sync.

Or if you only want to subscribe from the type of subscription only:

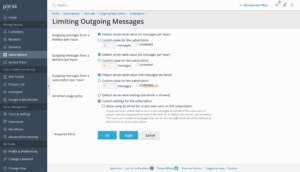
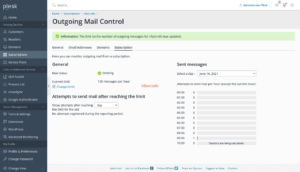
Log in to Plesk, click Service Plans – Subscriptions – select a domain name – Outgoing Mail Control – Subscription – Change Limit – Disable the Allow using Sendmail for scripts and users on this subscription option and then click OK.

After a few days, the email did not appear again. Thanks.


Update PHP and SQL in Plesk

Update PHP and SQL in Plesk

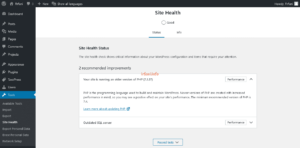
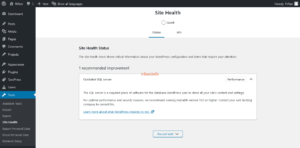
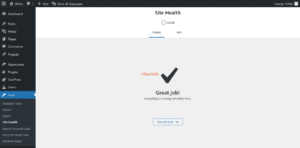
On my WordPress Dashboard, 2 statuses appear in Site Health that need special attention, namely PHP and SQL server updates. Site Health Status shows important information about your WordPress configuration and items that need attention.
Here’s how to update the PHP version in Plesk :

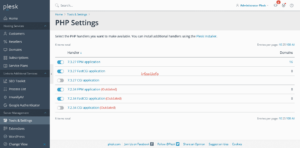
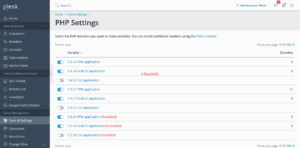
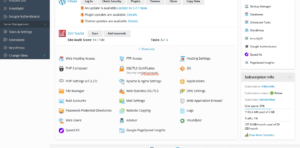
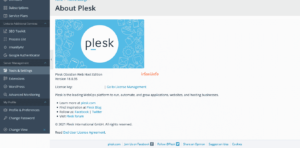
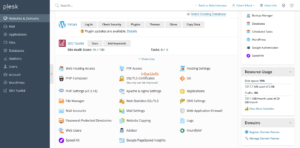
  1. Log in to Plesk, click Tools & Settings – PHP Settings to see the current version.

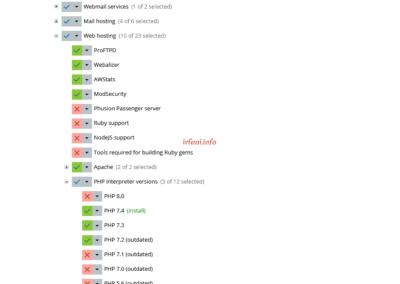
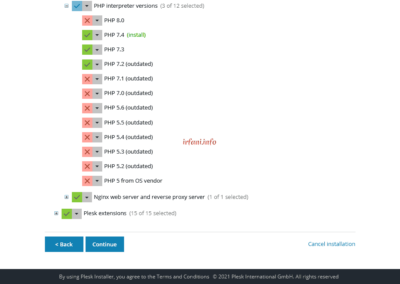
  1. Still on the same page, click Plesk Installer, then you will be directed to the Install or Update Plesk page as follows. Click PHP 7.4 and select Install and then click Continue.


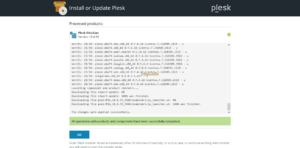
  1. Wait for the installation process to complete and then click OK.

  1. Going back to the Tools & Settings – PHP Settings page, the latest PHP should have appeared.

  1. Click on Domains and select the domain name you want to update PHP. Click PHP Settings.

  1. Select the latest PHP and then click OK and make sure it was successful.

  1. Go back to the WordPress Dashboard, then refresh (press F5 on the keyboard) and make sure the PHP update info is gone.

There is only 1 left, which is the SQL server update. Previously follow these steps, make sure that the installed version of Plesk is Obsidian 18.0.30 or later.

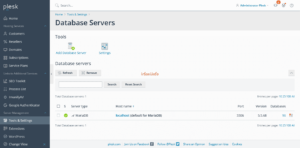
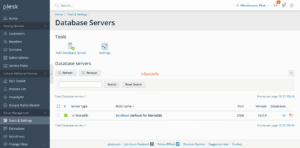
  1. Log in to Plesk, click Tools & Settings – Database Servers to view the database version.

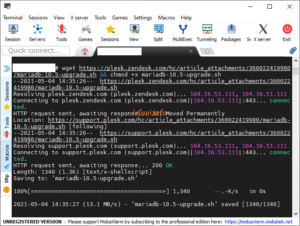
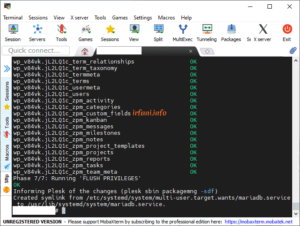
  1. Log in ssh then type (without quotes) “wget https://plesk.zendesk.com/hc/article_attachments/360022419980/mariadb-10.5-upgrade.sh && chmod +x mariadb-10.5-upgrade.sh” wait for it to finish then type “./mariadb-10.5-upgrade.sh” and wait for the installation process to complete.

  1. Return to the Database Servers page and make sure you have updated to the latest version.

  1. Go back to the Dashboard again and make sure it doesn’t appear for SQL server update info.

  1. For other SQL updates, you can see here.

Good luck and thank you.


Removing AWstat Password in Plesk

Removing AWstat Password in Plesk

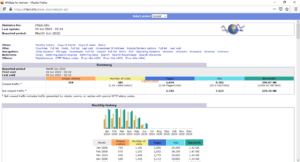
For those who want to see website statistics, you may be familiar with AWStats, which is an opensource Web analytics reporting application, suitable for analyzing data from internet services such as the web, streaming media, mail, and FTP servers.

Here’s how to see AWStats in Plesk.

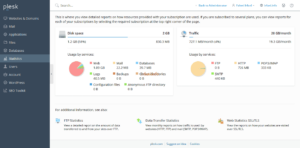
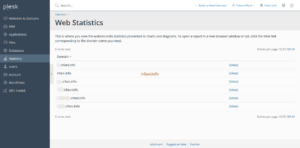
  1. Log in to your Plesk account and select Statistics.

  1. There are 3 options for viewing traffic, namely FTP, Data and Web. For FTP I ignore in this regard.
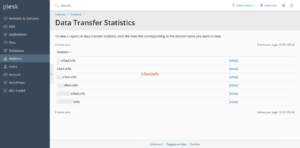
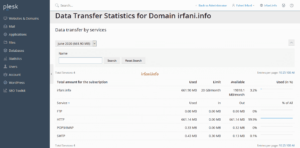
  2. Transfer Statistics data is used to view monthly reports. Click Data Transfer Statistics and select View on the domain you want to see the statistics for.

  1. Select Statistics again, then SSL/TLS Web Statistics and select View on the domain you want to see statistics for.

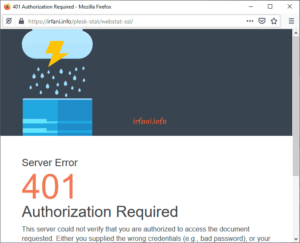
  1. If you see the following display and you don’t know the login, you won’t be able to see the report.

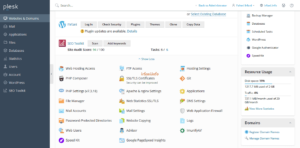
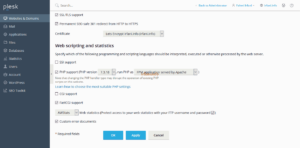
  1. To disable the login, click on Websites & Domains and select Hosting Settings.

  1. Uncheck Web Statistics (Protect access to your web statistics with your FTP username and password) and then click OK. This method also applies if you choose Webalizer.

  1. Go back to step 4 and try again, you should see a display without having to log in first.

  1. I recommend still providing a password, as anyone will be able to see the page if they know the link. To provide a password, click on Websites & Domains and select FTP Access.

  1. Select the user whose password you want to add or change, then click OK. Please try again and you should have logged in as in step 5.

Good luck, thank you.


Solution The link you followed has expired on Plesk

Solution The link you followed has expired on Plesk

If you find an error like the image above, hopefully this article will be one of the solutions and the solution is similar to this article.

Here are the steps :

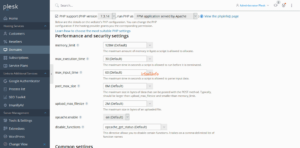
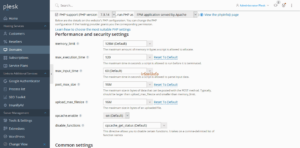
  1. Log in to Plesk, click Domains and click on the domain that is experiencing problems, then click PHP Settings.
  2. Change the post_max_size & upload_max_filesize to the desired size (in this example I changed from 2M to 16M) and click OK.

Before

After

  1. Try re-uploading the file in WordPress.

Note: if upload_max_filesize size is larger than post_max_size, then WordPress will still follow the post_max_size size, in which case I changed both to 16MB.

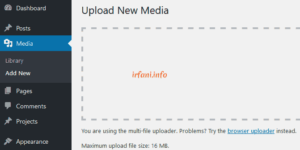
You can see the upload file size limit by visiting the Media – Add New page, along with the before and after results.

Before

After

Please try and good luck, thank you.


Masking Domain in Plesk

Masking Domain in Plesk

I have 2 domains, let’s say domain A already has a website and domain B is only a domain. I want when I type domain B in the browser, it will lead to domain A but the address bar in the browser still says domain B.

Oh yes, please note the paragraph above, because it’s almost similar to domain forwarding, but what I’m going to do here is masking domains. The differences are:

Domain forwarding: The URL and display correspond to the domain to which it is redirected.

Masking domain: Fixed URL, the display will change according to the domain being redirected.

Previously I used cPanel, but it seems that the method is more difficult when compared to Plesk that I am currently using, but cPanel has an advantage, namely it does not delete the content of the domain you want to be directed to, in Plesk all domain content will be deleted.

The following is the configuration in Plesk :

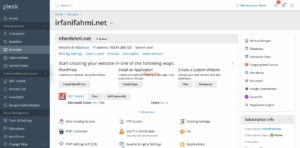
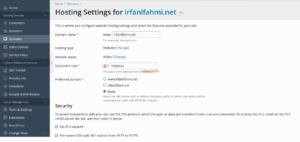
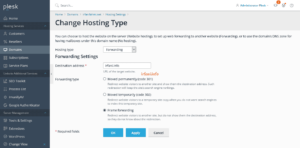
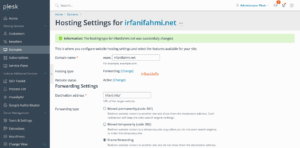
  1. Log in to Plesk and click on Domains – the domain name you want to redirect to – Hosting Settings.

  1. On Hosting type, click Change and select Forwarding and on Forwarding type select Frame forwarding then click OK.

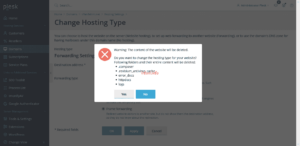
  1. Plesk will provide a warning about the forwarding, click Yes.

  1. Please try typing domain B in the address bar and make sure that the content of website A has appeared.

Good luck and thanks.