Internet Speed ​​Test

Internet Speed ​​Test

Actually, I am confused to give the right title to this article, but I hope you can understand it from the explanation I gave. At this time, I will discuss the internet bandwidth that is not in accordance with what I should get from the ISP.

Previously, I had a similar article but it was not uploaded because the bandwidth at that time was only 10 Mbps, so it was not maximum for this discussion. For this reason, when I wanted to make this article, I looked for a higher bandwidth first and finally I was able to use the Up To 500 Mbps bandwidth for downloads and uploads. Why do I use the word Up To? just to make sure that later if there is a difference that is not far from 500 Mbps, I will not have a problem with it.

A few introductory paragraphs before I go to the main destination.

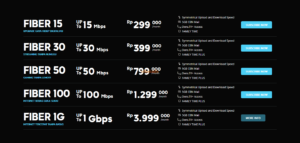
Here I take an example of an offer from an ISP:

Source https://indihome.co.id/tripleplay

Source https://my-republic.net/

Source https://cbn.id/personal/fiber/cbn-fiber.html

If you look at the 3 images above, then the highest speed offered by CBN, which is Up To 1 Gbps. Before I go any further, I emphasize that the testing here is about bandwidth speed, regardless of stability and other things.

The decision to take internet bandwidth services is generally adjusted to your needs, including:

  1. Internet usage
  2. The number of users

At point number 1, it is relative, whether it is used only for browsing, online games or work, because in general, a good salesperson will first ask the needs of his potential customers, so that they can give the right direction.

For point number 2, generally potential customers do not take this into account and will only complain if the connection is slow which has been unconsciously used by people around them at the same time. For example, I take a bandwidth of 10 Mbps, which if I use it myself is more than enough, but if my family/colleagues use it at that time, of course it will be reduced because the bandwidth is divided between them.

Actually, there is 1 additional point that is less often taken into account, namely devices used for internet connections, such as routers, access points (APs), switches and our own devices such as laptops and cellphones that are commonly used. If you connect a network device with different speeds, the connected device such as a PC, laptop or cellphone will be limited by that device.

Where is the influence? If you are taking a service below 50 Mbps, this can be ignored, but if you are using a service of 50 Mbps or above, this is worth taking into account.

Topology, this is the most important point, because if you know this topology, it will make it easier in the checking process if there are problems. Make sure you pay attention or ask again when the internet installation process is in your place.

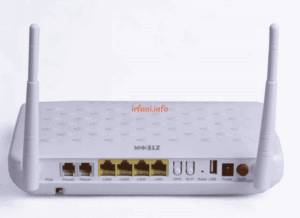
If your service already uses a Fiber connection, there will generally be media converters such as BDCOM, ONT and the like installed in your place that can function as an internet source or just media so there must be an additional router. The point is that ISPs will usually provide devices according to the services you use.

Example of one of the ONT devices

Before doing the experiment, I’ll explain the bandwidth and topology of the service I’m using.

Bandwidth = Up To 500 Mbps

Connection type = Broadband

Topology = ISP <-> My device

<-> = cable LAN cat 5


As per the topology image above, the ISP only gives me an ethernet (LAN) cable to connect to my device, so the internet source will be my own device such as a router or laptop.

Is it clear enough to get here? Hopefully yes, hehehe.

Ok, I’ve done a simulation and here’s the result:

Laptop Processor / RAM Port LAN Lokal (Mbps) Internasional (Mbps) Kesimpulan
Download Upload Download Upload
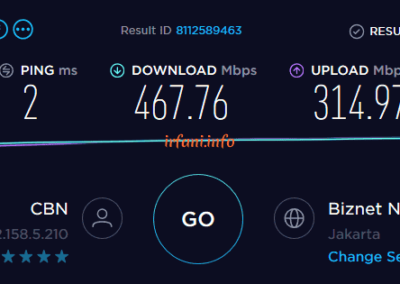
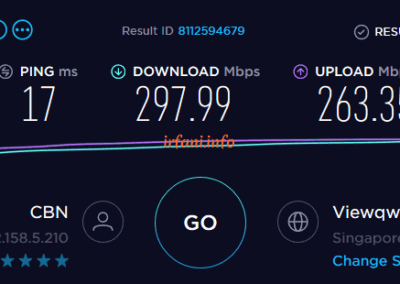
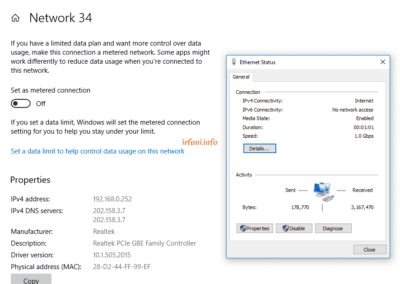
HP 240 G6 i5 7200U / 8 GB Gigabit 467 314 297 263 OK
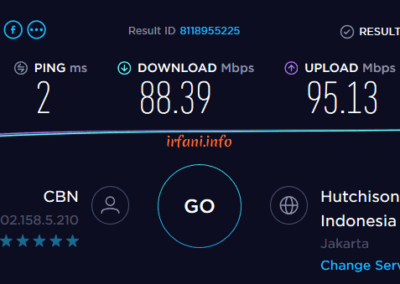
HP 240 G6 i5 7200U / 8 GB USB Fast Ethernet 88 95 kendala di perangkat USB
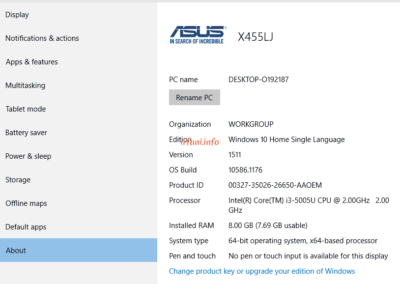
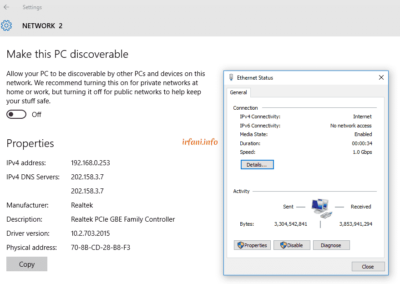
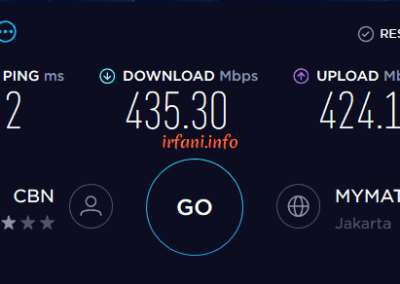
Asus X455LJ i3 5005U / 8 GB Gigabit 435 424 OK
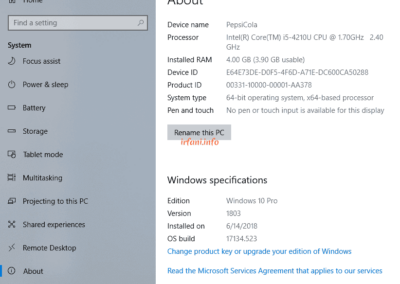
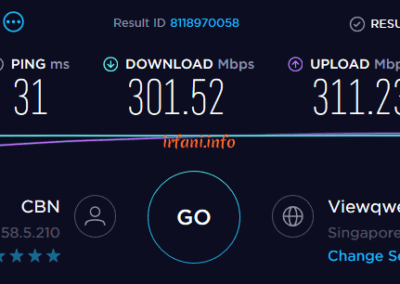
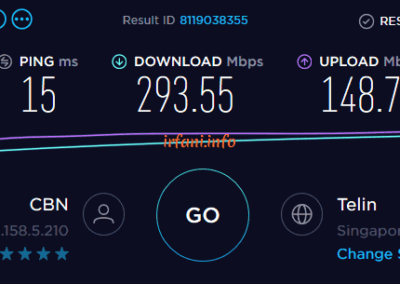
Lenovo G40 i5 5210U / 4 GB Gigabit 301 311 293 148 kendala di RAM


The results of the table above show that the bandwidth is close to 500 Mbps from a laptop that uses a Gigabit port and 8 GB of RAM, besides that it is still far from what is expected. For USB Fast Ethernet, I only use it as a comparison add-on, because on the HP 240 G6 there is only 1 ethernet port available. Oh yes, in this case I don’t really take into account uploads if they don’t fit because I think almost some internet users download more than uploads.

For international traffic, why didn’t it arrive too? Please remember, almost all ISPs that offer internet if they do not mention the bandwidth line, then it is certain that it is local bandwidth, why? because ISPs must pass the IIX line which incidentally is for use in Indonesia, while for international links (IX), they must have cooperation with other ISPs outside Indonesia (Upstream).

Remember, I adjusted to the title of this article, so I only did a speed test to make sure the internet speed I was using was appropriate. This is also a key point before finding any other issues that can be reported to the relevant ISP.

Hopefully by this point you can understand it first, because if you don’t understand it, it may be a bit difficult to understand the next article that will be related to many devices.


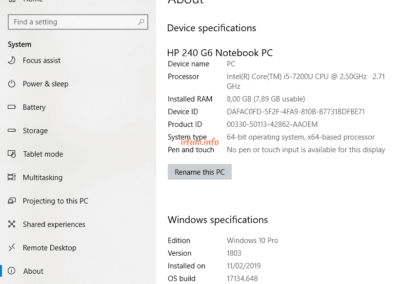
Test results with the HP 240 G6


Test results with Asus X455LJ


Test results with the Lenovo G40


Ruijie RG-AP720-L Basic Configuration

Ruijie RG-AP720-L Basic Configuration

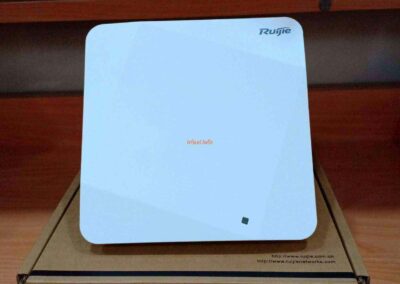
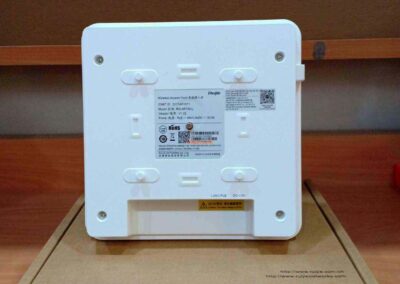
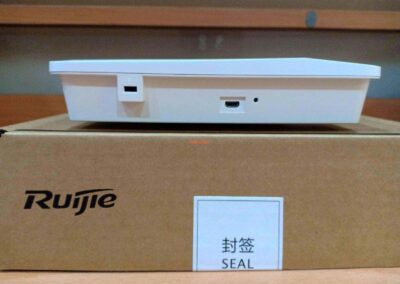
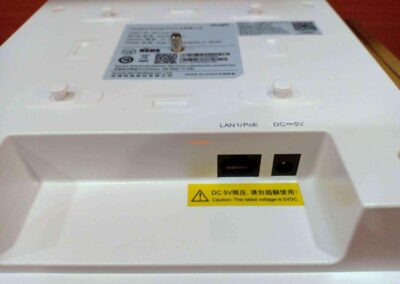
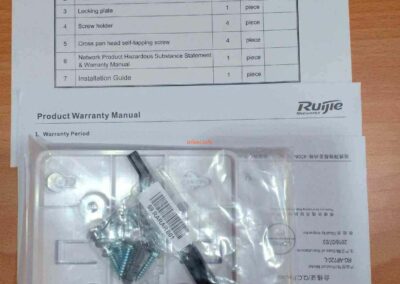
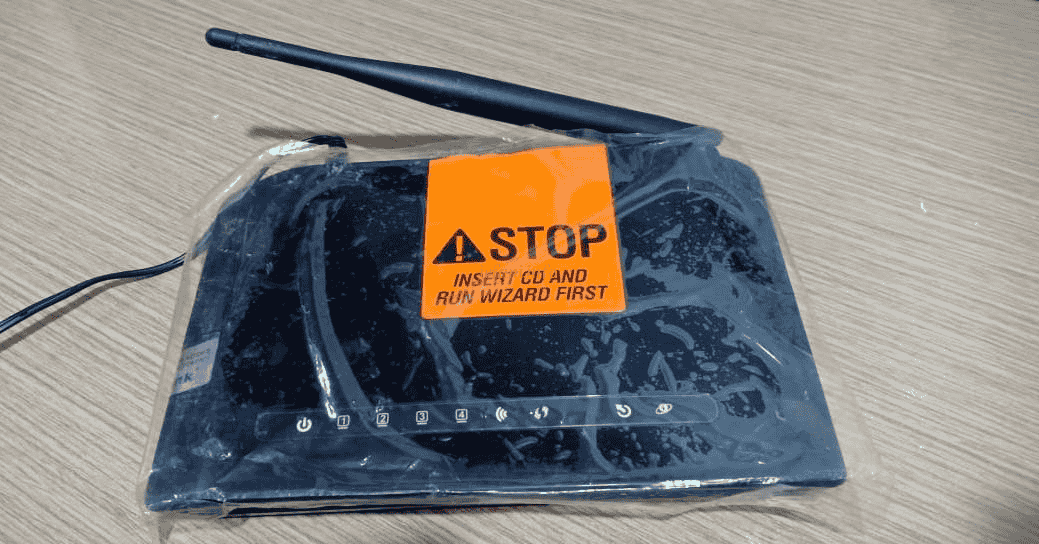
Ruijie hmmm the brand I just heard about for the Access Point (AP) device that will be discussed this time and as always, this time the test was very short because I wanted to install it in the customer’s place, hehehe. The item I got was still in new condition, so you can see the contents of the box first.


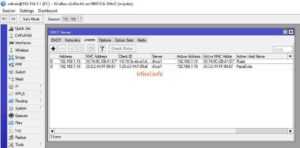
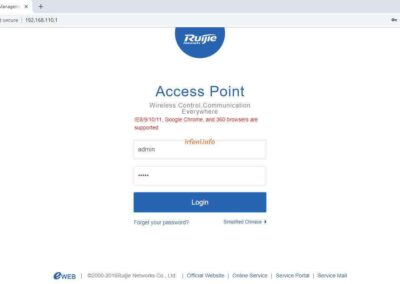
This AP has a default IP of 192.168.110.1 with the same username and password, namely admin. But when I tried it I didn’t use the IP, because in general the AP only forwards the connection from the main device that gives the DHCP IP, so I tried directly from the DHCP IP that the IP has obtained.

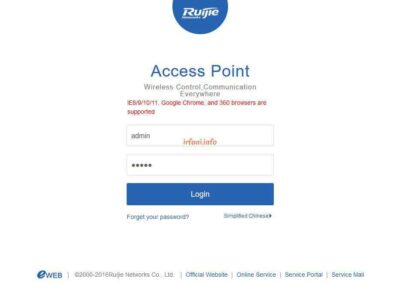
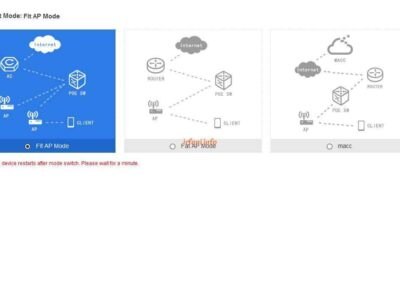
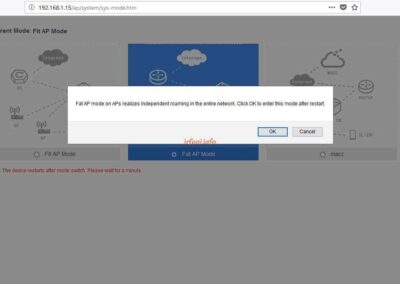
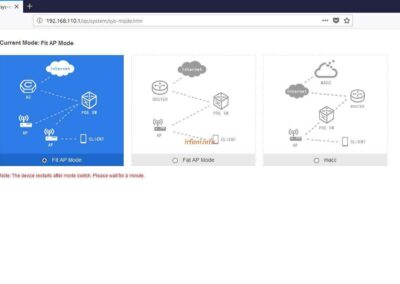
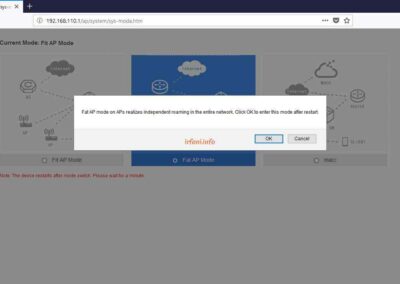
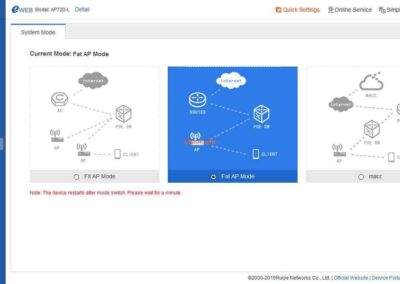
When opening the home page, information will appear that this device can be accessed by more than 360 browsers and after logging in will appear 3 options, namely, Fit AP, Fat AP and macc which for the topology can be seen from the available images. At first I was confused, because by default Fit AP was selected, but no configuration was found, then I changed it to Fat AP and was even more confused because the AP became inaccessible and did not get a DHCP IP after the reboot process. I tried rebooting Mikrotik and the AP the result is still the same.


Finally I tried to reset the AP (press the Reset button for about 10 seconds in the lit position until the LED flashed green) and this time I tried to equate the IP block with the AP. After logging in and reappearing the mode page, again I selected Fat AP and repeated the same thing as above, but previously I had Ping to IP 192.168.110.1 to make sure the connection, the result was after rebooting to RTO, again I tried to pair directly from Mikrotik and then get the DHCP IP again, is this a bug? (*)


Topology :

Internet <–> router (DHCP) <–> Ruijie RG-AP720-L

The following is the configuration of Ruijie RG-AP720-L :

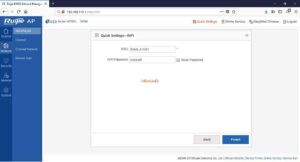
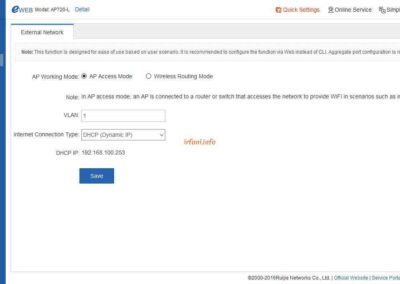
  1. After successfully logging in with the DHCP IP, Quick Settings will appear to select the AP mode to be used, because getting the internet from the main router then I select the following mode then Next :

AP Working Mode : AP Access Mode

Internet Connection Type : DHCP

  1. Enter the desired SSID and password, then click Finish.

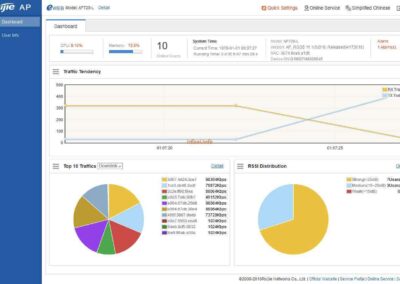
Until this step, the AP should be able to directly connect to the internet and my current position is to replace the old AP device to this Ruijie AP, of course, the SSID and password are the same as the configuration of the old AP, so if you look at the Dashboard, it will automatically connect to the device that has been connected to the old AP before.

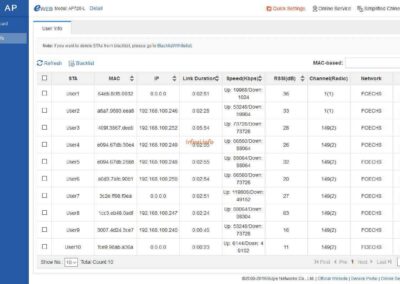
  1. In the Monitor – User Info tab we can see the details of the connected device with the following info :
  • Channel (Radio) : to see the wireless frequency used (2.4 or 5).
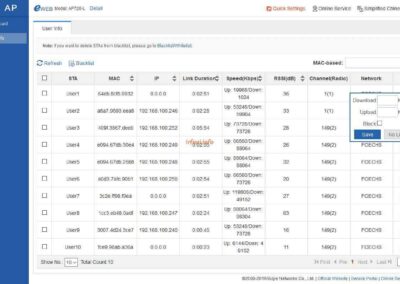
  • Action : limits bandwidth or blocks against a device.


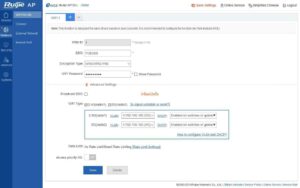
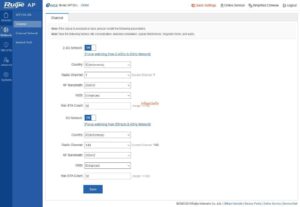
4. To add and change SSID and wireless channels, it can be set in Network – Wifi/WLAN.

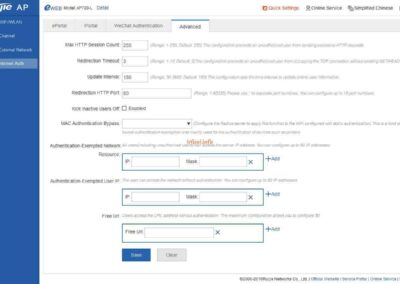
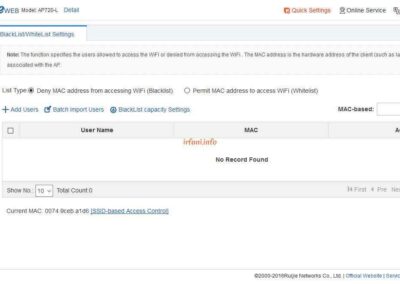
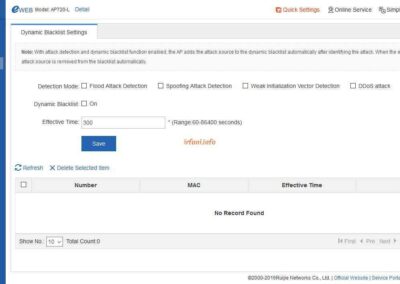
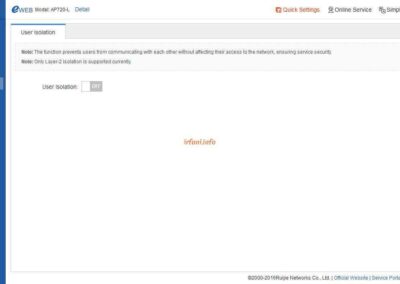
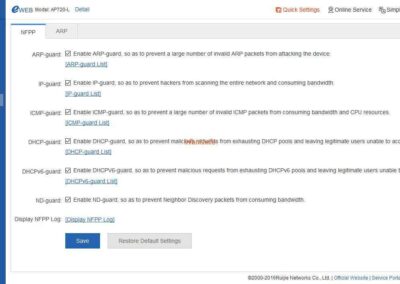
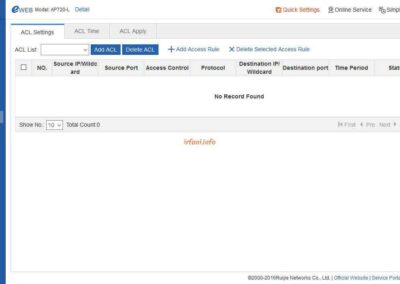
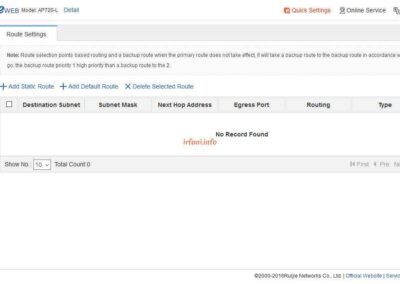
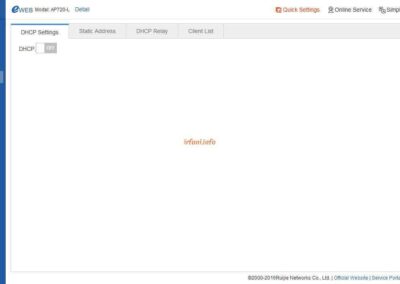
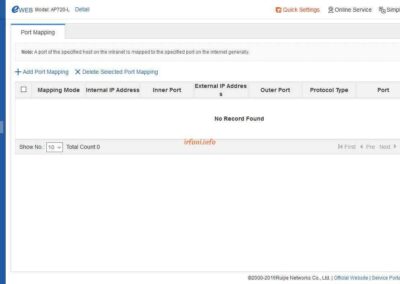
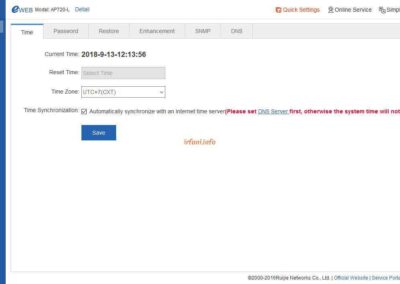
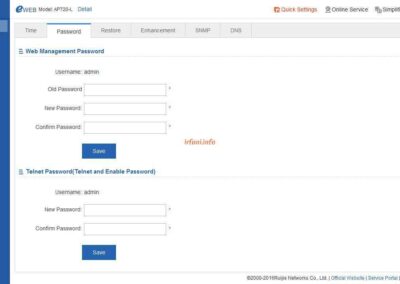
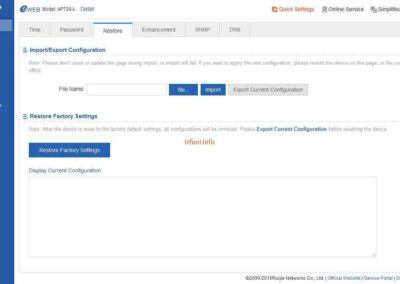
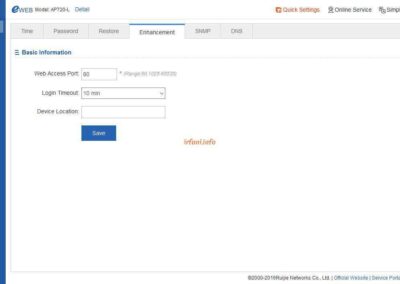
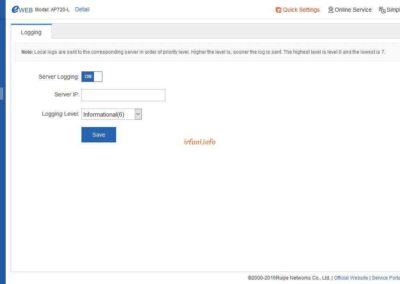
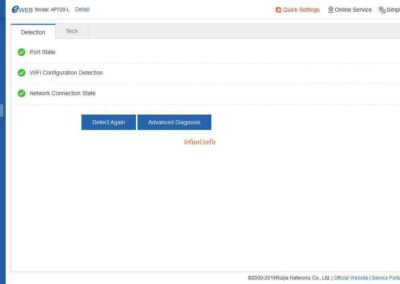
Attached to the AP, I did not take all the pages, only a few that I thought were important.

(*) After a few days, I got the AP for retesting, but this time after rebooting, I was able to successfully log back into the IP 192.168.110.1.


Previously, I apologized and thanked the commenters, but due to the server move, I did not back up this page but recreated it, for that I made a comment in the form of a “screenshot” only. Thanks.


Utilizing Wireless ADSL Modem

Utilizing Wireless ADSL Modem

Technology is increasingly developing over time, such as ADSL technology which is increasingly being replaced by fiber optic media because it provides much faster bandwidth. For me, customers who have used ADSL modems and have now switched to fiber, of course, still have the “historical legacy” of the ADSL modem.

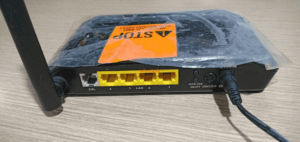
Can ADSL modems still be used? Of course yes, if you still have an ADSL modem that is still functioning properly, don’t rush to store it in a warehouse, because it can still be used. The ADSL modem I am referring to is a modem that has wireless features, which will be used as an additional medium to expand the wifi signal area in my home.

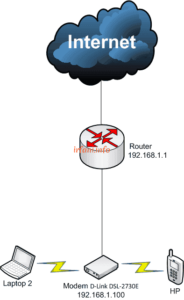
The ADSL modem I have is a D-Link DSL-2730E, which was manufactured around 2013. To shorten the time, here is the topology and guide I have created.

Final Topology

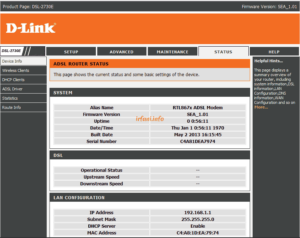
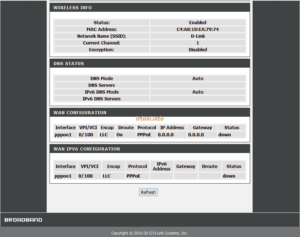
  1. I reset the modem to the original configuration, simply press the reset button for about 5-10 seconds and release it when the indicator light flashes. Here’s the initial look after logging in with the default IP 192.168.1.1 with the same login and password, namely admin. Here’s what Device Info and WAN Status look like.

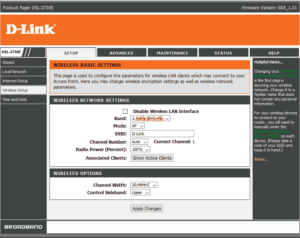
  1. To change the SSID, select SETUP – Wireless Setup – Wireless Basics, but I won’t change the SSID, just change the Band mode to 2.4 Ghz (B+G+N), then click Apply Changes. Why did I choose the 3 codes? Because the internet speed I am currently trying is only 10 Mbps.

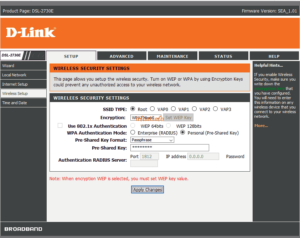
  1. Next, select SETUP – Wireless Setup – Wireless Security to provide the wireless password in the Pre-Shared Key column, then click Apply Changes.

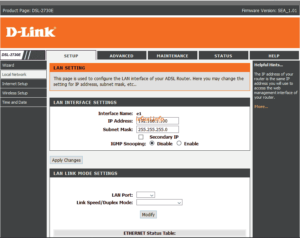
  1. The modem’s default IP is 192.168.1.1, however this IP has already been used by my primary router, for which I will change it to 192.168.1.100. Actually, I can freely change to any IP, it can be equated with an existing network or a different one, but because I want to be able to remote the modem, I equate it with the existing network and the IP that is not being used, then click Apply Changes.

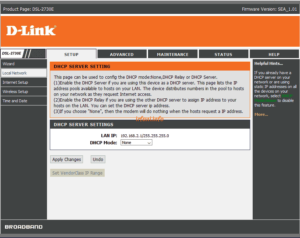
  1. For DHCP I disable it, since DHCP is already provisioned from the main router, select SETUP – Local Network – DHCP Server, select None in DHCP Mode, then click Apply Changes.

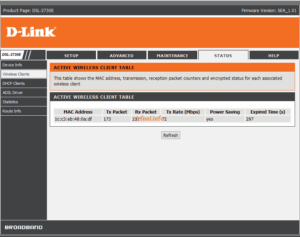
  1. To view the connected wireless devices, select STATUS – Wireless Clients.

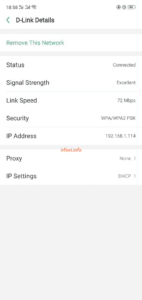
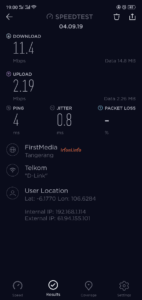
  1. Here are the results of the tests I conducted from a smart phone device.

Basically, this method can also be applied to other ADSL modems, maybe only the method is different, if there is a chance I will try it for other ADSL modem devices. Thanks.


Connecting Wifi in Windows 10

Connecting Wifi in Windows 10

Previously I have created a guide for Windows 7 here, next in this article is a guide for Windows 10. Why is there no Windows 8 and 8.1 ? For both Windows, it is not much different from Windows 10. Here’s a guide to connecting to Wi-Fi in Windows 10..

  1. Make sure the status of the Wi-fi icon is enabled, if there is no Wi-fi icon or there is a cross on the systray near the clock then it doesn’t seem to be activated, to make sure it is right-click the LAN icon at the bottom right and select Open Network and Sharing Center.

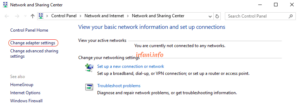
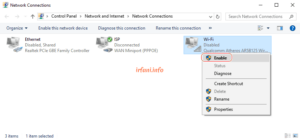
  1. In the Network and Sharing Center window, click Change adapter settings, make sure the Wi-fi to be used is Enabled, if it is still Disabled, right-click the Wi-fi and select Enable, it will change to Enable with an icon like the signal in the systray.

  1. Click the Wi-fi icon then the wireless name / SSID that is visible around will appear, select the SSID, check the Connect automatically check list if you want to connect automatically then click Connect, then a password box will appear, fill in the appropriate password then click Next, automatically if there is no problem with the IP address it will connect to the device, but if it fails to connect, please check further with the device or related parties.

If the wireless name you are looking for does not appear, then it is possible that the wireless name / SSID is hidden, select Hidden Network, click Connect then an SSID box will appear that must be filled in according to what is used (case sensitive), the next way can see the paragraph above. If the connection has been successful then the Wi-fi icon will change.

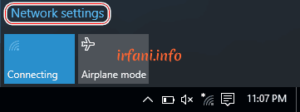
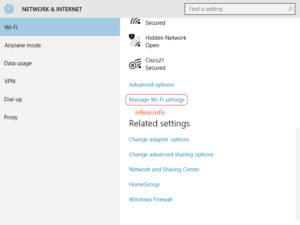
  1. If you want to delete the SSID due to a connection failure, which can be caused by a change in the password on the SSID, the trick is to click the Wi-Fi icon and select Network settings, scroll down and then click Manage Wi-Fi settings.

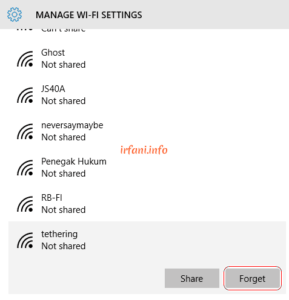
  1. Select the SSID you want to remove and then click Forget.

That’s the information I can convey, hopefully I can reconnect the relationship that was disconnected before, wireless, I meant, not the “ehm ehm”, hahaha.


Connecting Wifi in Windows 7

Connecting Wifi in Windows 7

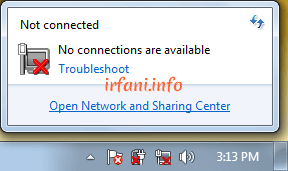
Actually, this method is very easy, but often it turns out that there are still a handful of people who don’t know how to do it, for that I made this article. Oh yes, why is there no guide in Windows XP ? Sorry, I forgot and when I wanted to make it there was no longer a device, so I immediately made it in Windows 7, here’s how:

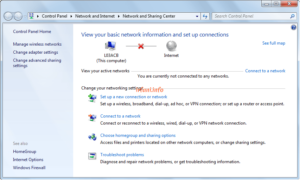
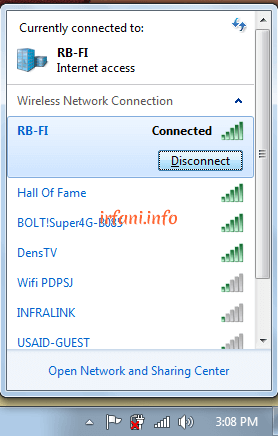
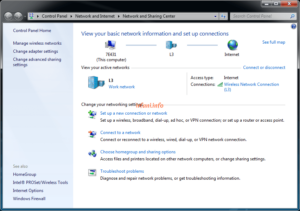
  1. Make sure the status of the Wi-fi icon is enabled, if there is no Wi-fi icon or there is a cross on the systray near the clock then it doesn’t seem to be activated, to make sure it is right-click the LAN icon at the bottom right and select Open Network and Sharing Center.

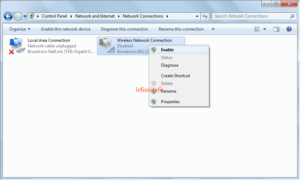
  1. In the Network and Sharing Center window, click Change adapter settings, make sure the Wi-fi to be used is Enabled, if it is still Disabled, right-click the Wi-fi and select Enable, it will change to Enable with an icon like the signal in the systray.

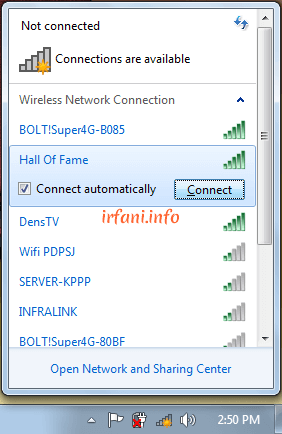
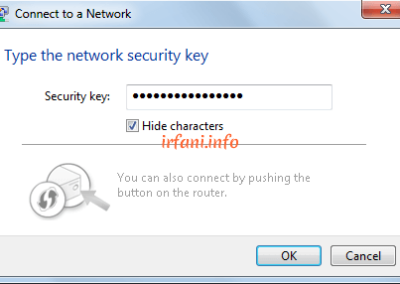
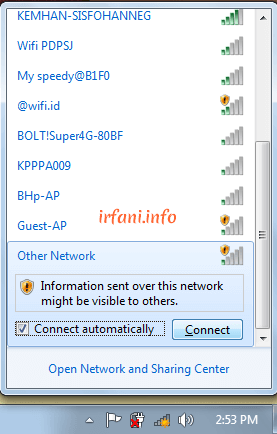
  1. Click the Wi-fi icon then the wireless name/SSID that is visible around will appear, select the SSID, check the Connect automatically check list if you want to connect automatically then click Connect, then a password box will appear, fill in the appropriate password then click OK, automatically if there is no problem with the IP address it will connect to the device, but if it fails to connect, please check further with the device or related parties.

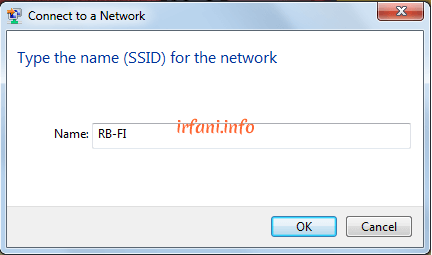
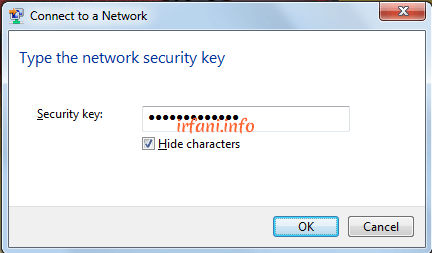
If the wireless name you are looking for does not appear, then it is possible that the wireless name/SSID is hidden, select Hidden Network, click Connect then an SSID box will appear that must be filled in according to what is used (case sensitive), the next way can see the paragraph above. If the connection has been successful then the Wi-fi icon will change

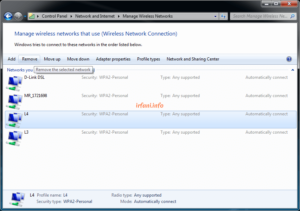
  1. If you want to remove the SSID due to a connection failure, which can be caused by a change in the password on the SSID, the trick is to click the Wi-fi icon and select Open Network and Sharing Center – Manage wireless networks.

  1. Select the SSID you want to remove then click Remove and select Yes.

That’s the information I can convey, hopefully it can reconnect the relationship that was disconnected before, wireless I mean, not the “ehm ehm” (just kidding).