
This may be a simple guide but there’s no harm in making it for those who don’t understand yet. I forget when to start using this program, but among the programs I’ve tried (RADMIN, Remote Desktop and VNC) this is the easiest. The requirements are quite easy, just an internet connection, for the Operating System, there are many things that it supports, I have only tried for Windows and Mac.
In this guide, there will be 2 positions, me as the party who wants to be remote (steps 1 – 3, additional automatic access in steps 4 – 6), me as the party who wants to be remote (step 7).
I just started the installation method (this guide uses Team Viewer version 14):
- Download the application on the https://download.teamviewer.com/full and click Save File, wait for it to finish then open the application in the place where it is saved, click 2 times to start the installation.

- Click Run, select Basic installation and Personal / Non–commercial use then click Accept – finish.


- If the following image has appeared, the process is complete, I can provide ID and password to colleagues who want to remote the device.

- In point 3, the remote process is still done manually (you must always provide info to the party who wants to use the remote), because the password will change when the program is restarted, quite troublesome if you are not always near the device. If you want the device to be remotely automatically enabled, you need to take the next step, namely Unattended Access, check Start TeamViewer with Windows and Grant easy access.
- In Grant easy access, a pop up will appear, enter the email and password that has been registered or if you don’t have an account, click Create account. In this case, because I already have an account, I choose to click Assign. The Team Viewer will send you a confirmation email before granting such access.


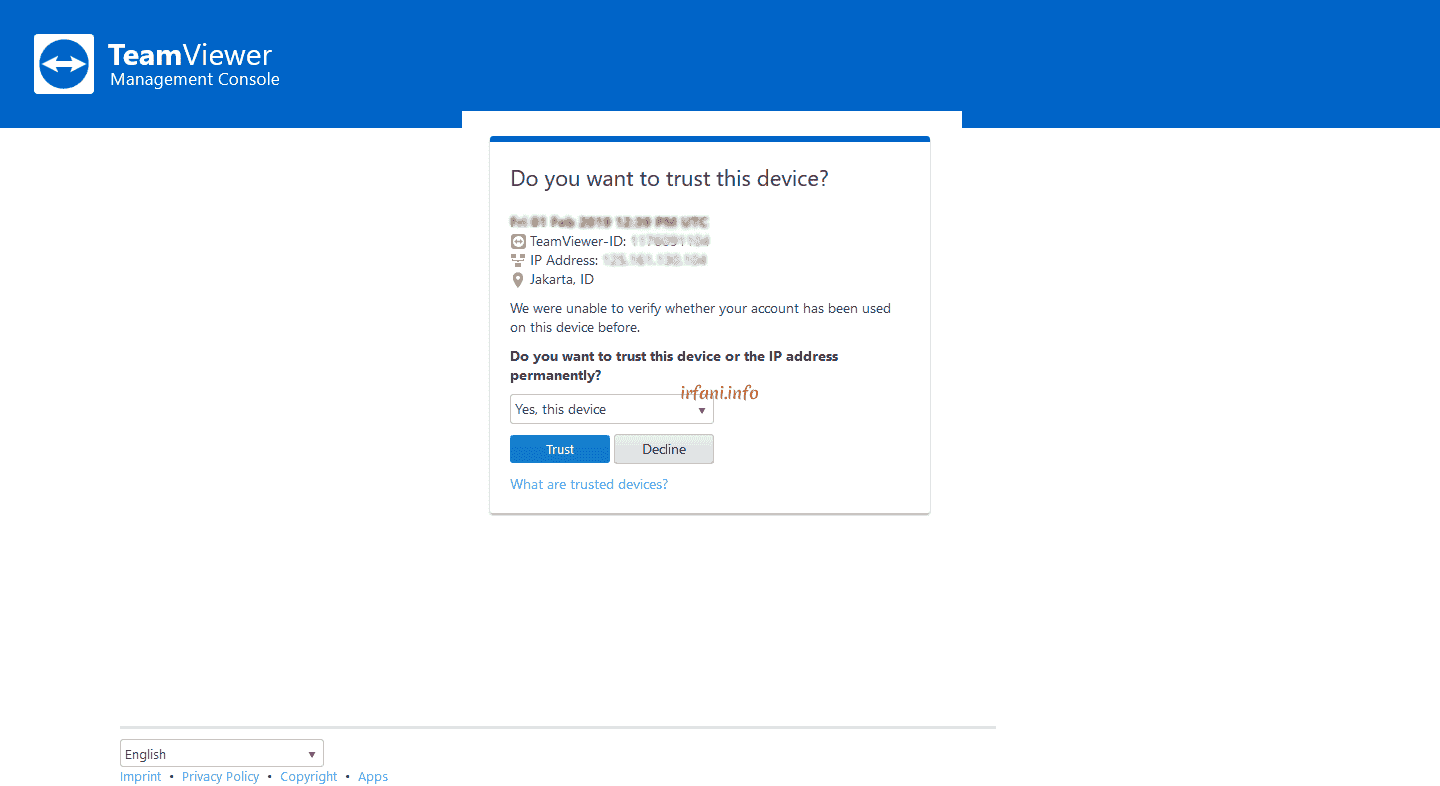
- I will open the confirmation email sent as authentication on the device I want to access, click Add to trusted devices, then it will open a new page, click Trust and the device can be accessed automatically.


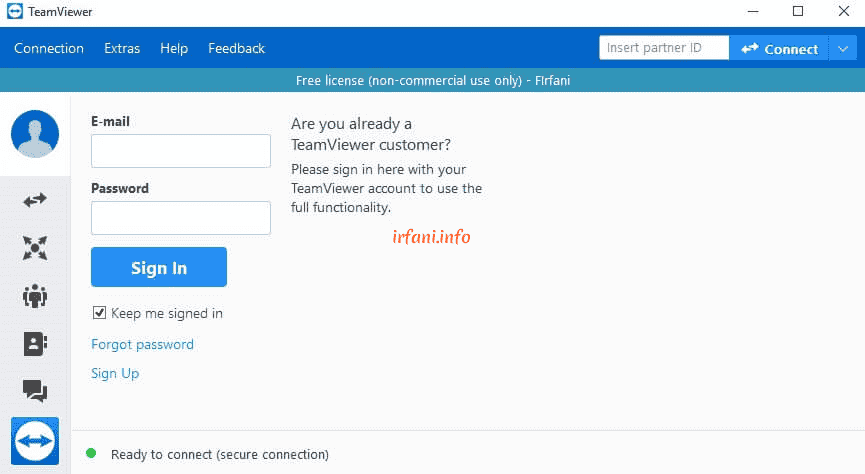
- If I want to see the devices I’ve given Unattended Access to, click the icon like contact picture, re-enter your registered email and password and then click Sign In.
Note: if you do steps 6 and 7 on the same device, you will be able to log in immediately without getting a confirmation email first, but if you are from a different device, you will get the same information as step 6.
- To remove the account from the device, click Extras – Option, on the General – Account assignment tab, click Remove, and Remove again as a confirmation.


Good luck.