Guide to Using Your Own Domain NS in Reseller Camp

Guide to Using Your Own Domain NS in Reseller Camp

If you are using the services of Reseller Camp, then the domain that is already active, by default, its NS (Name Servers) will point to ns1.liqu.id & ns2.liqu.id.

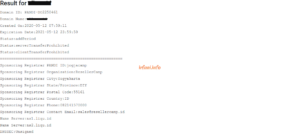
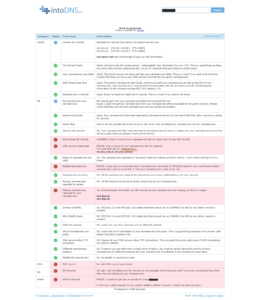
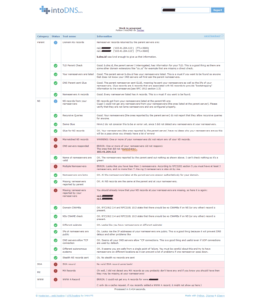
For that I will change it to NS my own domain name to make it look more like that, hehehe. For example, I take for example the domain a.id, which the results of checking from Pandi and intodns.com are like the following picture :

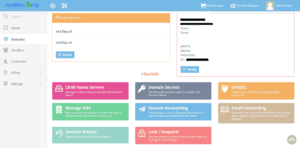
  1. Sign in to https://resellercamp.id/manage/ and select the domain you want to change.

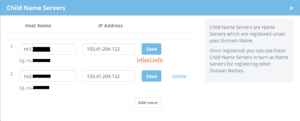
  1. Click Child Name Servers, fill in the ns1.a.id and IP of the server that will be used as the domain server, and then click Save.

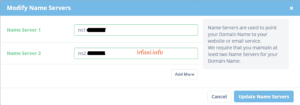
  1. Click Modify on Name Servers and change it to ns1.a.id and ns2.a.id then click Update Name Servers.

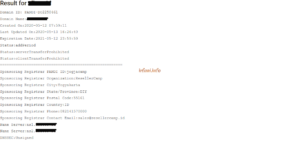
Here are the results of the check from https://pandi.id/whois/ and intodns.com about 20 minutes later. Oh yes, if the results on the intodns.com see a lot of red, please ignore it because indeed I have not installed the domain in the intended NS, so it is not recognized.

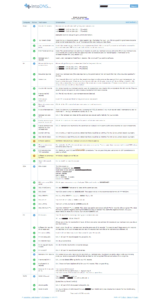
Here are the results after pointing to the hosting.

Good luck and thank you.


Solution The link you followed has expired on Plesk

Solution The link you followed has expired on Plesk

If you find an error like the image above, hopefully this article will be one of the solutions and the solution is similar to this article.

Here are the steps :

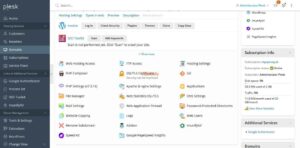
  1. Log in to Plesk, click Domains and click on the domain that is experiencing problems, then click PHP Settings.
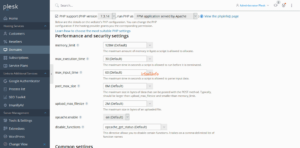
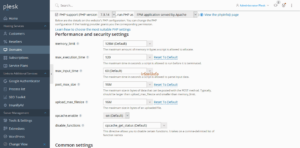
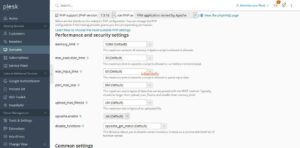
  2. Change the post_max_size & upload_max_filesize to the desired size (in this example I changed from 2M to 16M) and click OK.

Before

After

  1. Try re-uploading the file in WordPress.

Note: if upload_max_filesize size is larger than post_max_size, then WordPress will still follow the post_max_size size, in which case I changed both to 16MB.

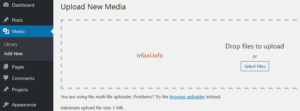
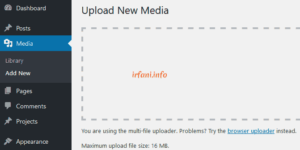
You can see the upload file size limit by visiting the Media – Add New page, along with the before and after results.

Before

After

Please try and good luck, thank you.
 

Masking Domain in Plesk

Masking Domain in Plesk

I have 2 domains, let’s say domain A already has a website and domain B is only a domain. I want when I type domain B in the browser, it will lead to domain A but the address bar in the browser still says domain B.

Oh yes, please note the paragraph above, because it’s almost similar to domain forwarding, but what I’m going to do here is masking domains. The differences are:

Domain forwarding: The URL and display correspond to the domain to which it is redirected.

Masking domain: Fixed URL, the display will change according to the domain being redirected.

Previously I used cPanel, but it seems that the method is more difficult when compared to Plesk that I am currently using, but cPanel has an advantage, namely it does not delete the content of the domain you want to be directed to, in Plesk all domain content will be deleted.

The following is the configuration in Plesk :

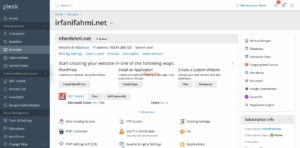
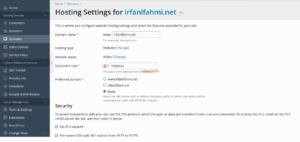
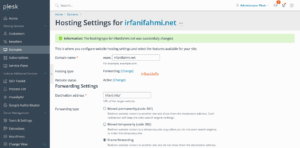
  1. Log in to Plesk and click on Domains – the domain name you want to redirect to – Hosting Settings.

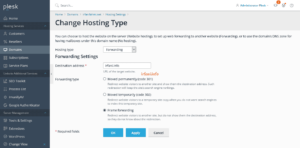
  1. On Hosting type, click Change and select Forwarding and on Forwarding type select Frame forwarding then click OK.

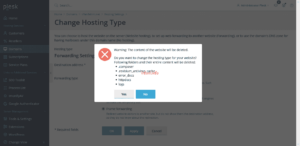
  1. Plesk will provide a warning about the forwarding, click Yes.

  1. Please try typing domain B in the address bar and make sure that the content of website A has appeared.

Good luck and thanks.


Regional Setting Solution in eSPT 2126

Regional Setting Solution in eSPT 2126

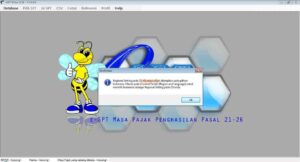
Actually, if you look at the message that appears below, the solution has also been given. Just 3 steps, namely :

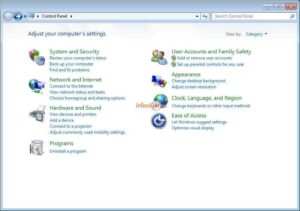
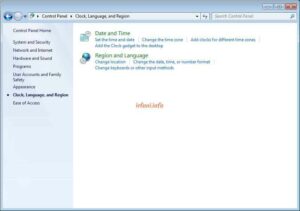
  1. Click Start – Control Panel – Clock, Language, and Region.

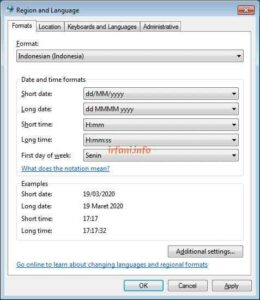
  1. Click Region and Language, select Indonesian (Indonesia) under Format and then click OK.

  1. Restart the laptop/PC and run the eSPT program again.

For some users, they may have finished with the solutions above and may still experience problems like me. I checked again, the above step should be correct, but after re-checking again, it turns out that all accounts on the laptop / PC, must be set up as in the steps above. So if there are administrator and user accounts, everything must be set to Indonesia.

Good luck and have a great day.


Solution The file or Directory Is Corrupted and Unreadable

Solution The file or Directory Is Corrupted and Unreadable

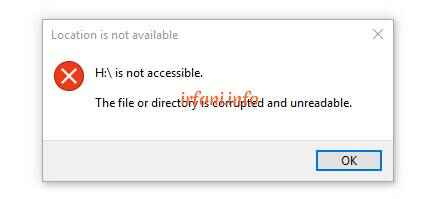
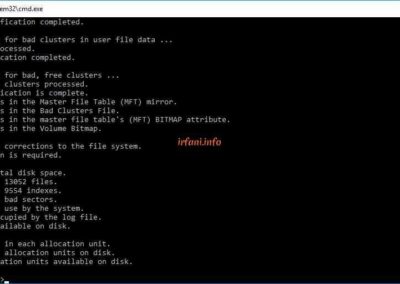
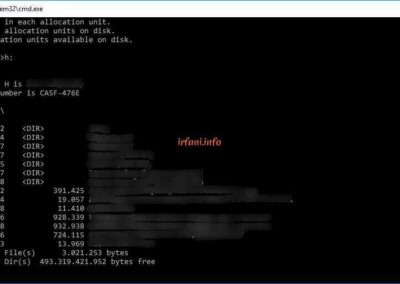
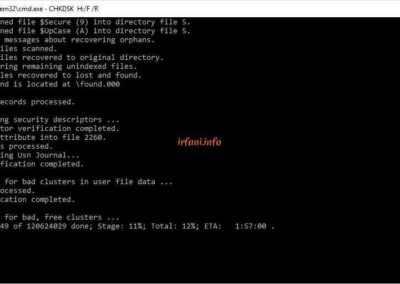
The above problem message (The file or Directory Is Corrupted and Unreadable) appears when I connect an external hard disk (EHD) to the laptop. The condition of the EHD at that time was as usual (lit and did not sound). Here are the steps I took to fix it and thank God it worked.

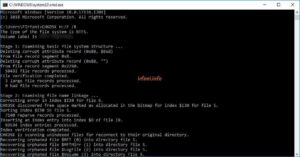
  1. Open the command prompt and type CHKDSK H:/F /R (drive H is adjusted to the problematic drive).

Actually, it’s just the steps above, hehehe. The rest is just waiting for the results, the process time depends on the specifications of the laptop and the capacity of the EHD.


In the repair, it takes approximately 1 hour with the specifications of an Intel Core i5 laptop, 8 GB of RAM and 500 GB HDD. If it still doesn’t work, you may be able to try other ways such as replacing the EHD case, but if several options have been done and still fail or a new error message may appear, it is possible that the EHD has been damaged, the last option certainly brings to the expert to dismantle the EHD.

Thank you and good luck.


Solution The uploaded file exceeds the upload_max_filesize directive in php.ini. in Plesk

Solution The uploaded file exceeds the upload_max_filesize directive in php.ini. in Plesk

If you find an error like the image above, hopefully this article will be one of the solutions.

Cause: The size of the uploaded file exceeds the predefined configuration.

Solution: resize the upload file.

Here are the steps :

  1. Log in to Plesk Panel.
  2. Select Domains and click on the domain that is experiencing the problem, then click PHP Settings.

  1. On upload_max_filesize, change the upload size from the default of 2M to the desired upload size, then click OK.

Please try and good luck, thank you.