Taking Advantage of ADSL Wireless Modem 2 – TP-Link TD-W8101G
T: Do you have an extender router that is not used? The router at home is broken.
S: Wireless router or what do you mean?
T : bla bla bla bla bla …
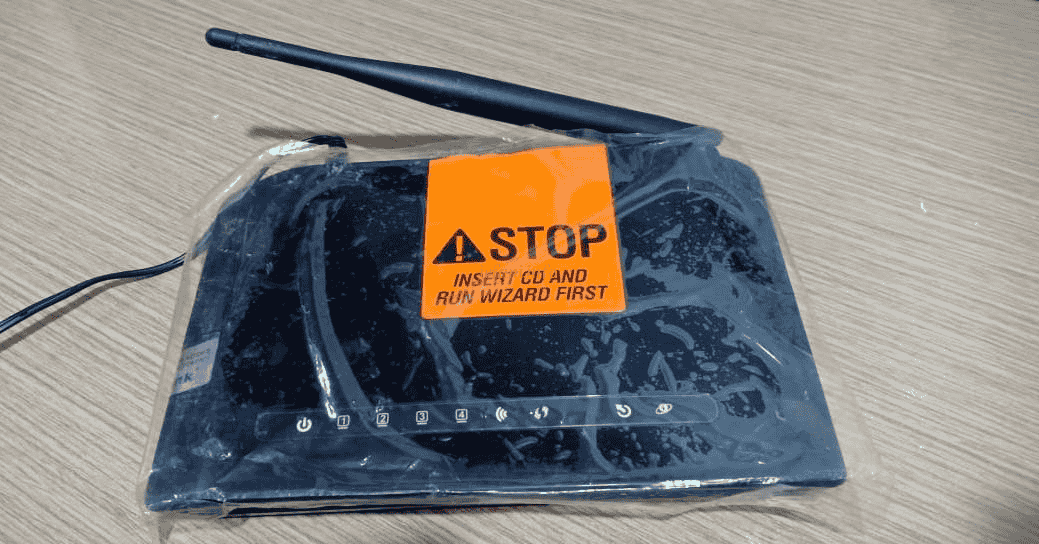
It turned out that he needed an additional router to connect to the internet from the main router because he router was currently using was broken. After I checked in the warehouse, I found the TP-Link TD-W8101G router modem.
For this guide, it’s similar to the one I’ve made before here, so it’s just a different router and this time I’ve made it a bit detailed enough to make it easier.
Here is the default information of the router:
IP: 192.168.1.1
Username : admin
Password : admin
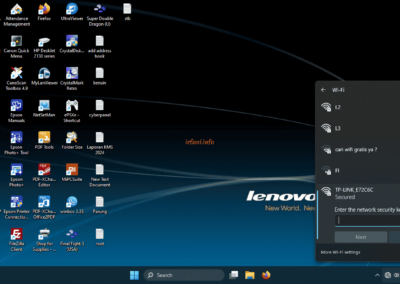
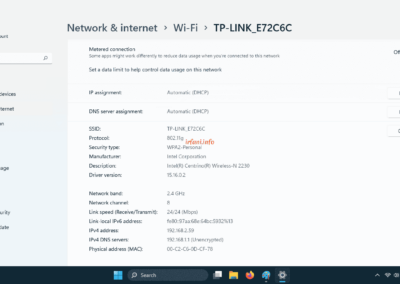
SSID : TP-Link_XXXXX (XXXXX is usually the MAC Address of the TP-Link, in this case what I have is TP-LINK_E72C6C), so it can be adjusted from the sticker attached to the bottom of the modem.
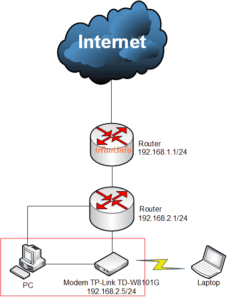
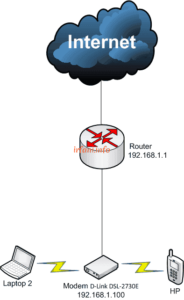
For the final topology as follows but when doing this guide I am using a PC, so just connect the LAN cable to the PC and modem (like in the red box), do not connect to a network that is already running as it will cause looping.
Here is the guide :
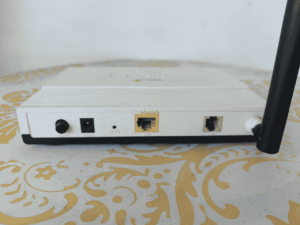
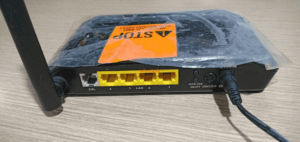
- Because this router has not been used for a long time, I will immediately reset it by pressing the reset button between the power port and the LAN port for 5-10 seconds.
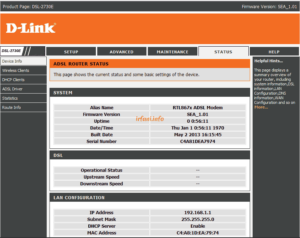
- If the reset is successful, then when you type IP 192.168.1.1 on the browser it will be the following image, type admin in the Username and Password column and then click Sign in.
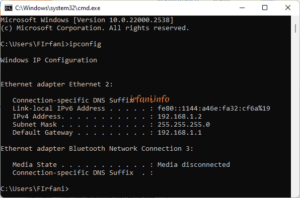
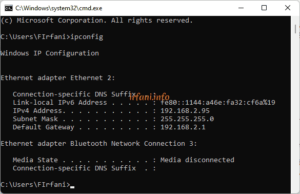
and I check the IP on the PC will get the following.
- Once opened, it will be directed to the Status tab.
- Click the Interface Setup – Wireless tab. You can change the SSID according to the name you want, but in this example I will only provide a password, here is the information and then click SAVE :
Authentication Type = WPA-PSK/WPA2-PSK
Encryption = TKIP/AES
Pre-Shared Key = wireless password
- I will replace the default IP with an empty IP, in case I change from 192.168.1.1 to 192.168.2.5 and turn off the DHCP (Disable) feature because DHCP is already provided from the router before, then click SAVE.
Note: The IP that will be given must be the same as the IP block that is already running, otherwise you will not be able to connect to the internet.
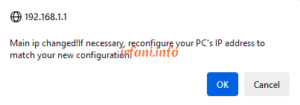
- Click OK if the following confirmation appears.
- If I refresh (press F5 on the keyboard) the page will likely look like this (I’m using the Firefox browser, the error will be different if you’re using a different browser).
- Unplug the LAN cable from the PC and connect it to the previous router, as well as for the TP-Link TD-W8101G router modem (as in the topology). If true, then when we type IP 192.168.2.5 on the browser the following image will appear.
and I check the IP on the PC will get the following.
- If you are logged in, then the IP has changed.
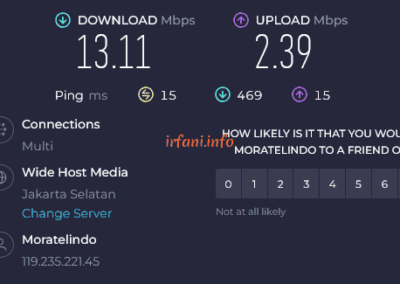
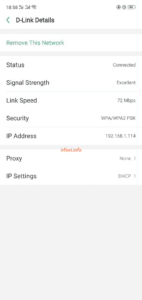
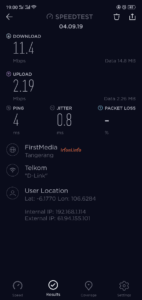
- The following are the results of the test using a laptop and cellphone.
To be honest, the results are not very satisfactory because they are very far from the available bandwidth, which is 50 Mbps, here are the test results from cellphones using the same frequency, namely 2.4 Ghz, the results are better for downloading.
Finally, hopefully this article can help take advantage of unused routers, hehehe, thank you and have a nice day.


